How to Install Fen Lite Kodi Add-on, Cocoscrapers, & Real-Debrid.
The Fen developer has recently removed the official repository and is no longer available for installation after calling it the quits.
Thankfully, the developers of the Umbrella add-on have added it to their repository for installation and included both FEN and FEN Lite.
This is a step-by-step tutorial showing you how to install the Fen Lite Kodi Add-on, Cocoscrapers Module, and Real-Debrid.
In this tutorial, I am using a Fire TV Stick 4K Max but the steps are the same for all Fire TV devices and Android devices.
How to Install the Fen Lite Kodi Add-on.
- Click on the Settings Icon.
Click on System.
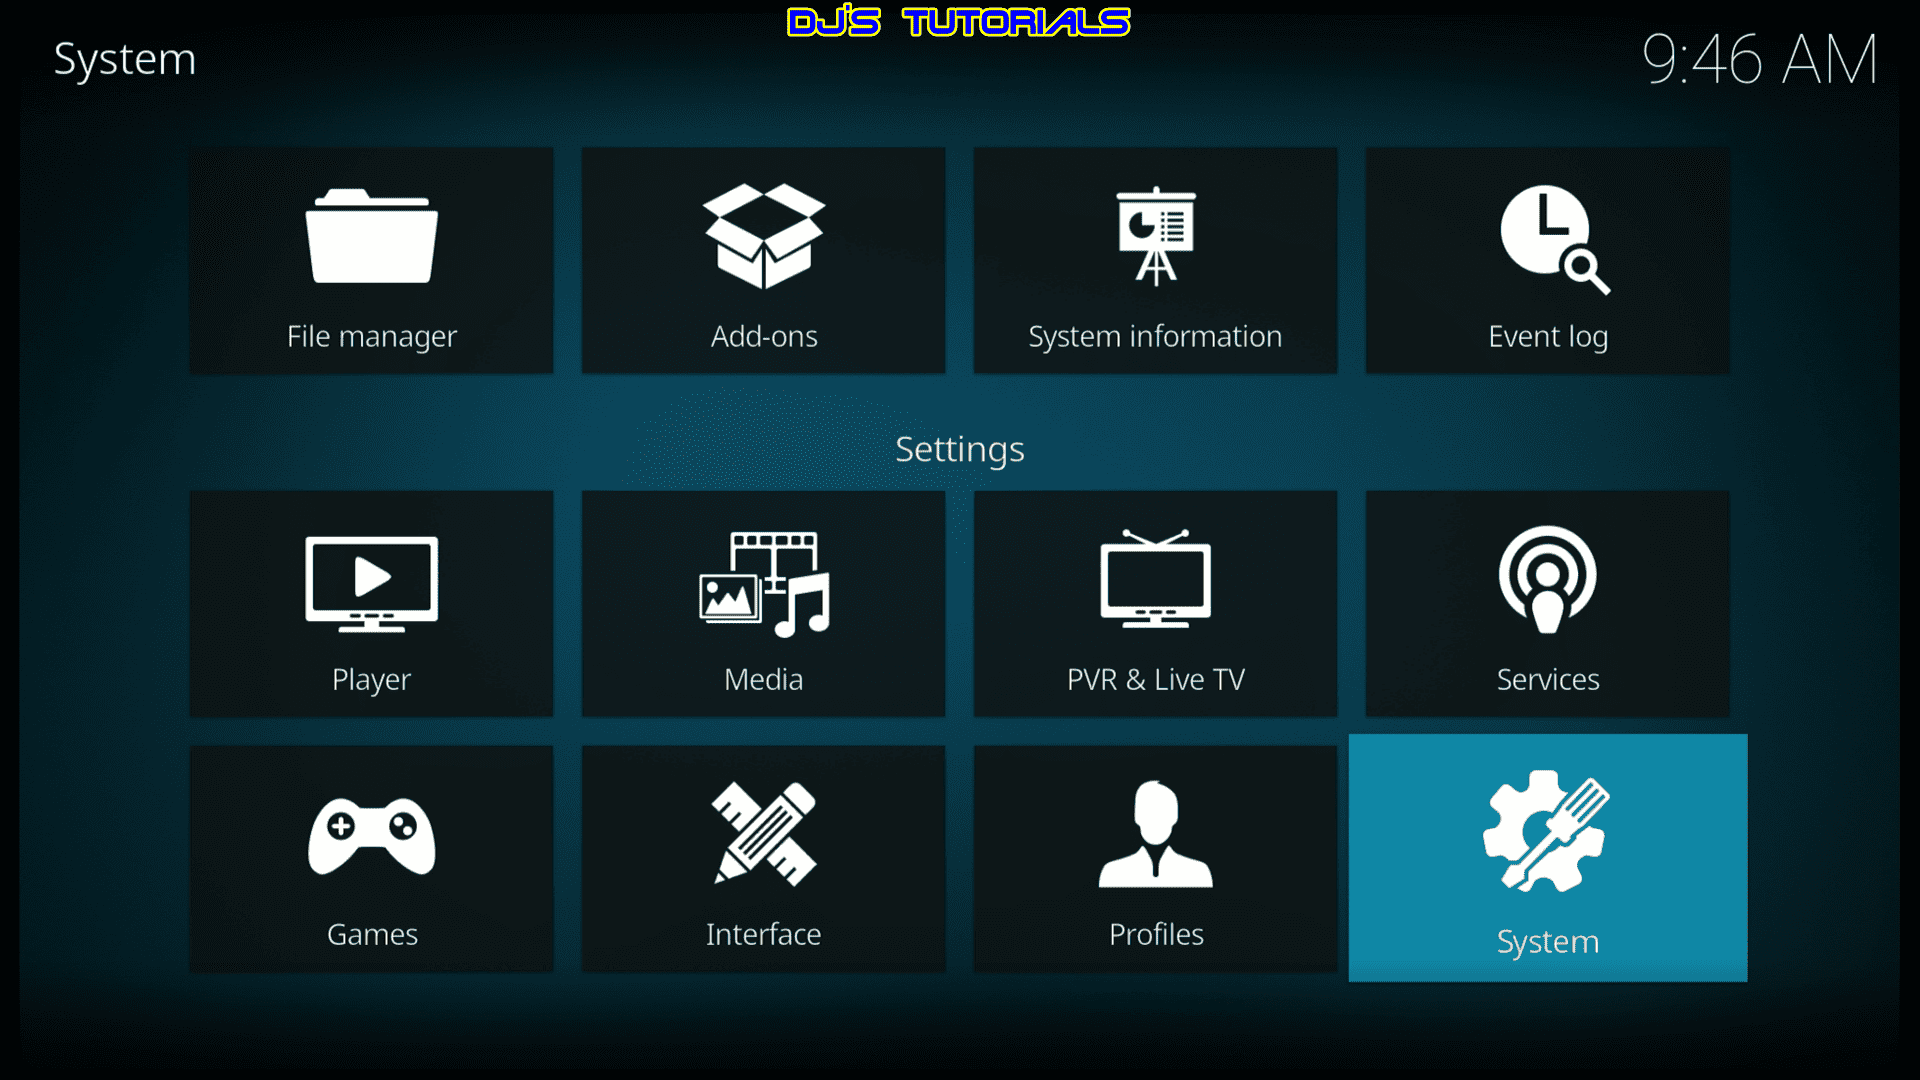
Scroll down to Add-ons menu and turn on Unknown sources if not already on.
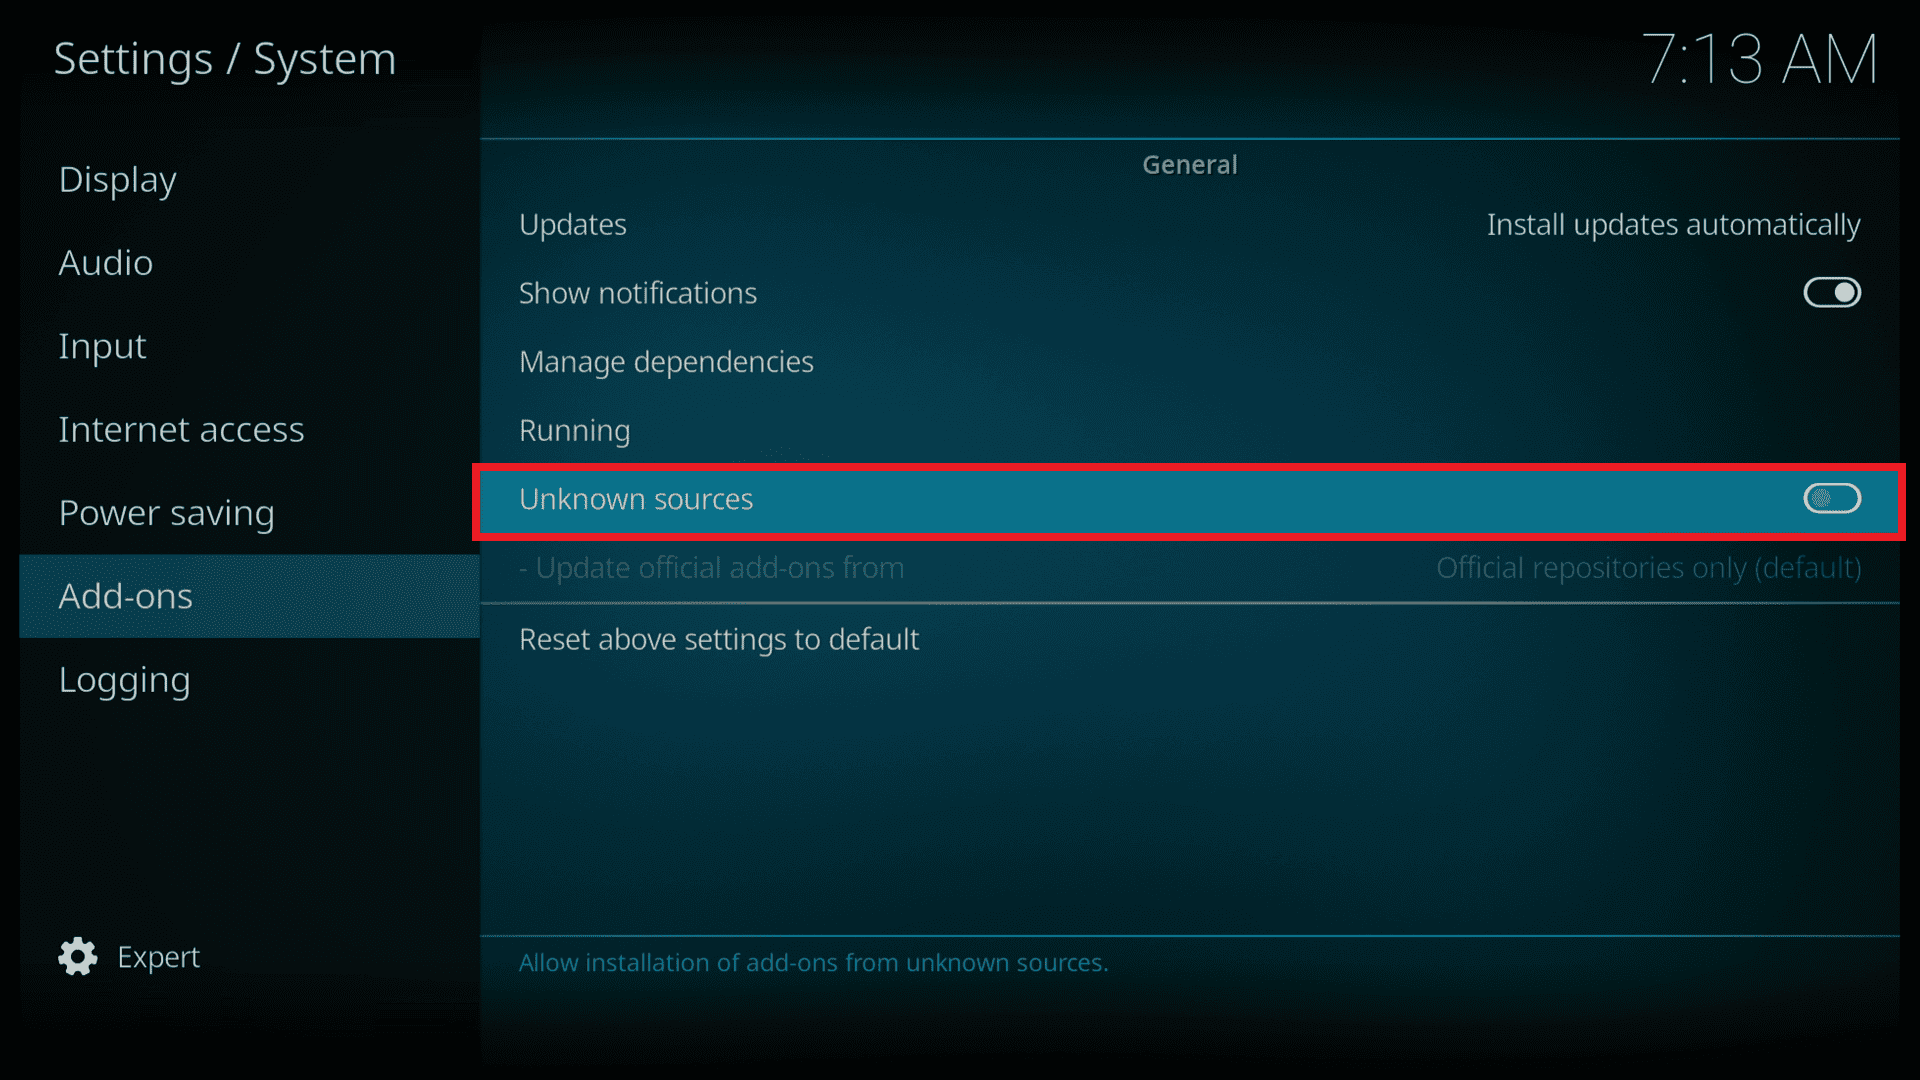
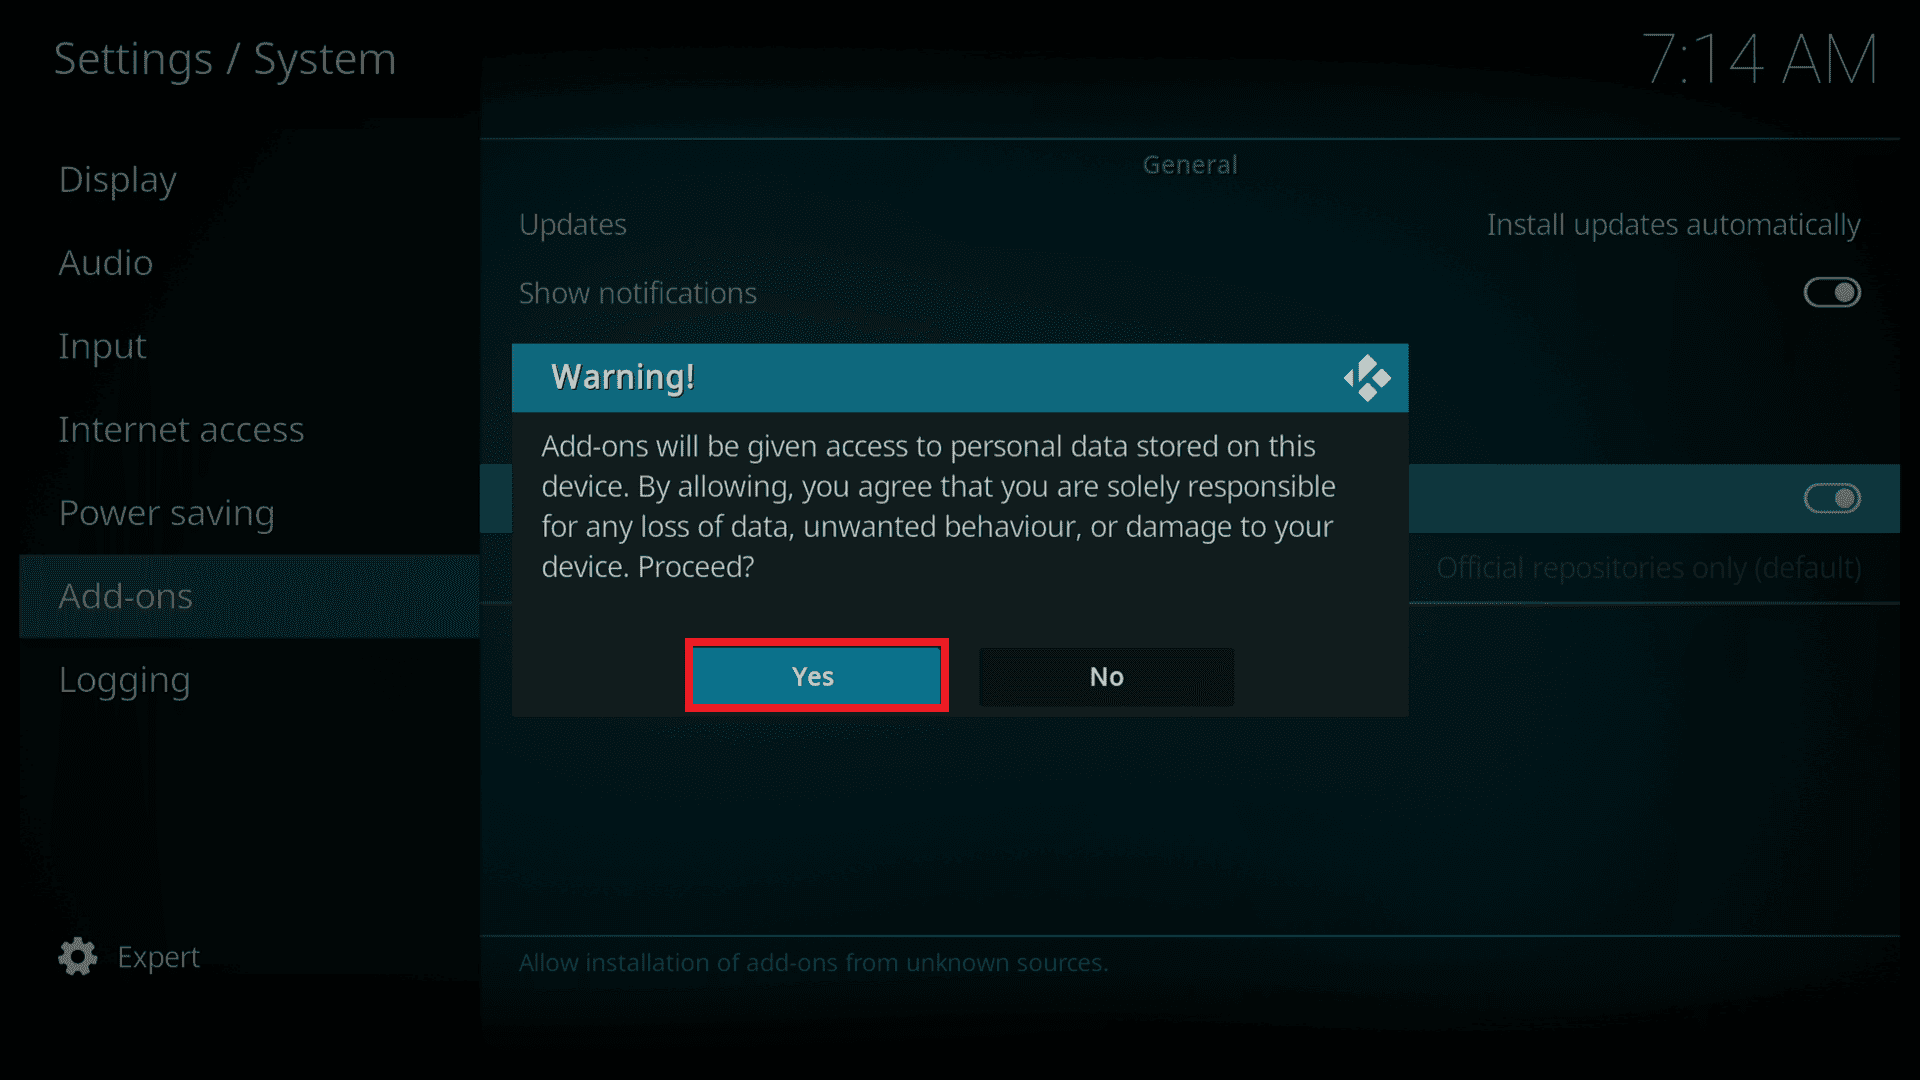
Read the important Warning before proceeding.
Add-ons will be given access to personal data stored on your device.
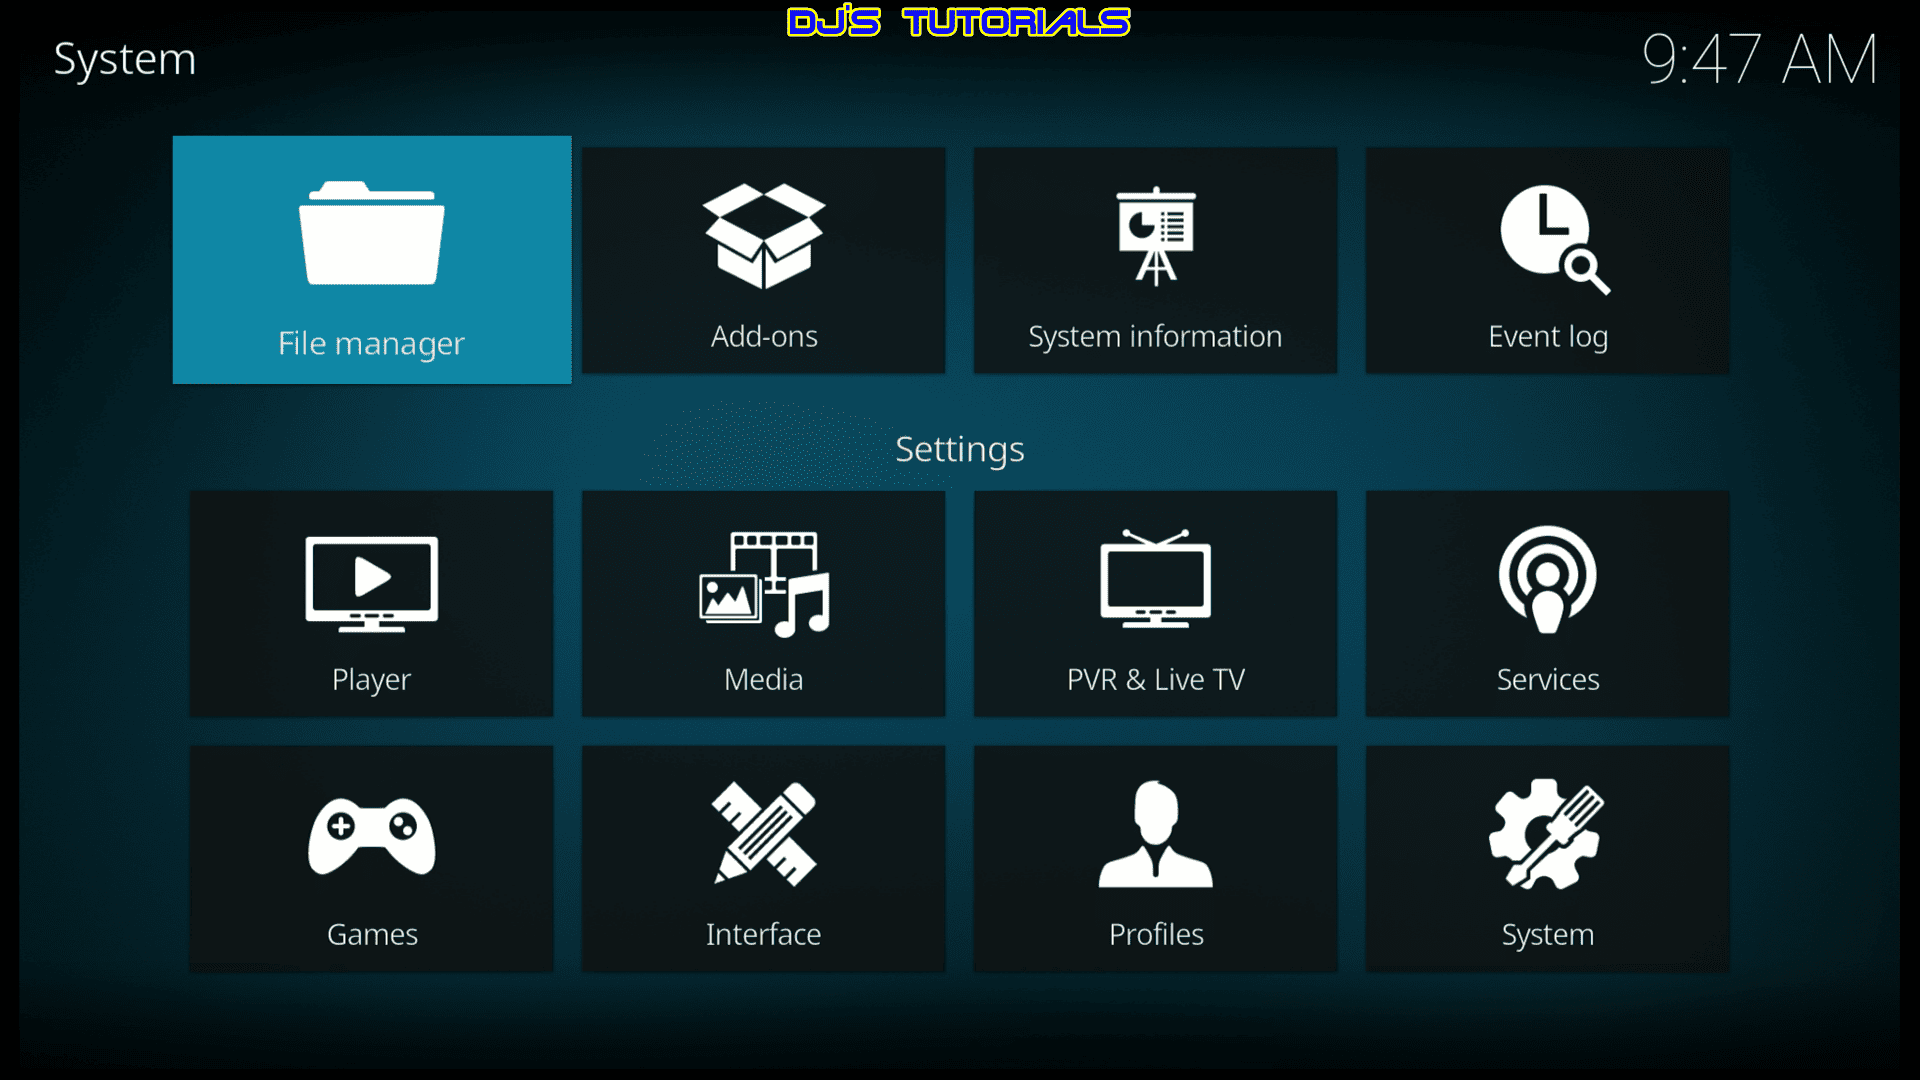
Click back on your remote to go back to the System page.
Click on File manager.
Click on Add source.
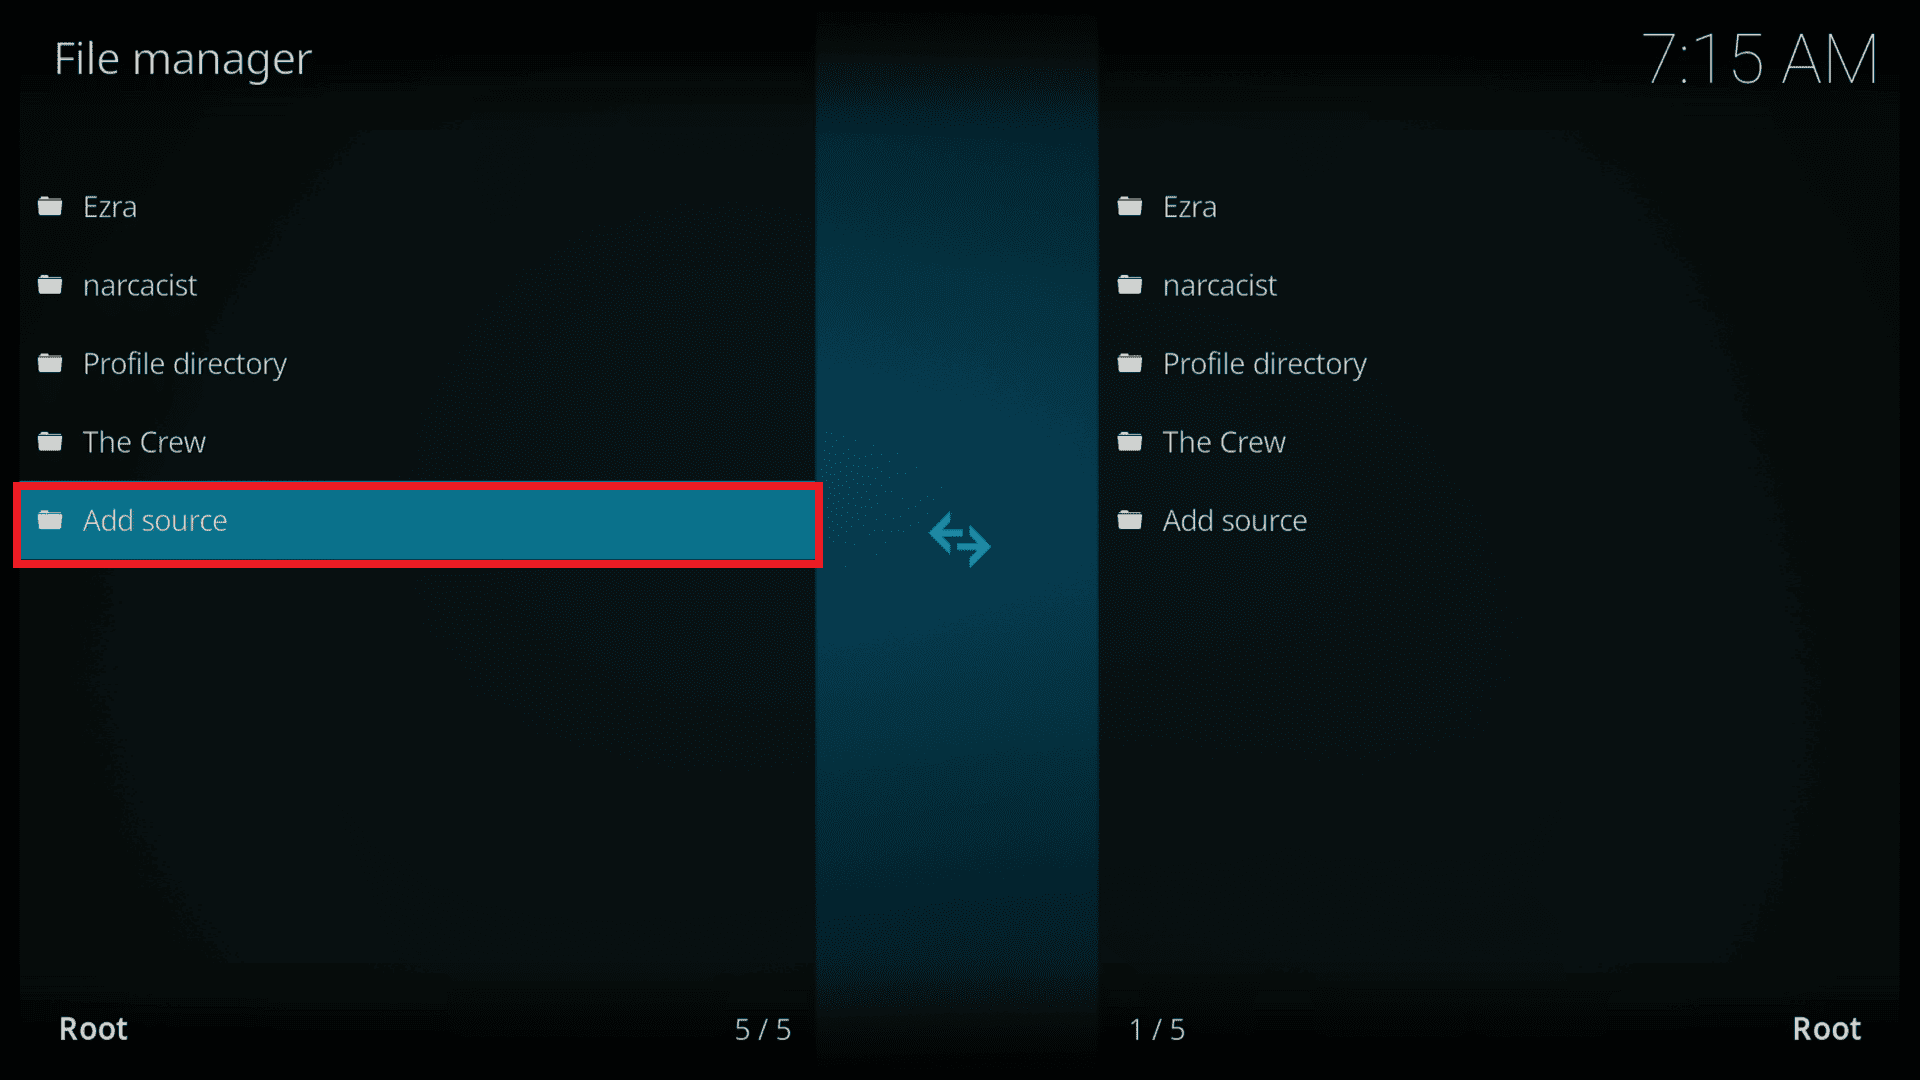
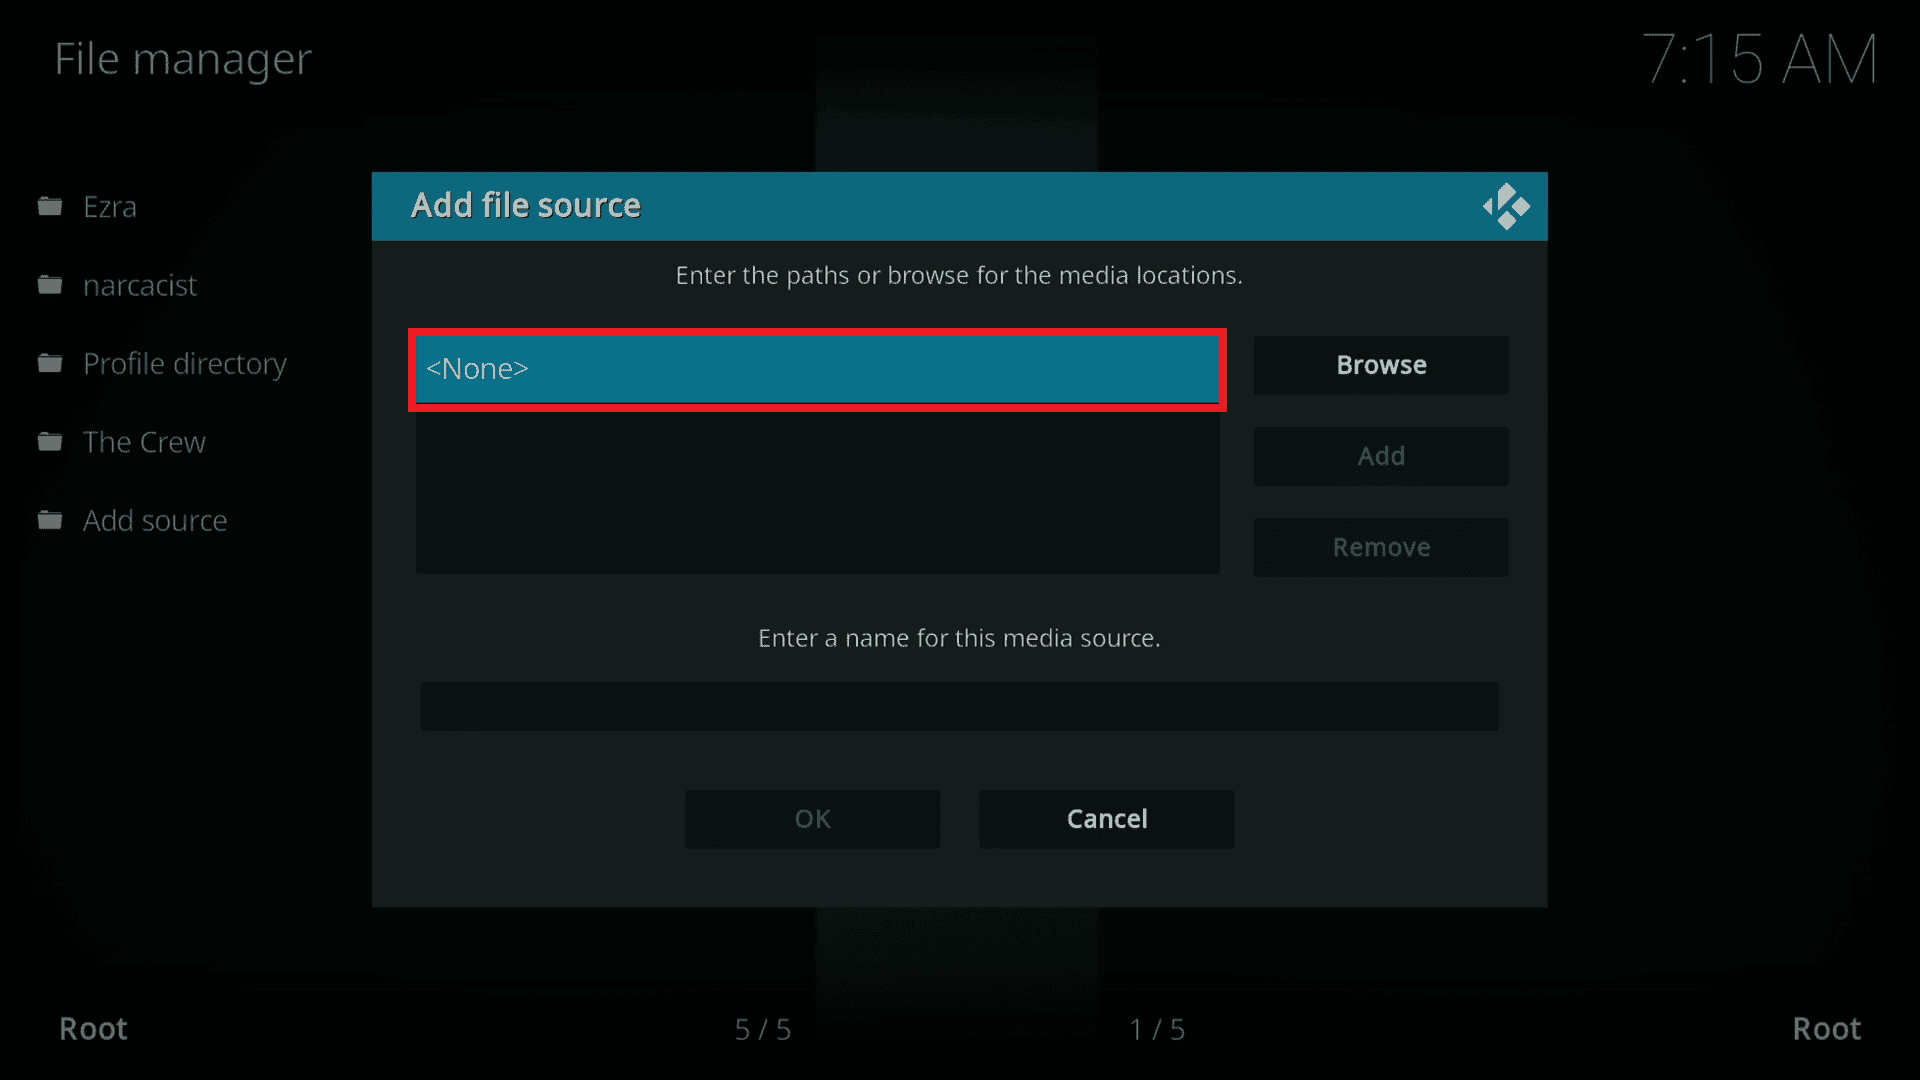
Click on “None”.
Type the following URL address exactly how it is listed here – https://umbrellaplug.github.io and then click OK.
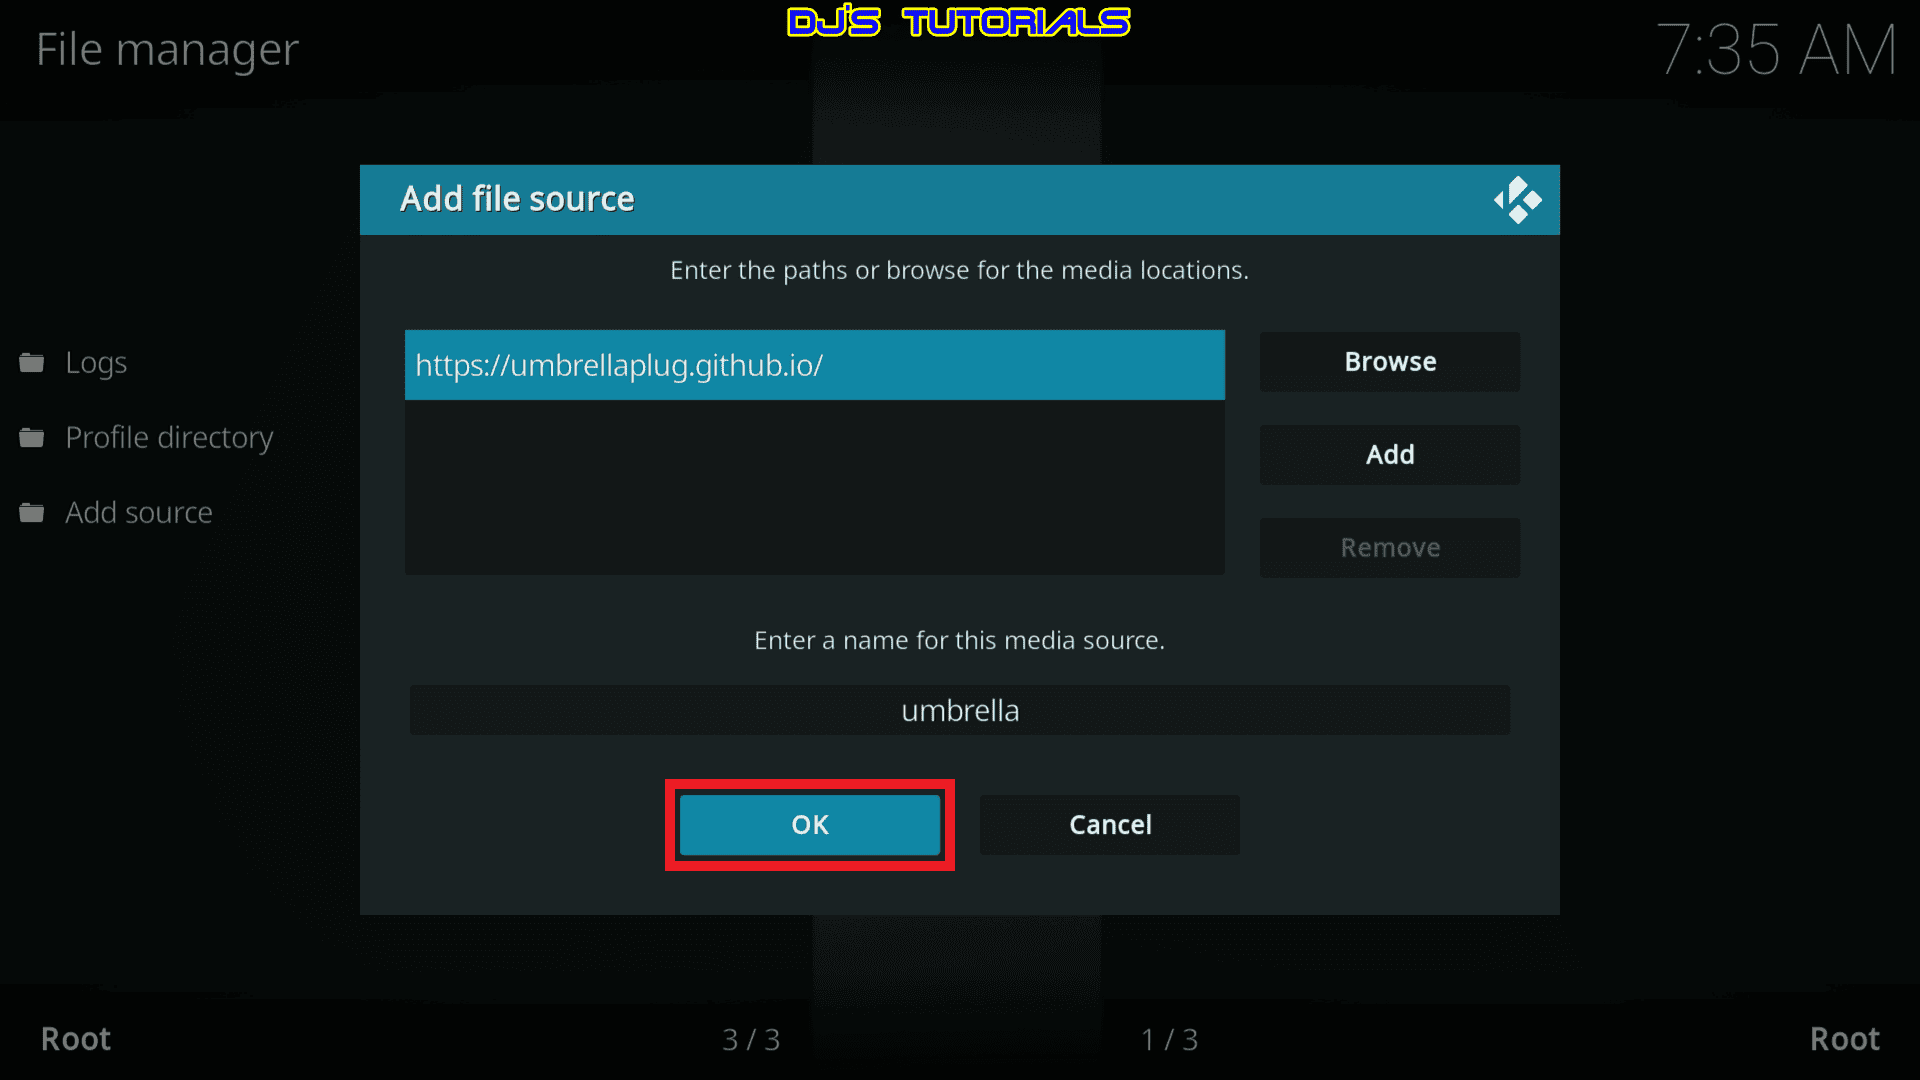
Move down to the box to enter a name for the media source that you just added.
Type “Umbrella” or any name that you like that will help you identify this source and then click OK.
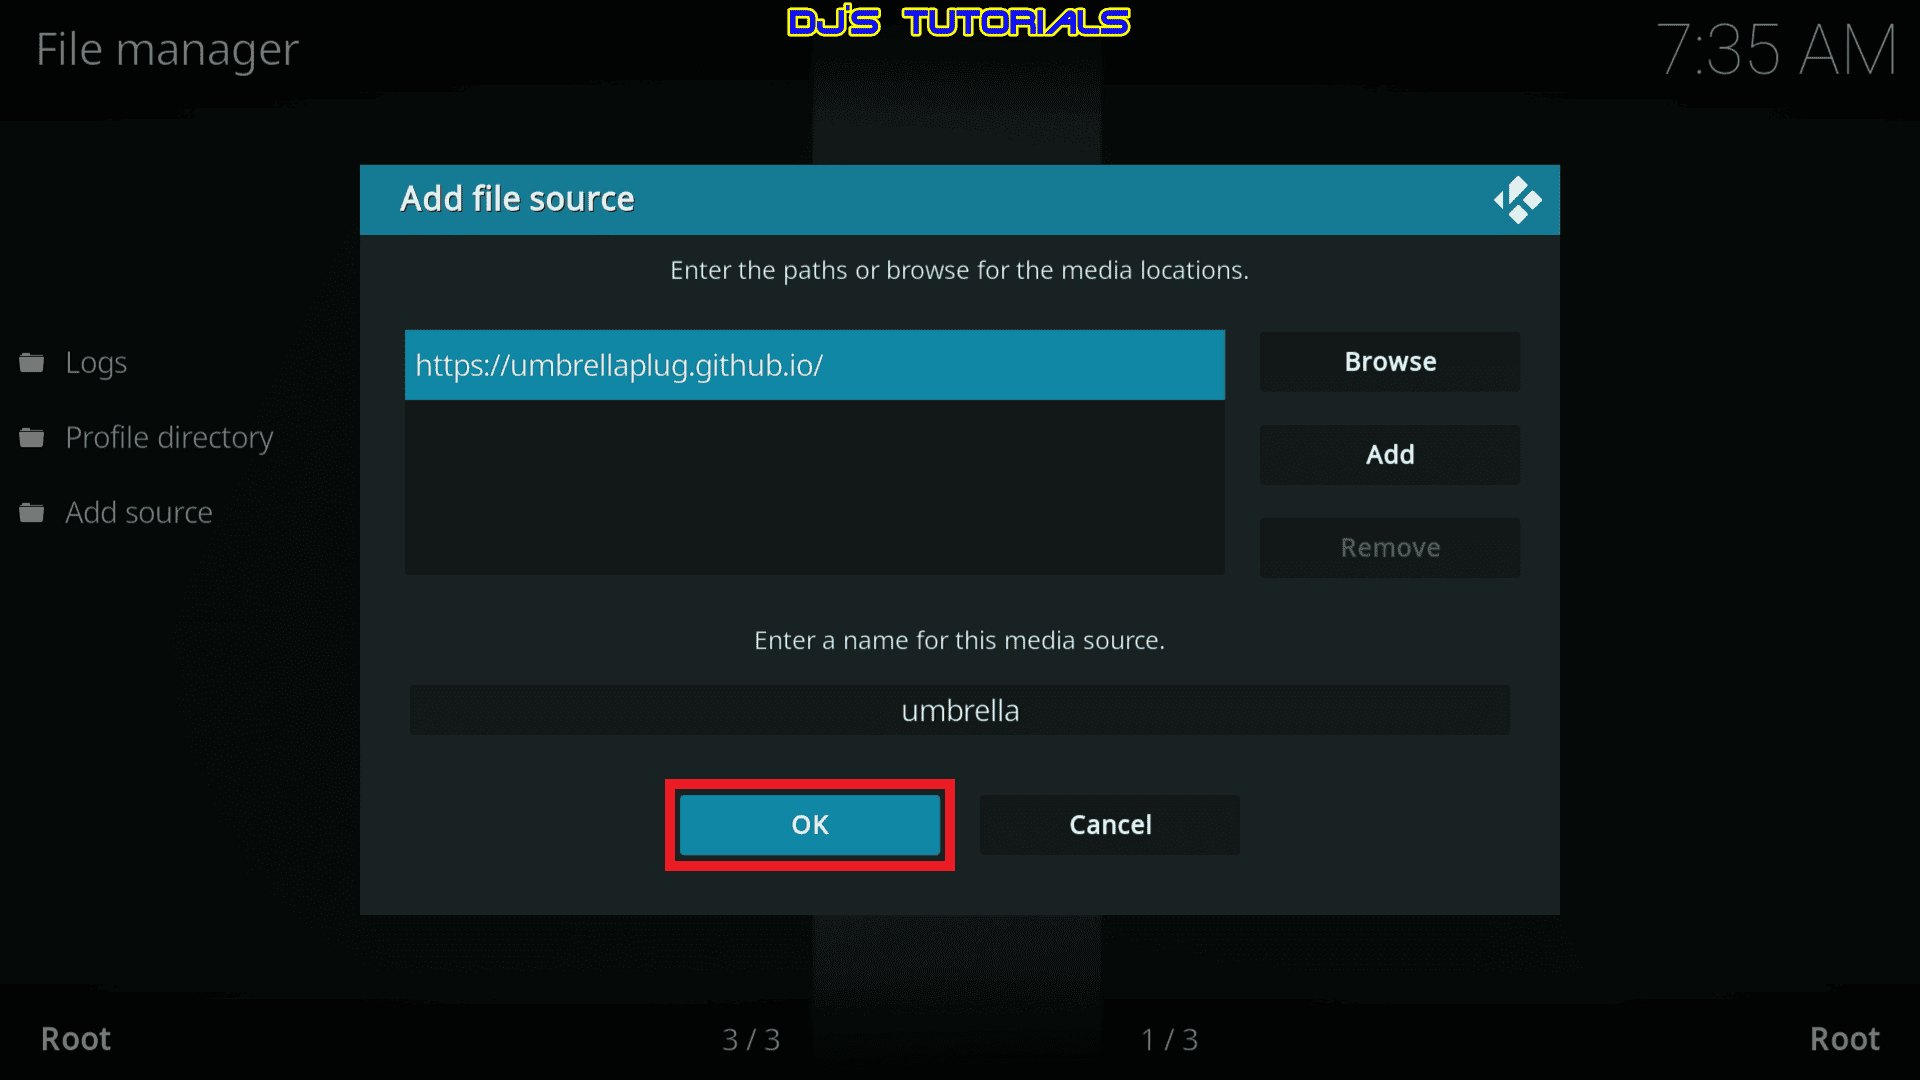
Click back on your remote to go back to the System screen.
Then click on Add-ons.
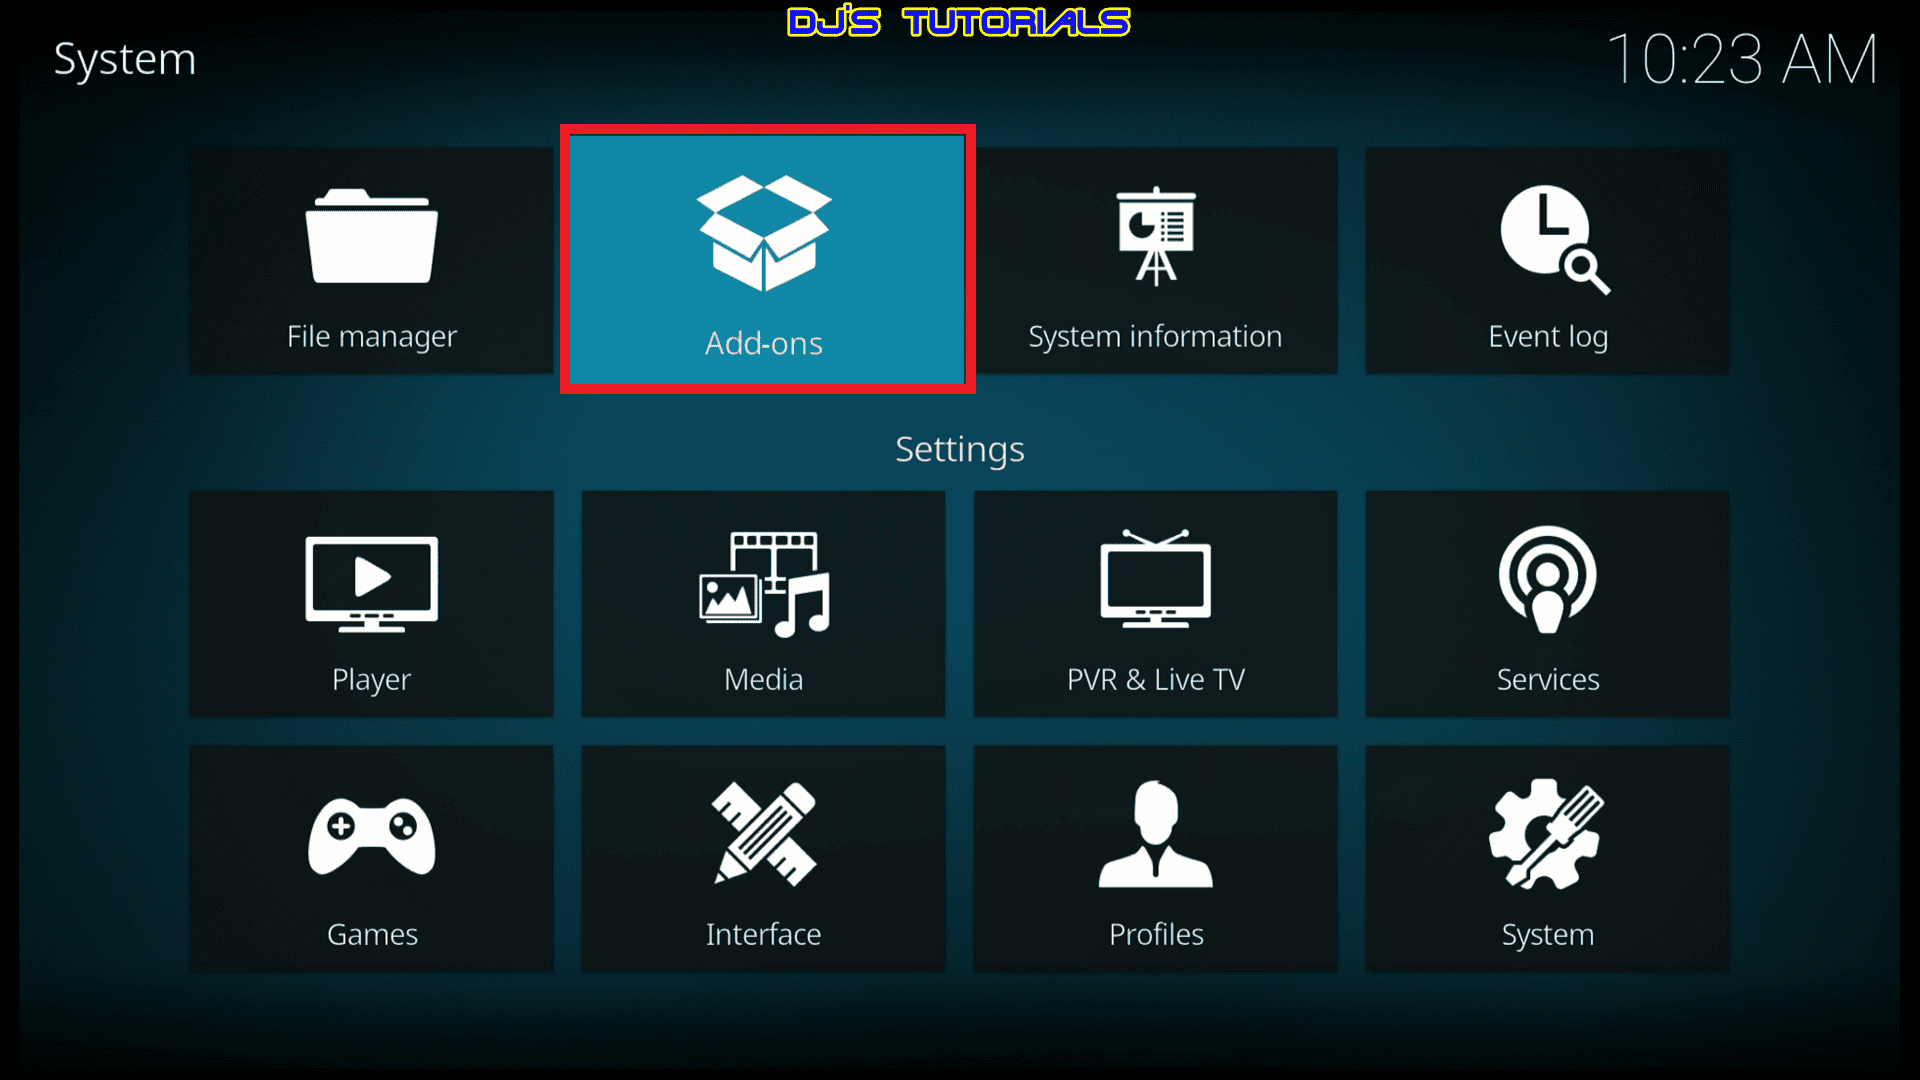
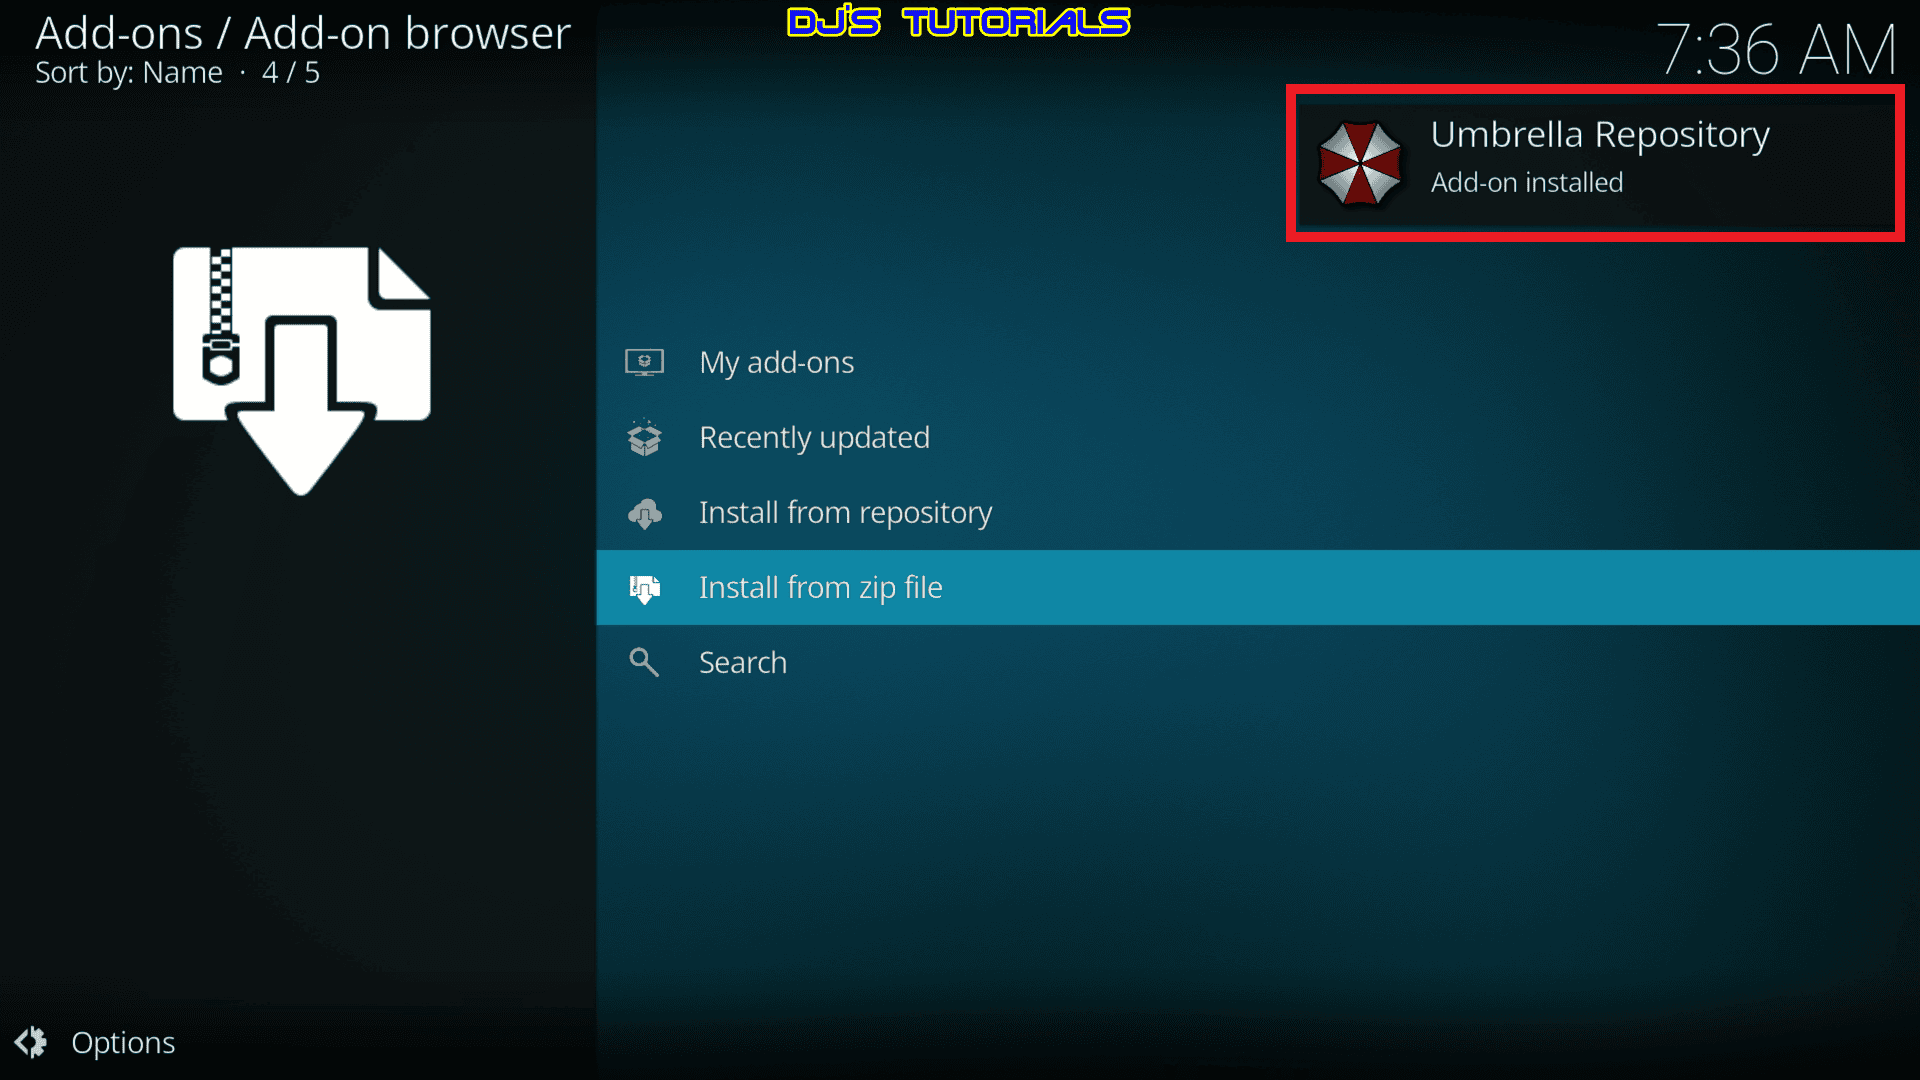
Click on Install from zip.
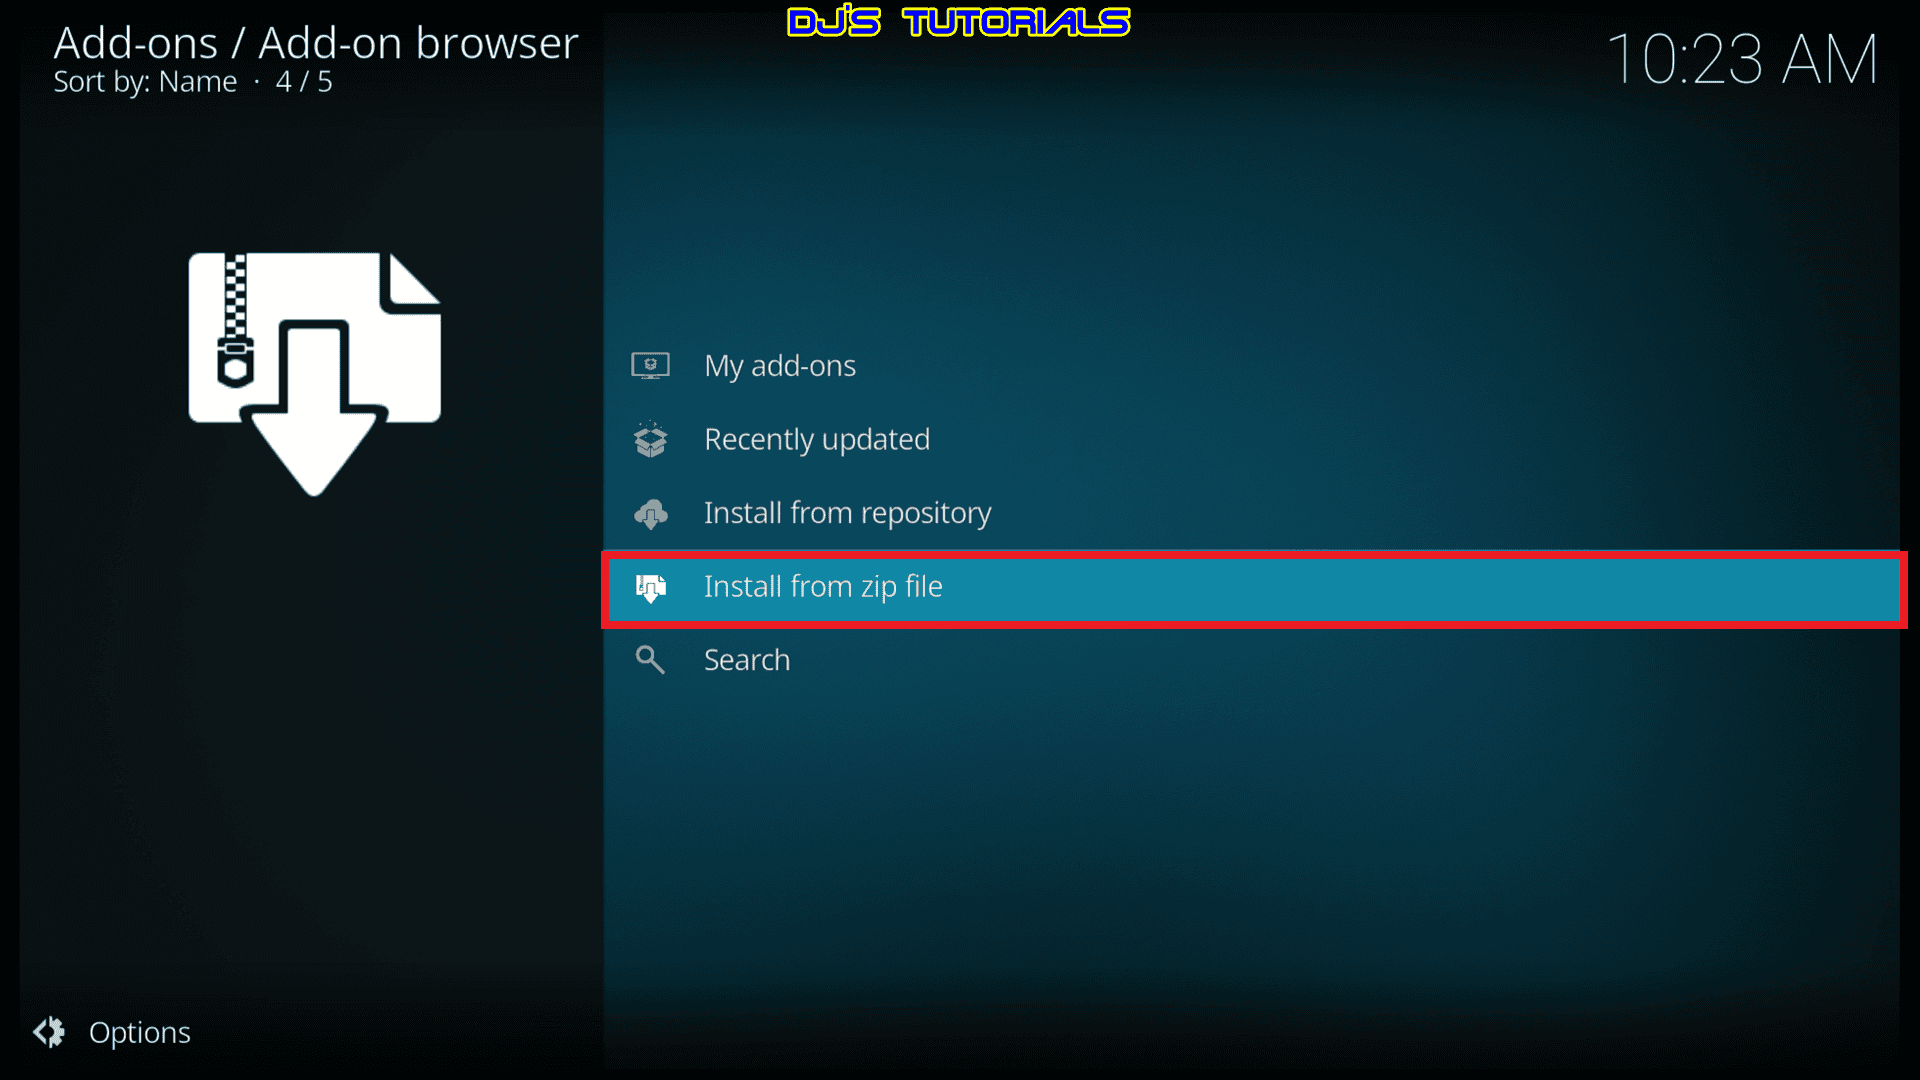
Scroll down to “Umbrella” or the name that you added for the media source before.
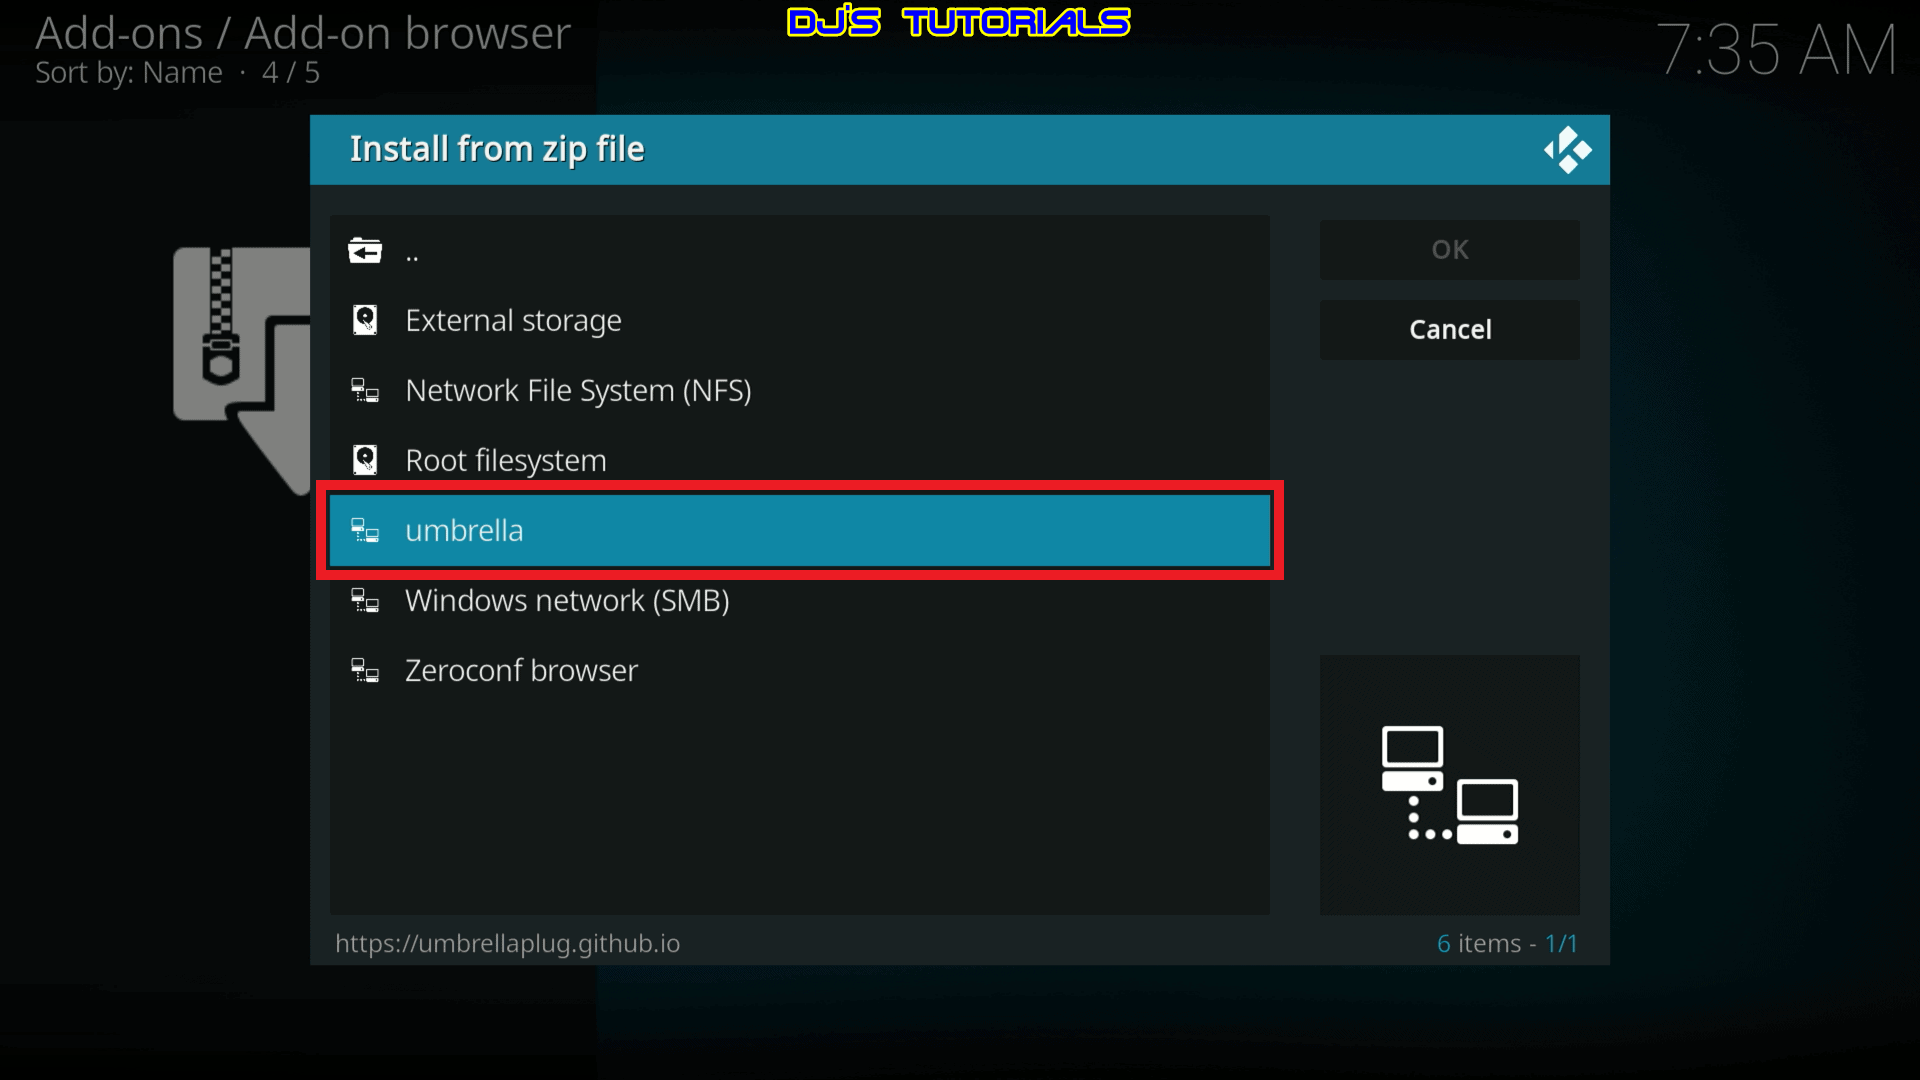
Then click on the zip file URL – repository.umbrella-2.2.6.zip
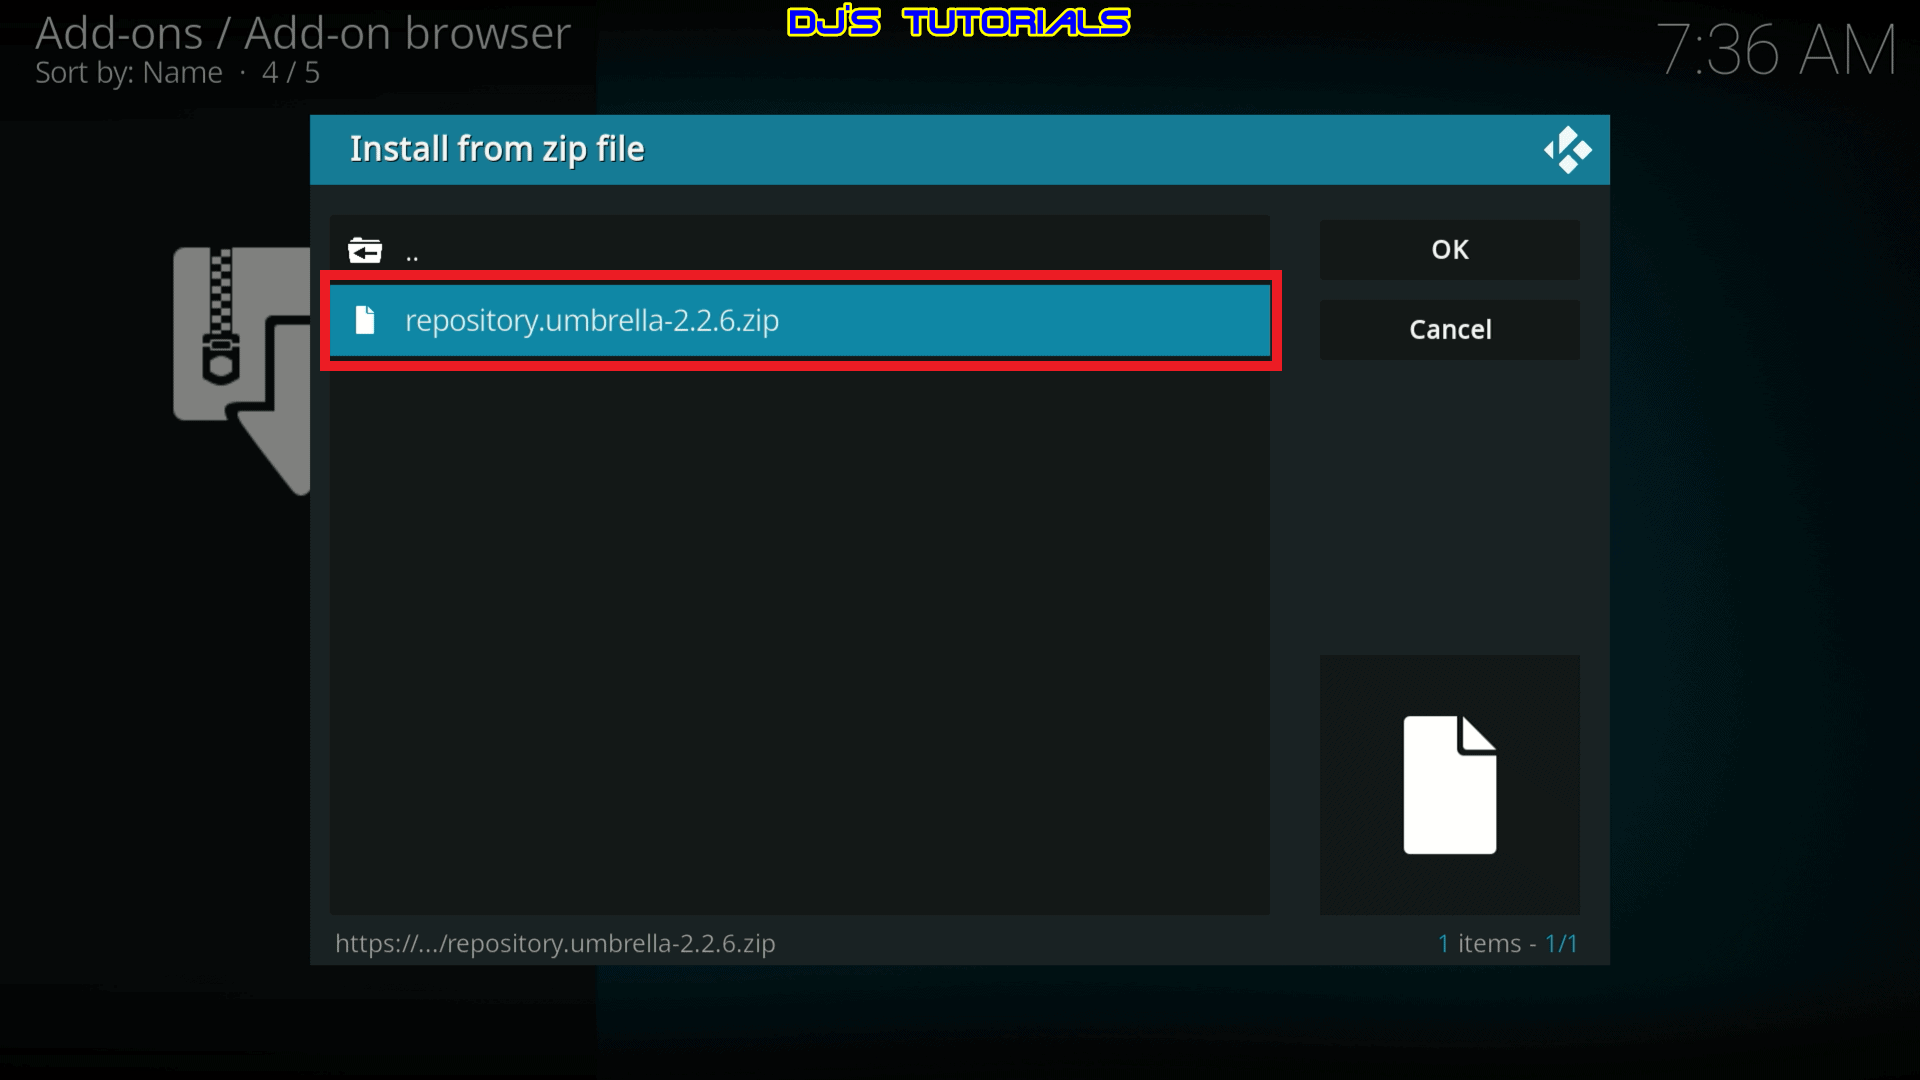
Then you will see a message on the top right corner “Umbrella Repository Add-on installed”.
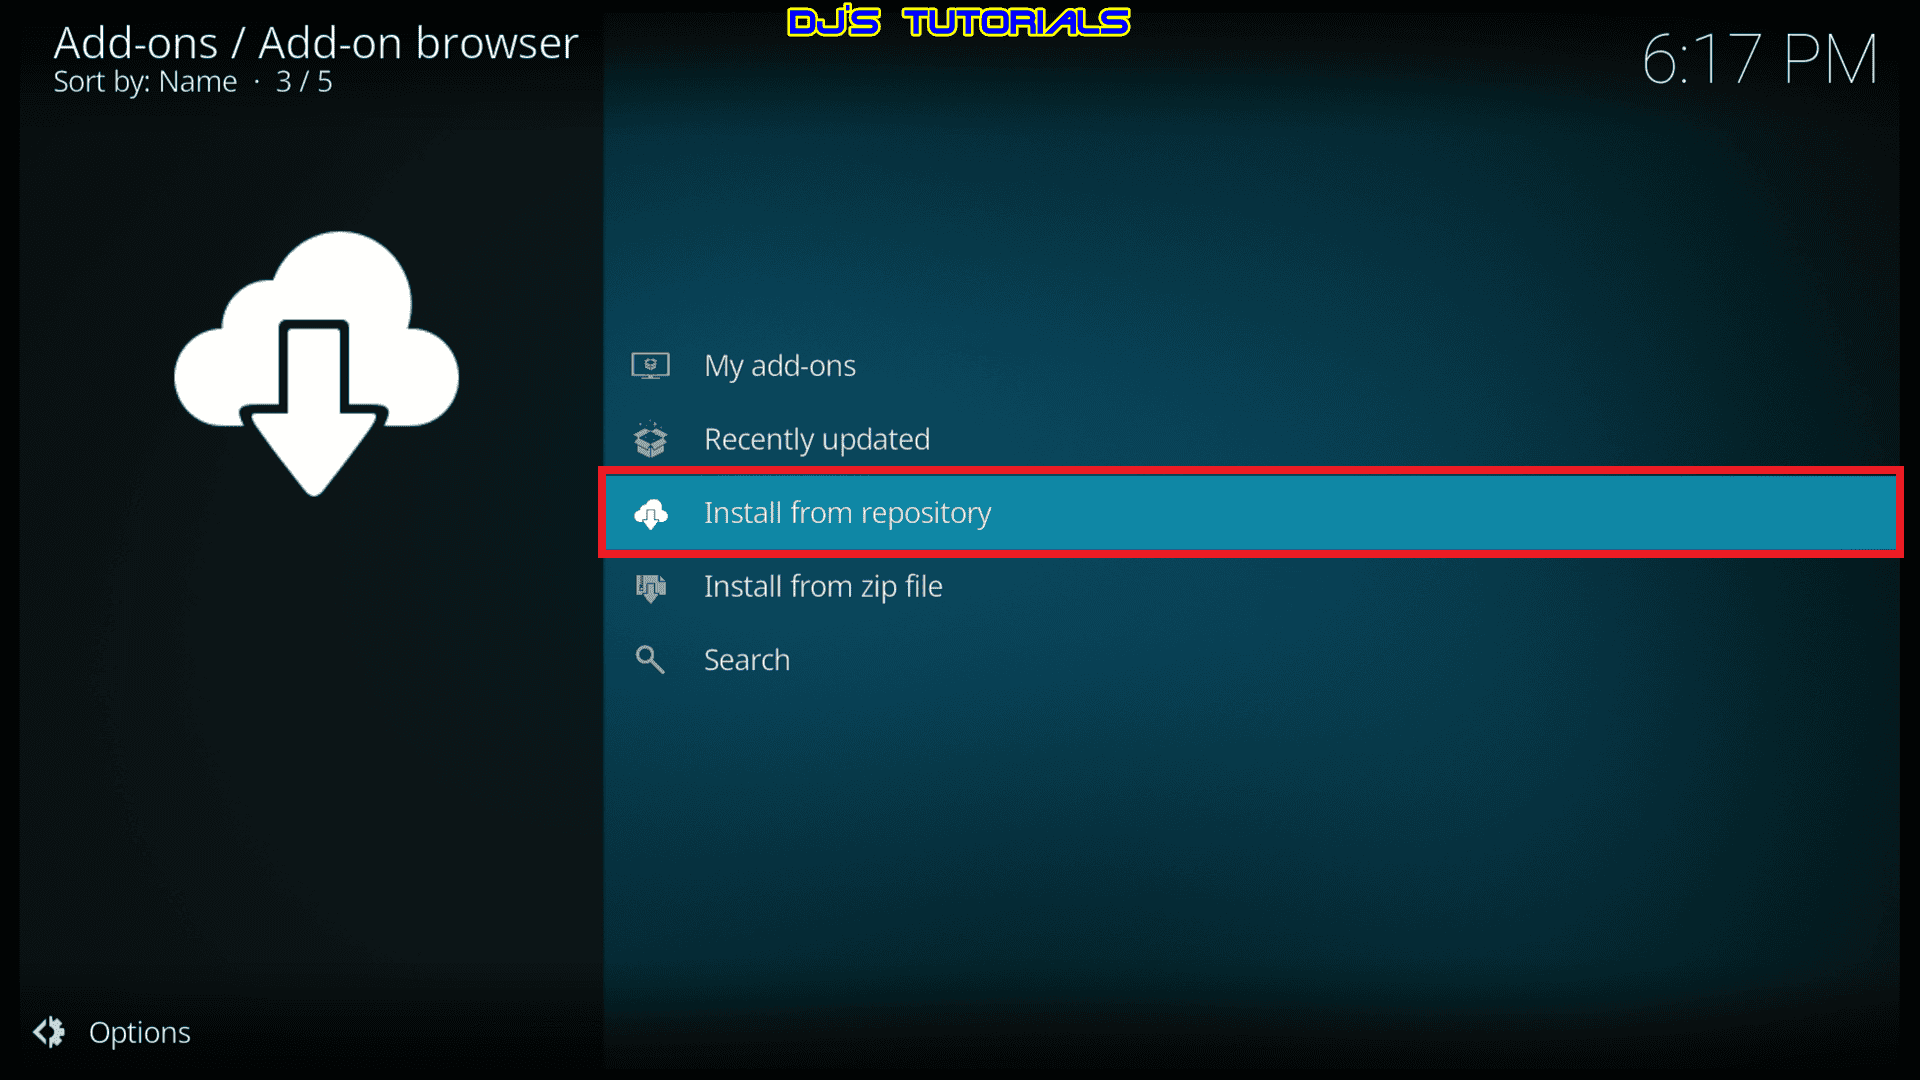
Select Install From Repository
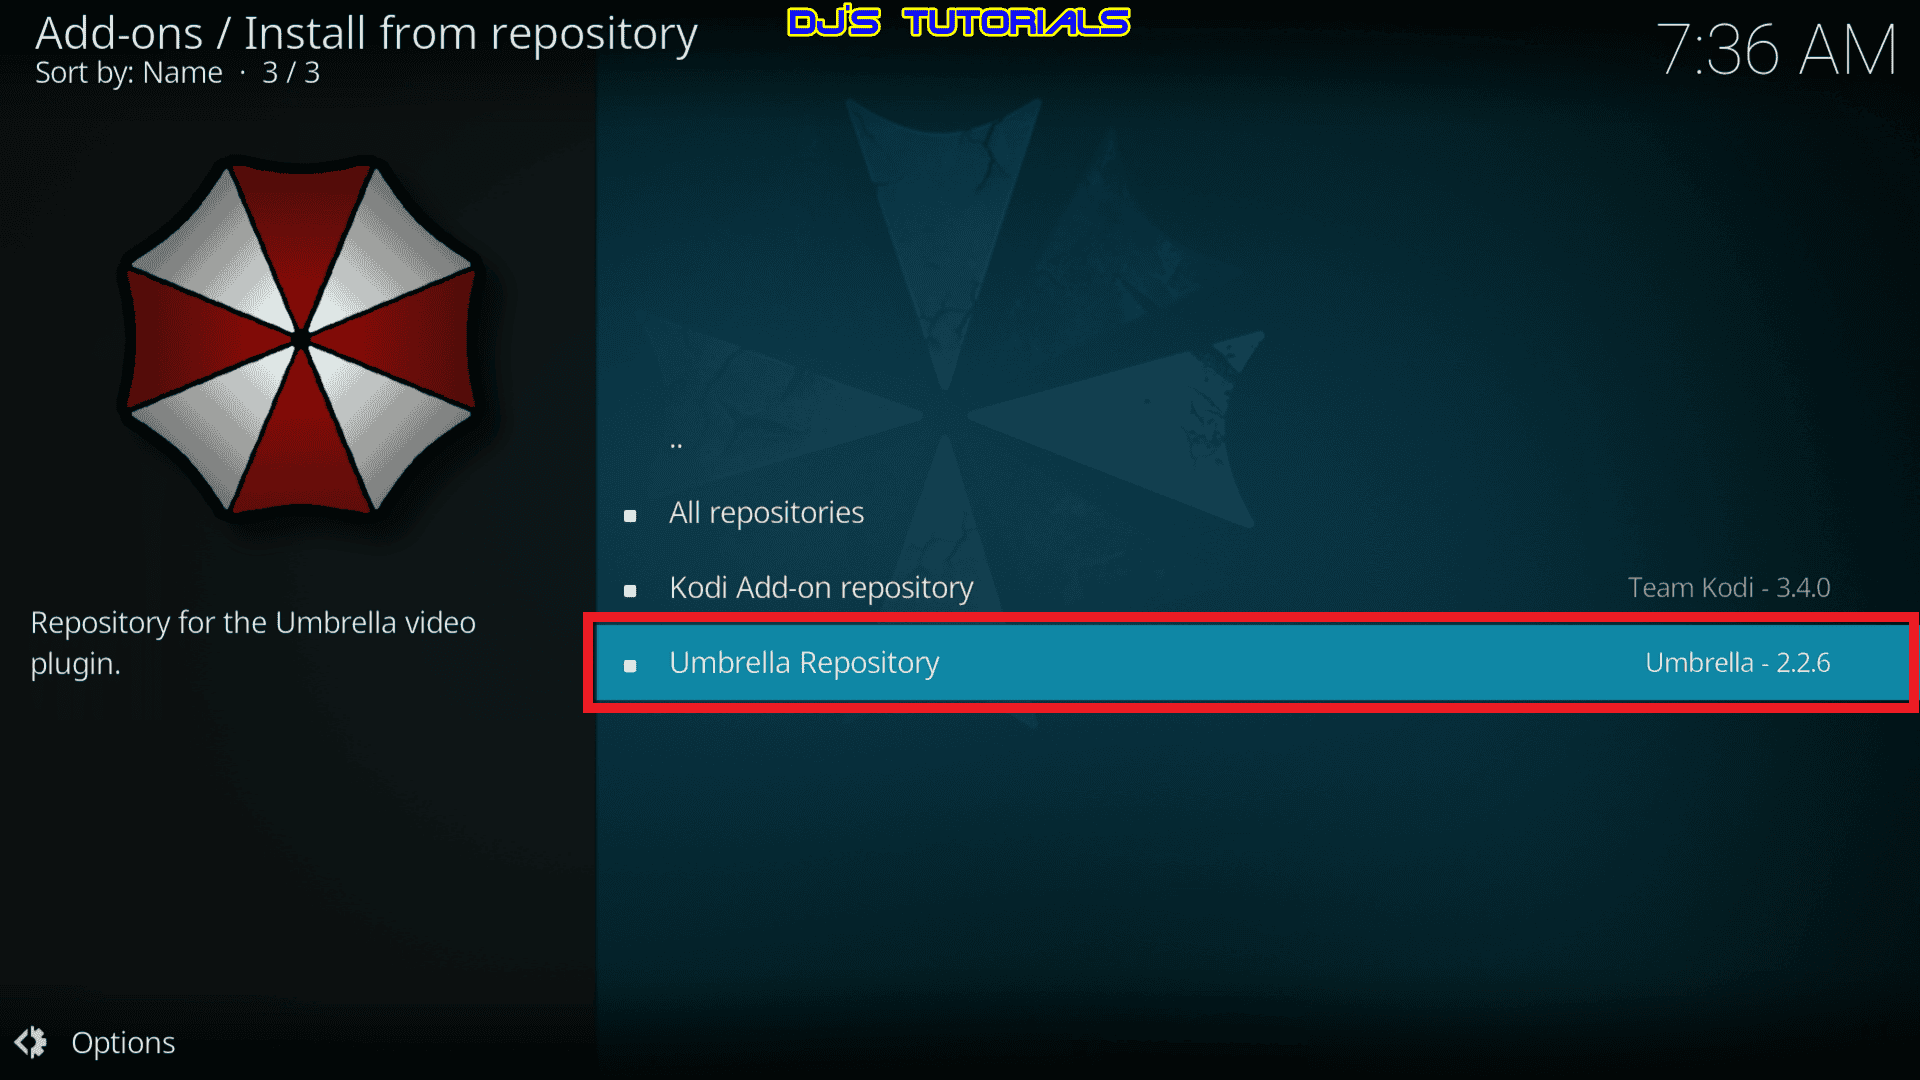
Select the Umbrella Repository
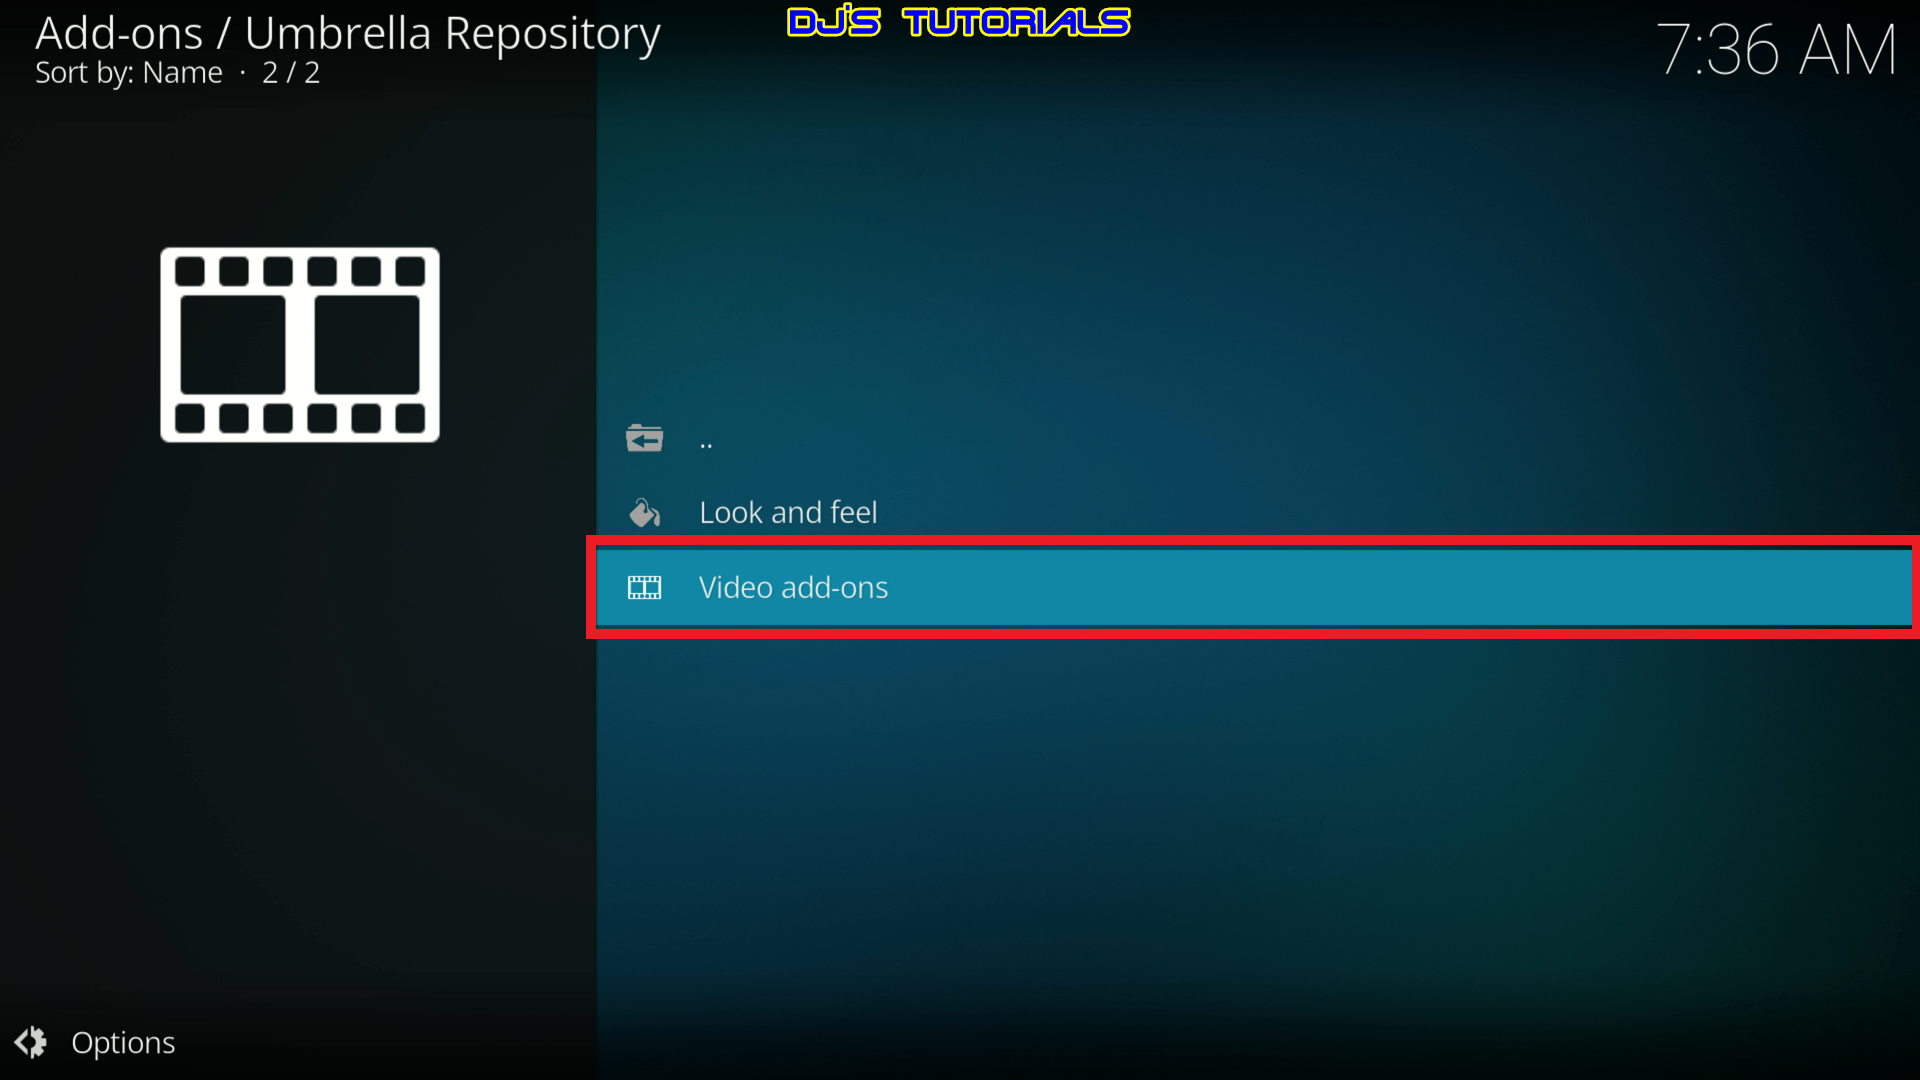
Select Video Add-ons
Select Fen or Fen Lite.
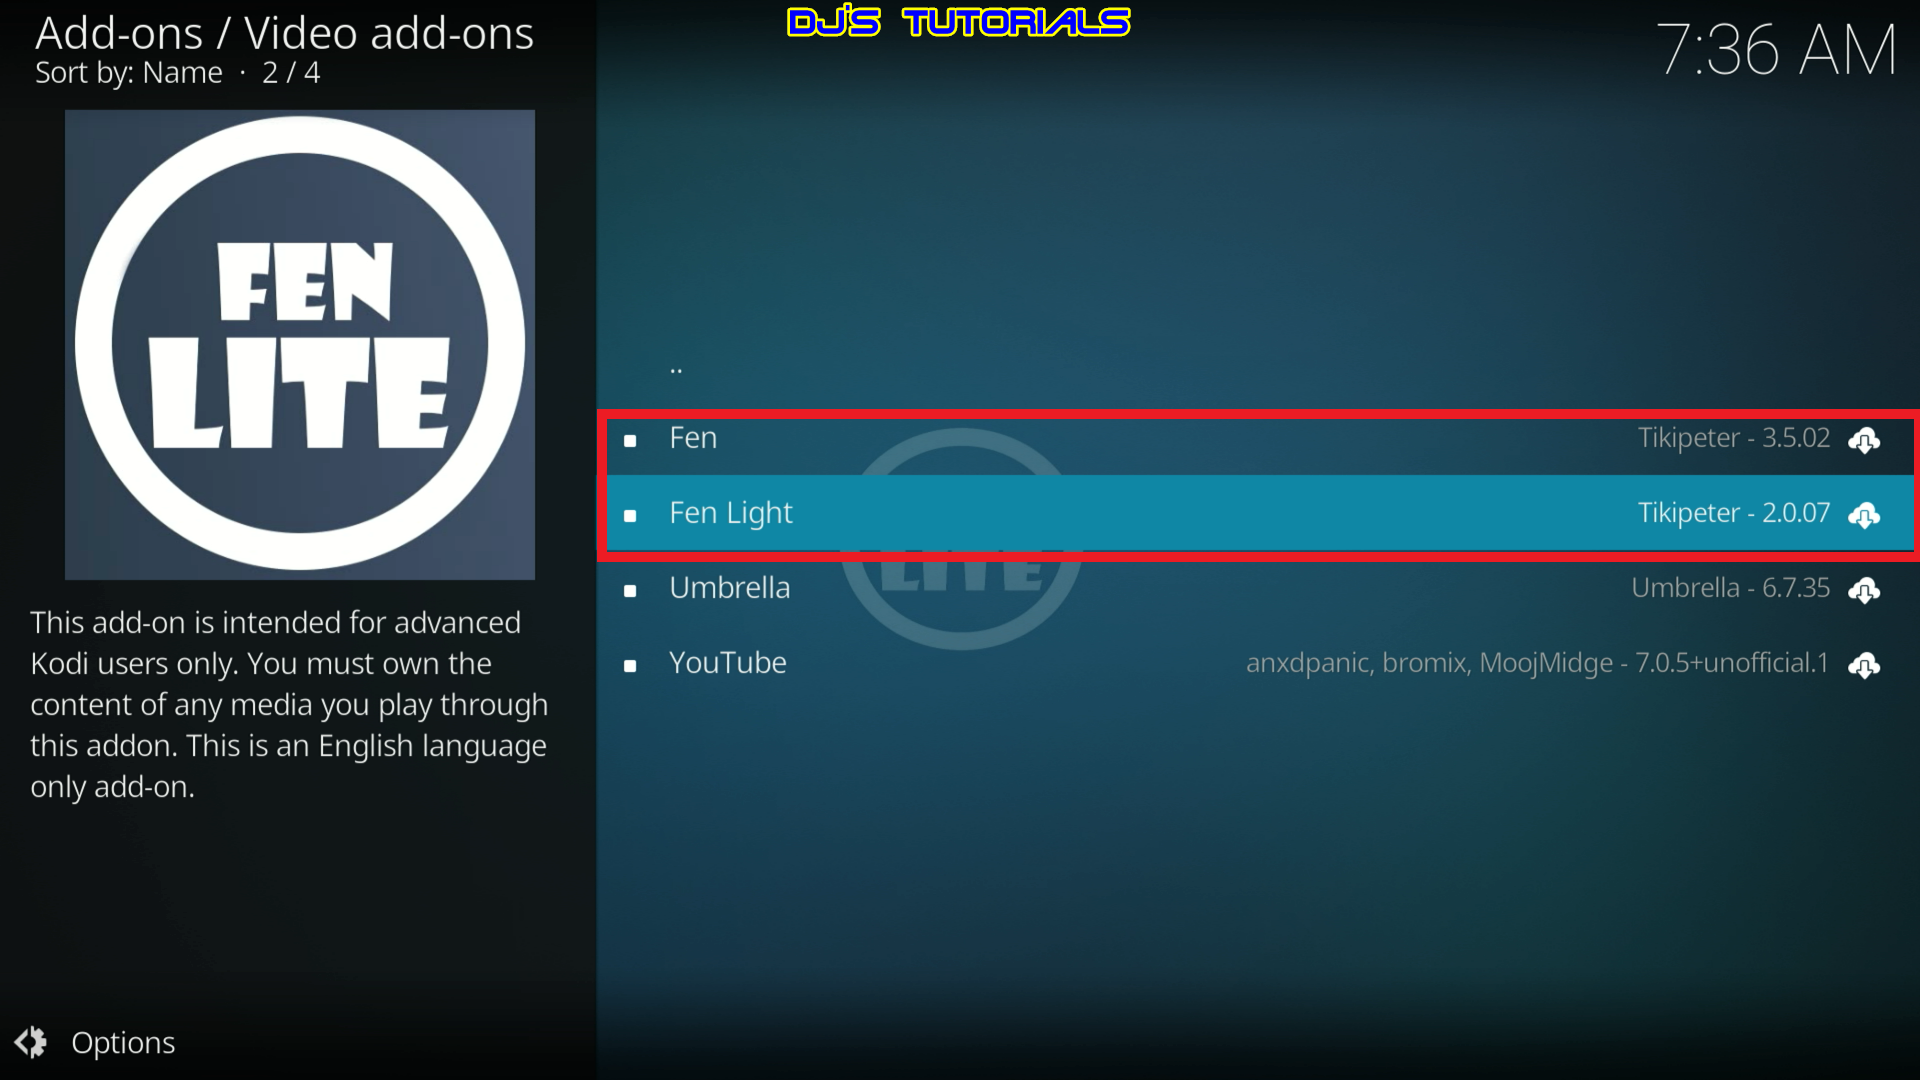
Click on Install.
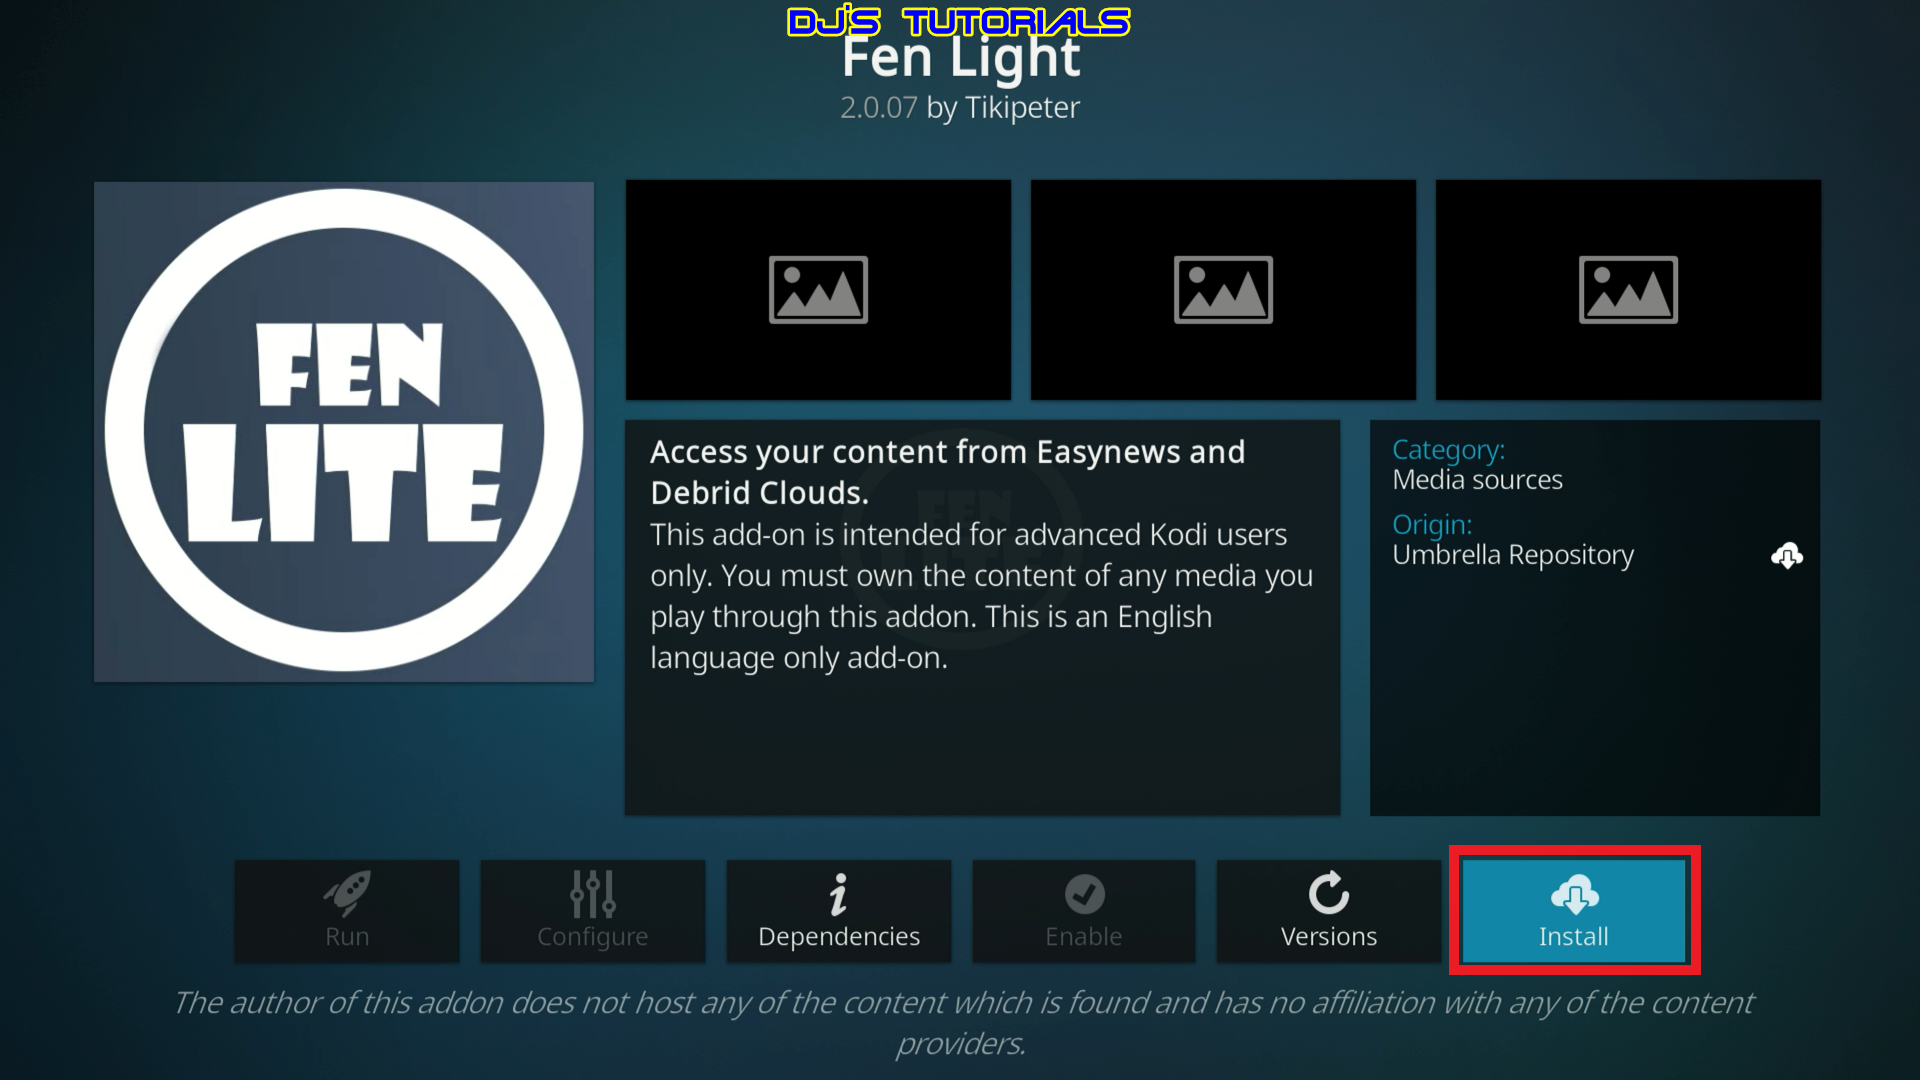
When installed, you will see the confirmation message on the top right corner.
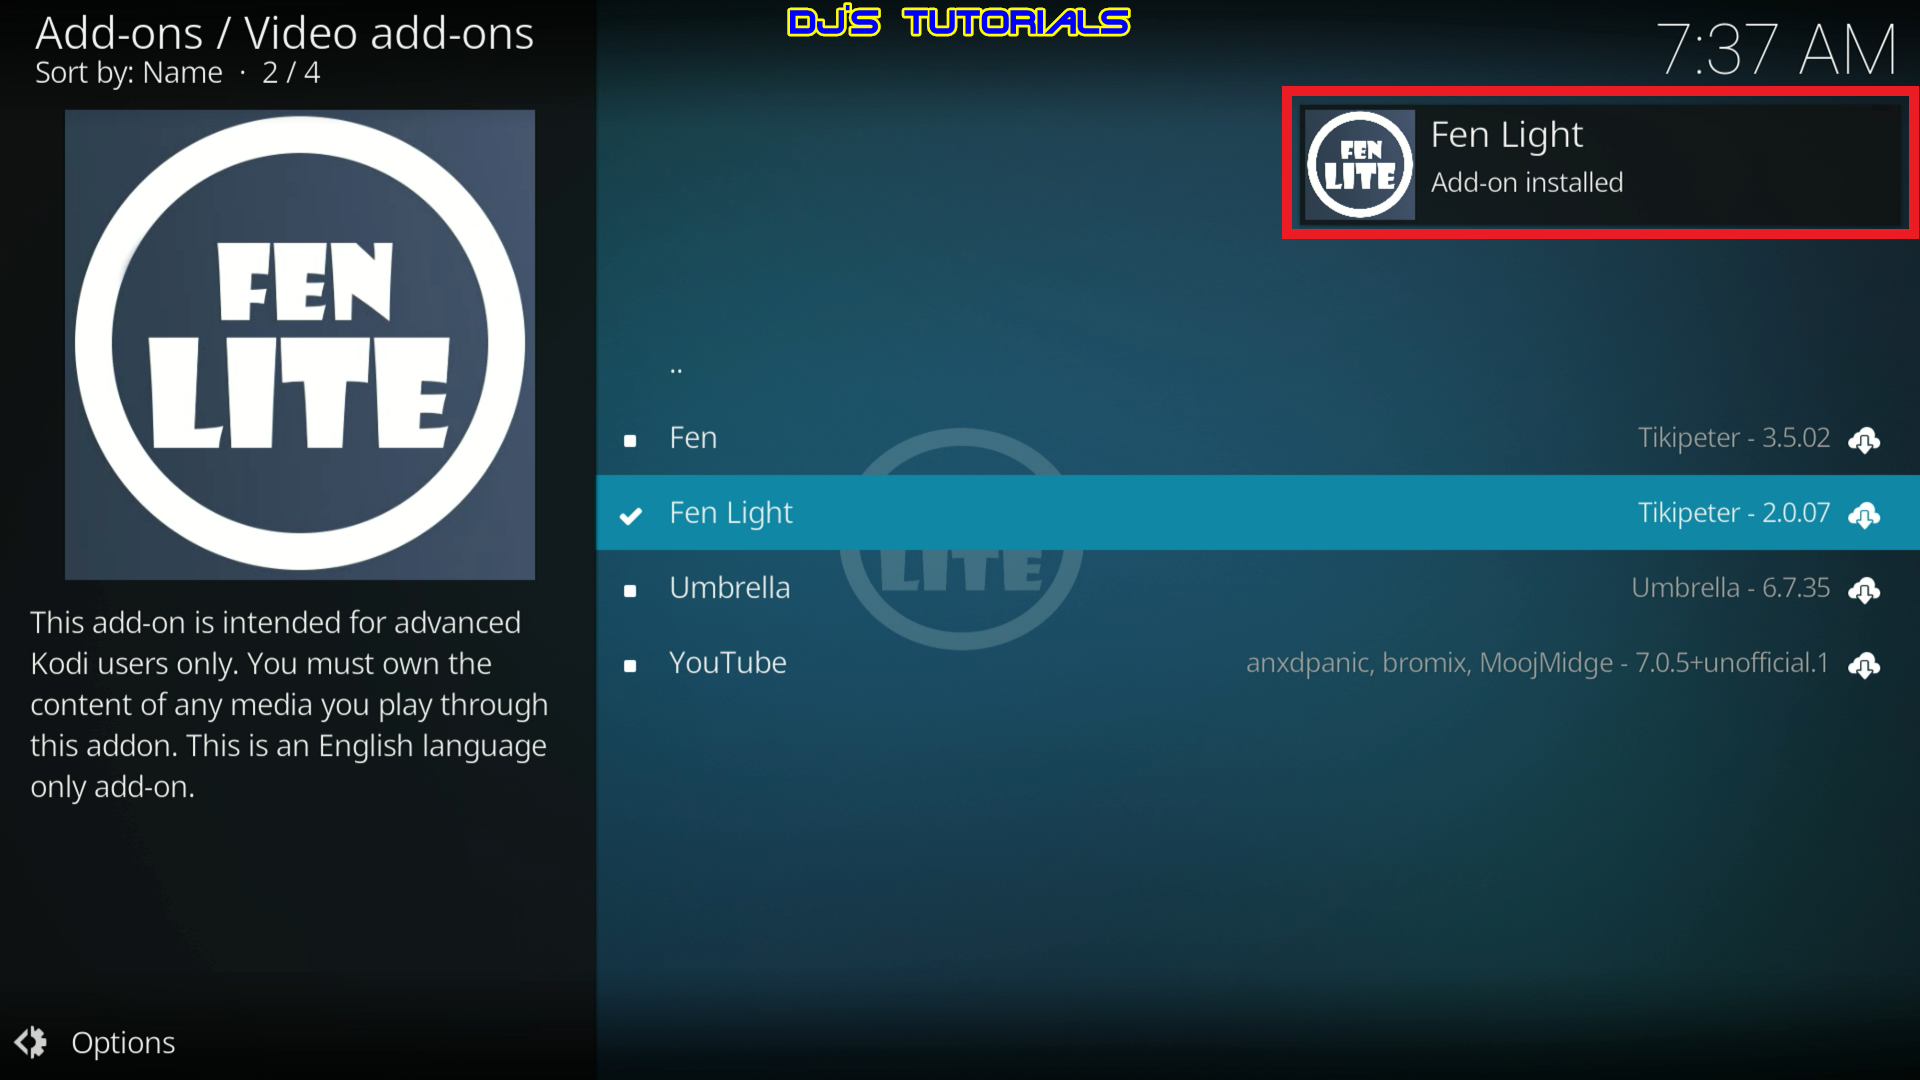
You now completed the installation of FEN LITE but you are not done yet. FEN and FEN LITE require an external scraper in order to use them.
Follow the step-by-step instructions below to install and enable CocoScrapers and Real-Debrid within FEN LITE so you can get streaming links for Movies and TV Shows.
Install CocoScrapers Module For FEN LITE Kodi Add-on
FEN LITE requires the installation and integration of an external scraper.
Follow this step-by-step guide to install the CocoScrapers module for FEN LITE.
1. Once you finished installing FEN LITE, go back to the Settings page and click on File manager.

2. Click on Add source.
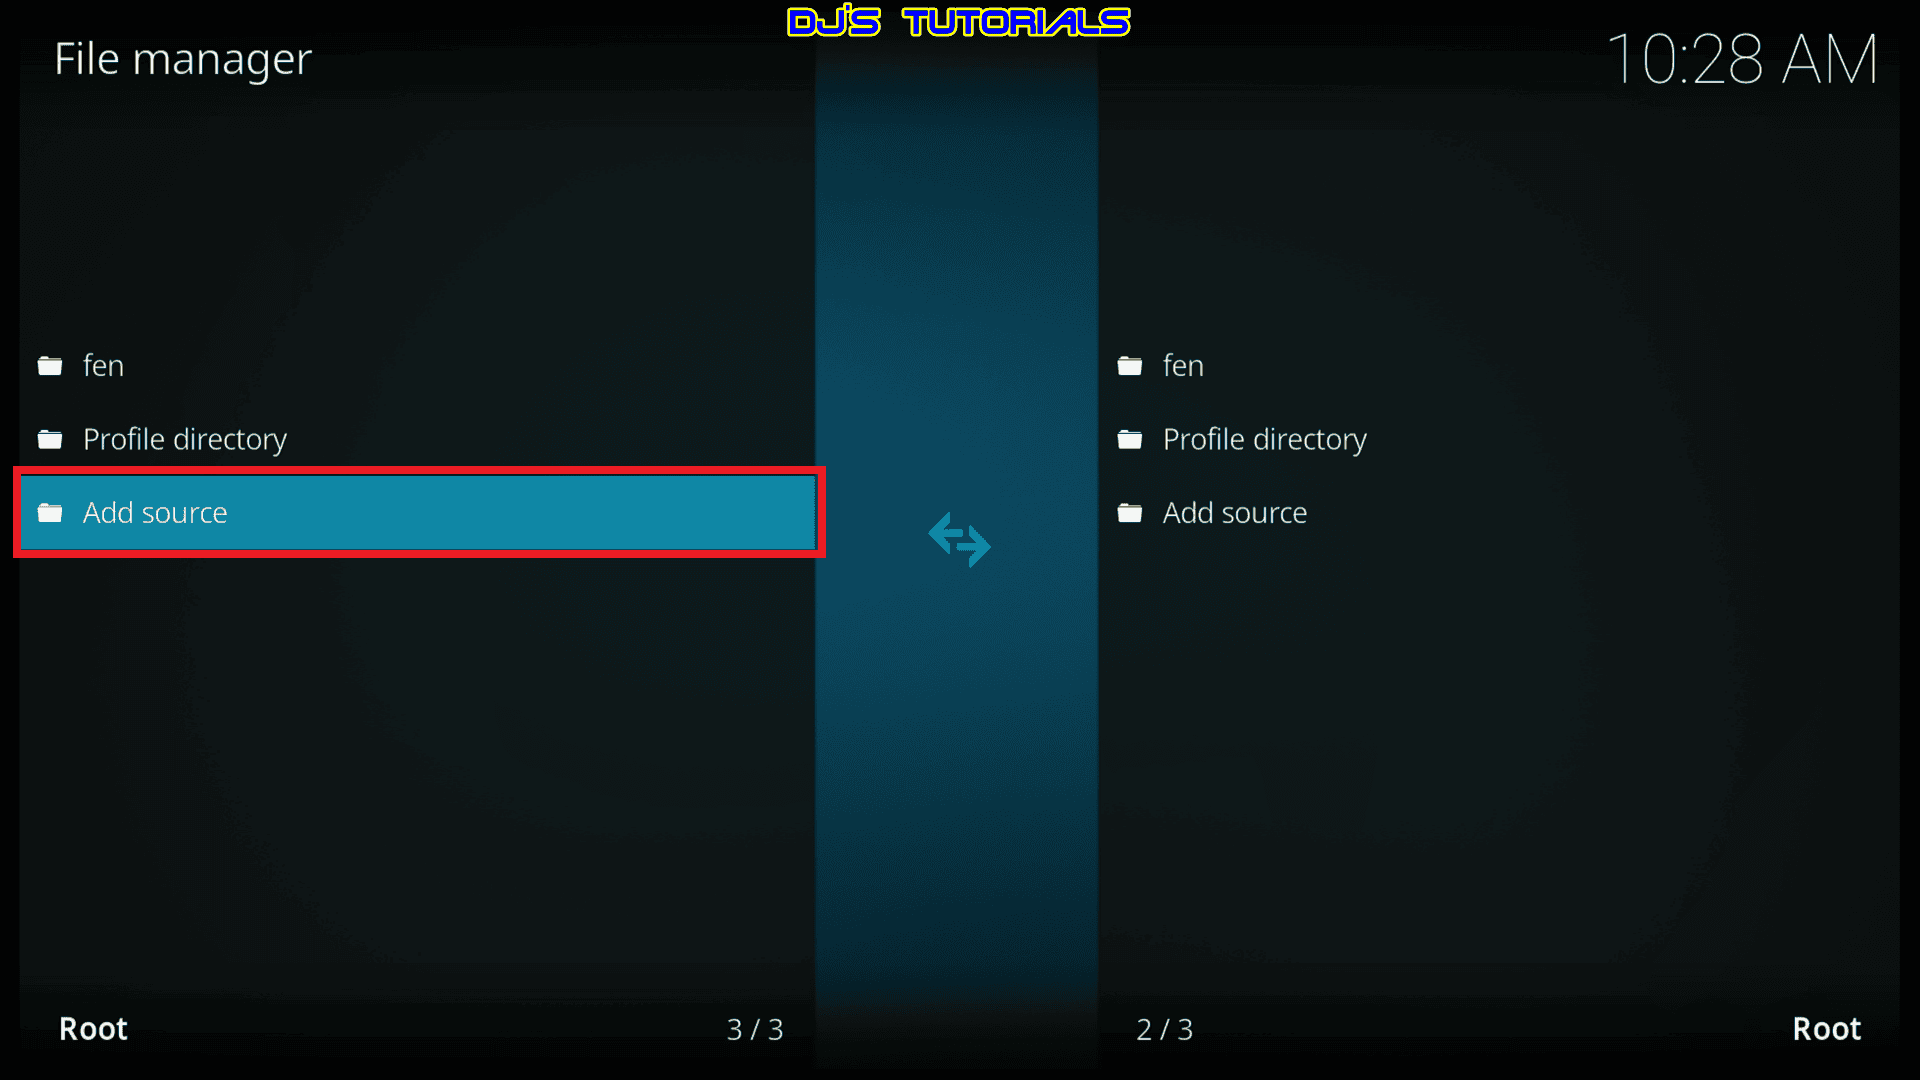
3. Click on None.
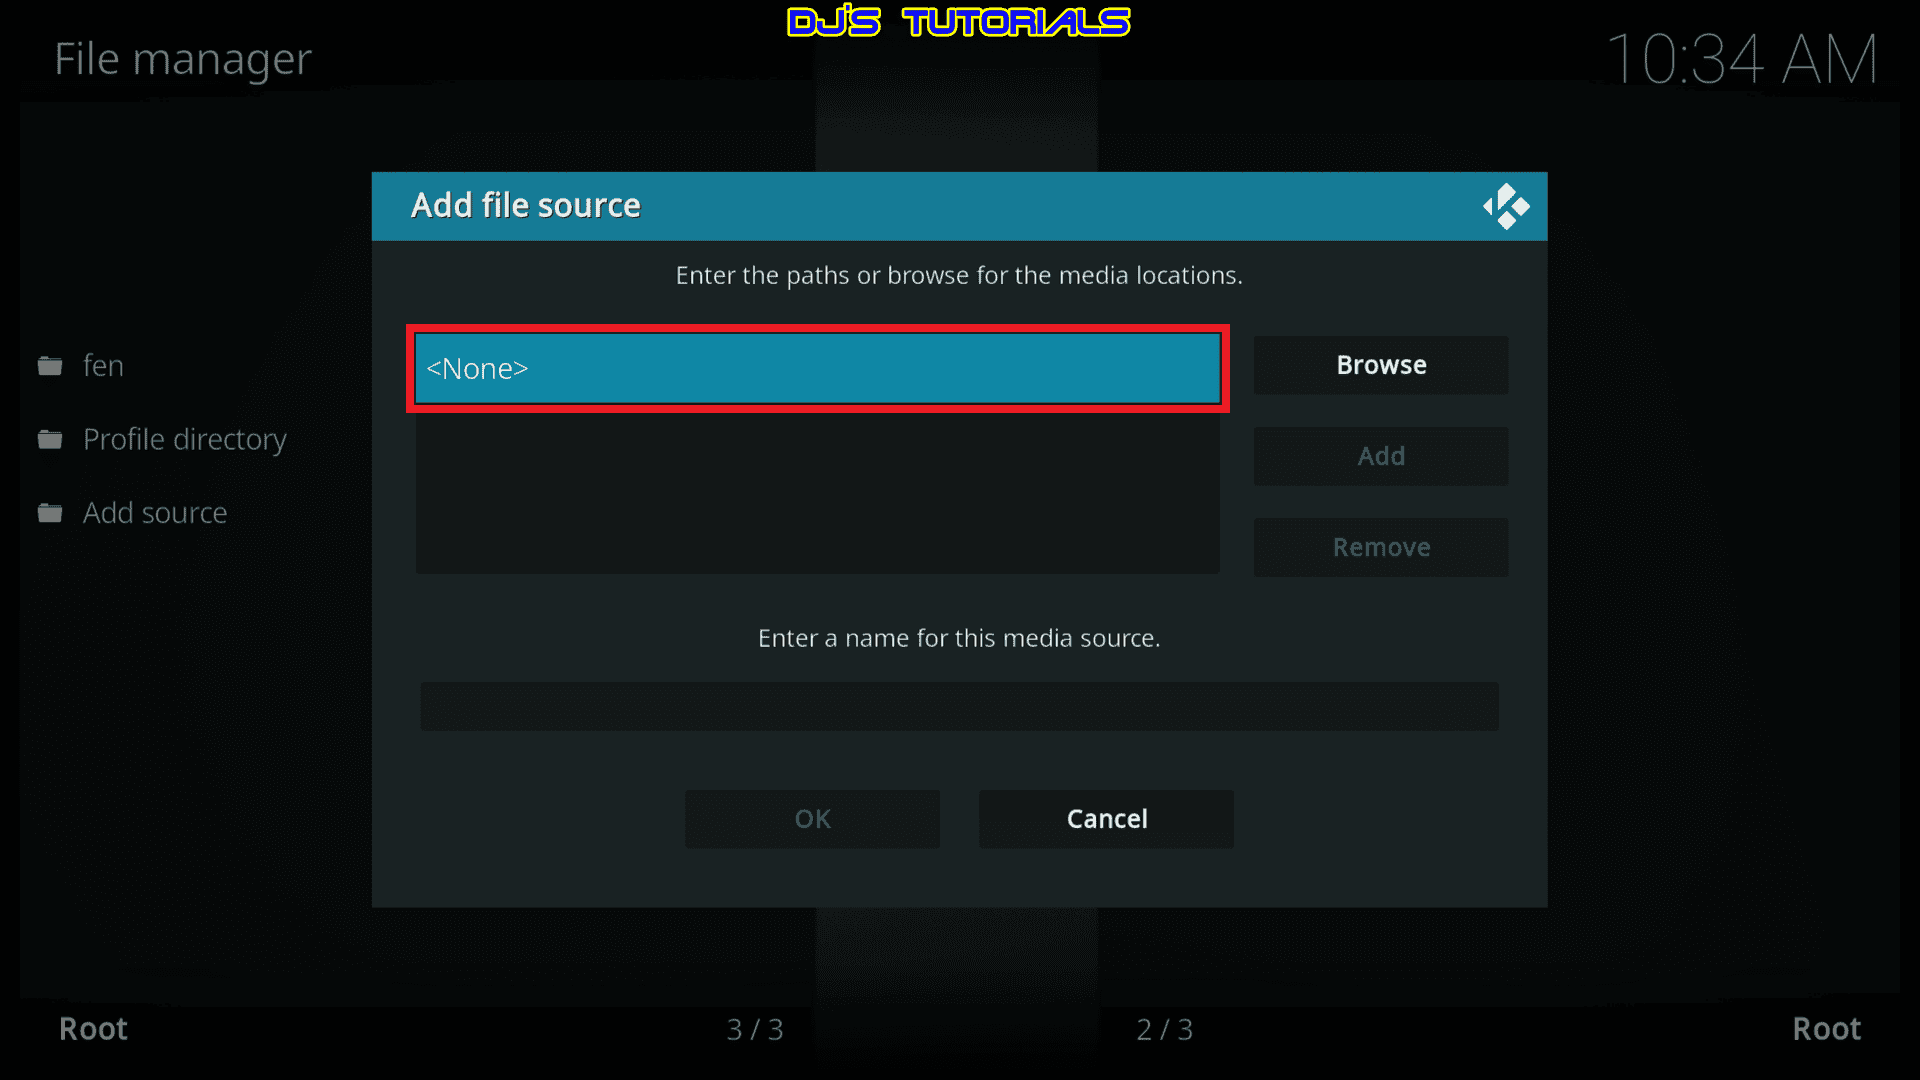
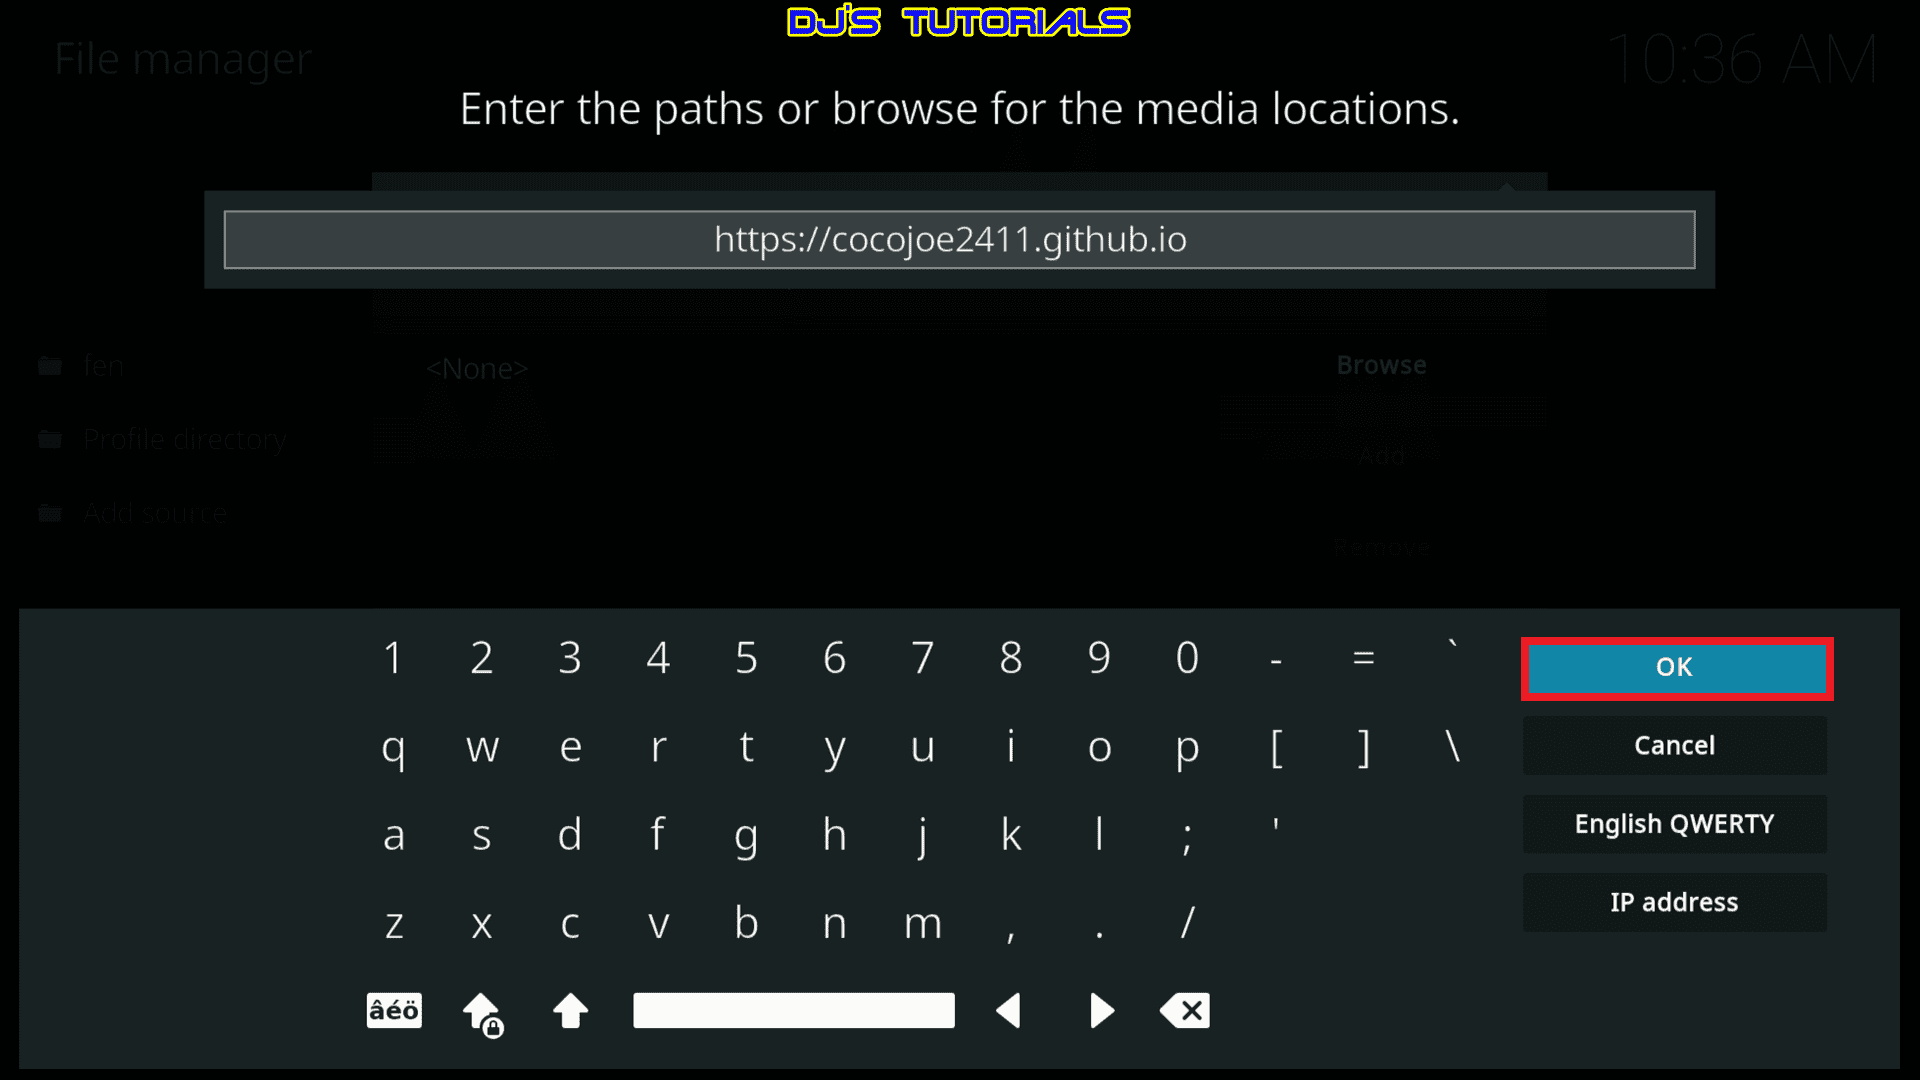
4. Enter the following URL exactly as it is shown here – https://cocojoe2411.github.io/ and then click on OK.
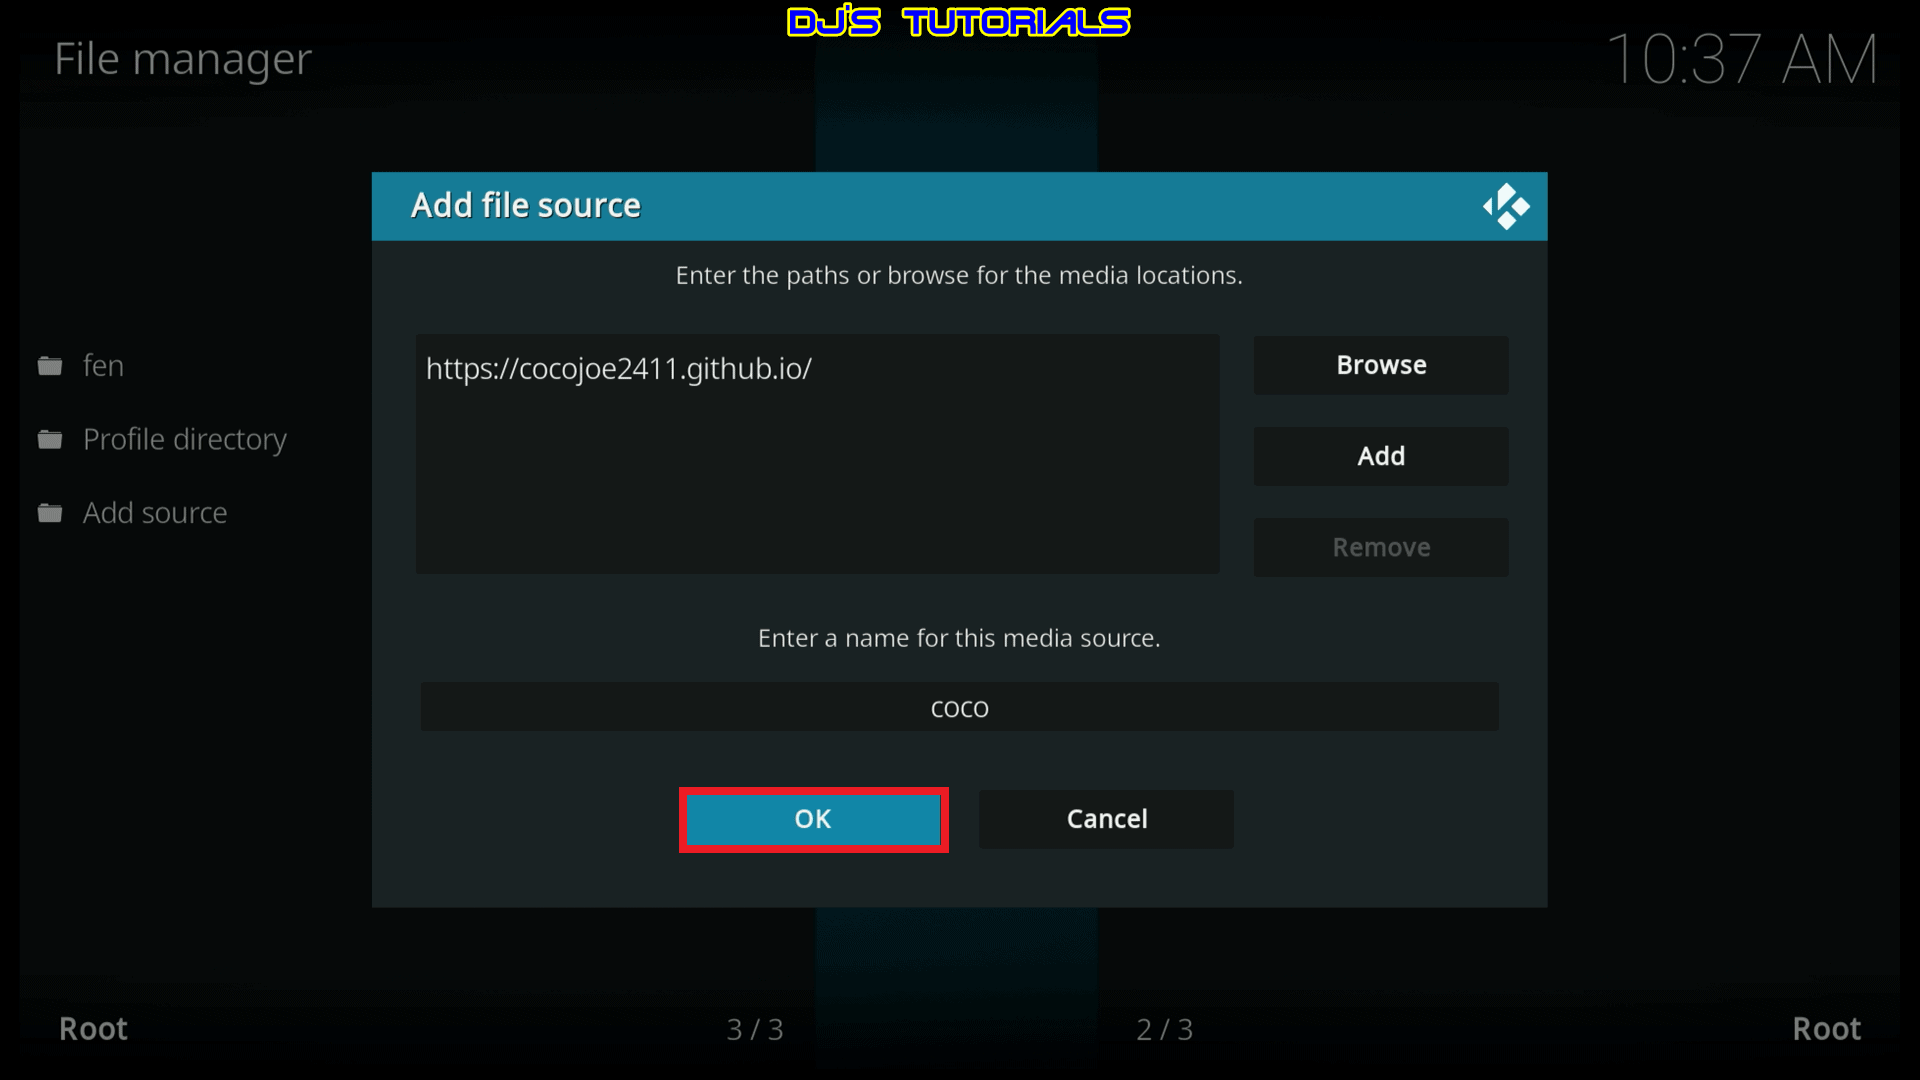
5. Type coco or any other name you like for the media source and click on OK.
6. Press back on your remote to return to the Settings page and click on Add-ons.

7. Click on Install from zip file.

8. Select coco or whatever you named the media source in previous step.
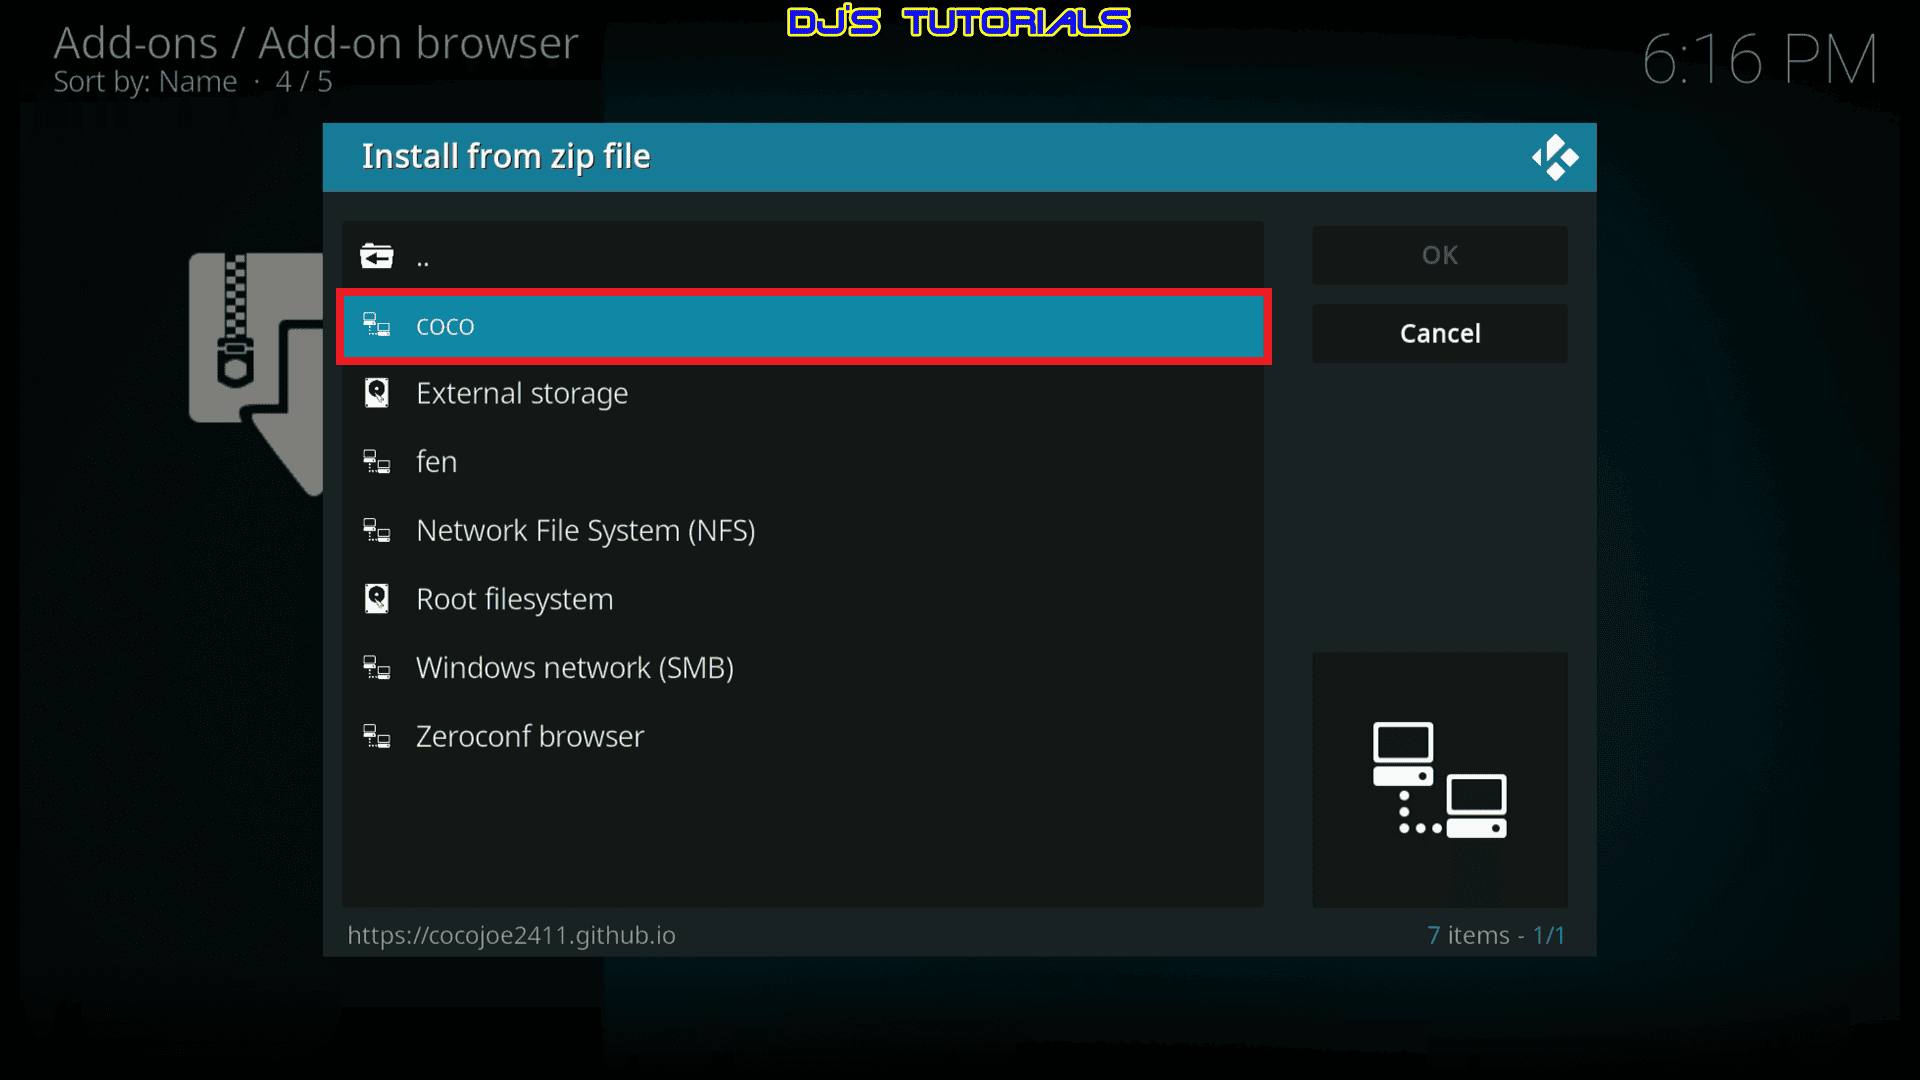
9. Click on repository.cocoscrapers.zip.
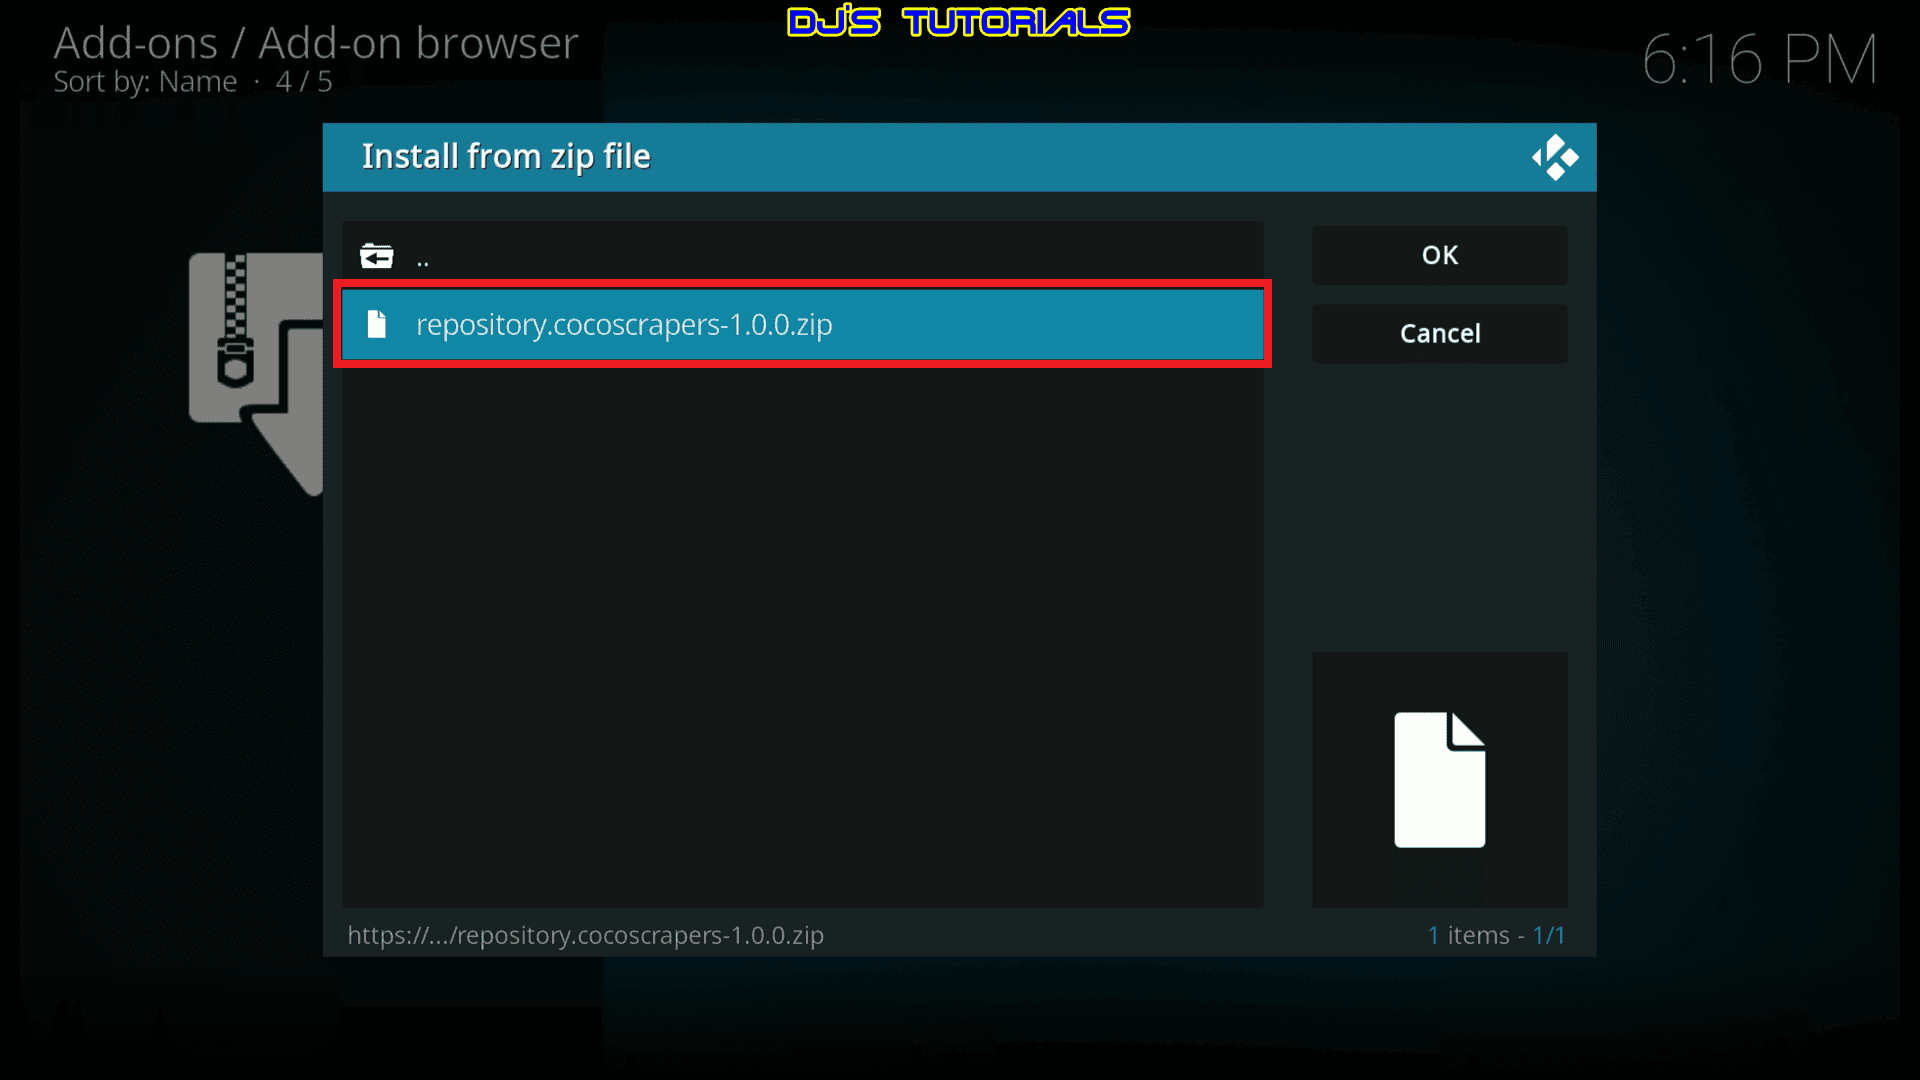
10. Wait for the CocoScrapers Repository Add-on installed message to appear at the top right corner of your screen.
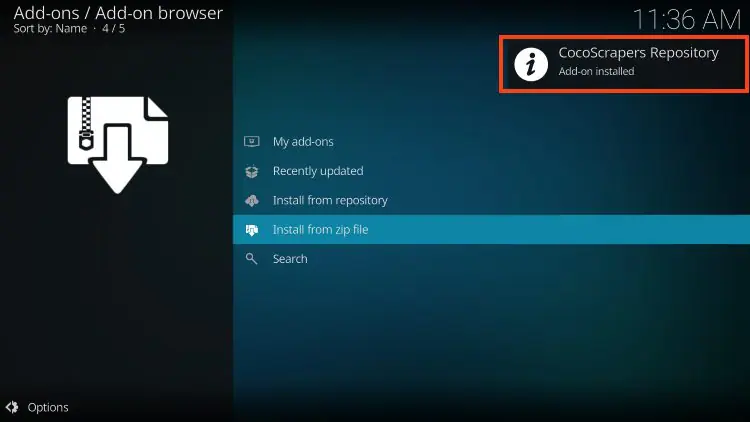
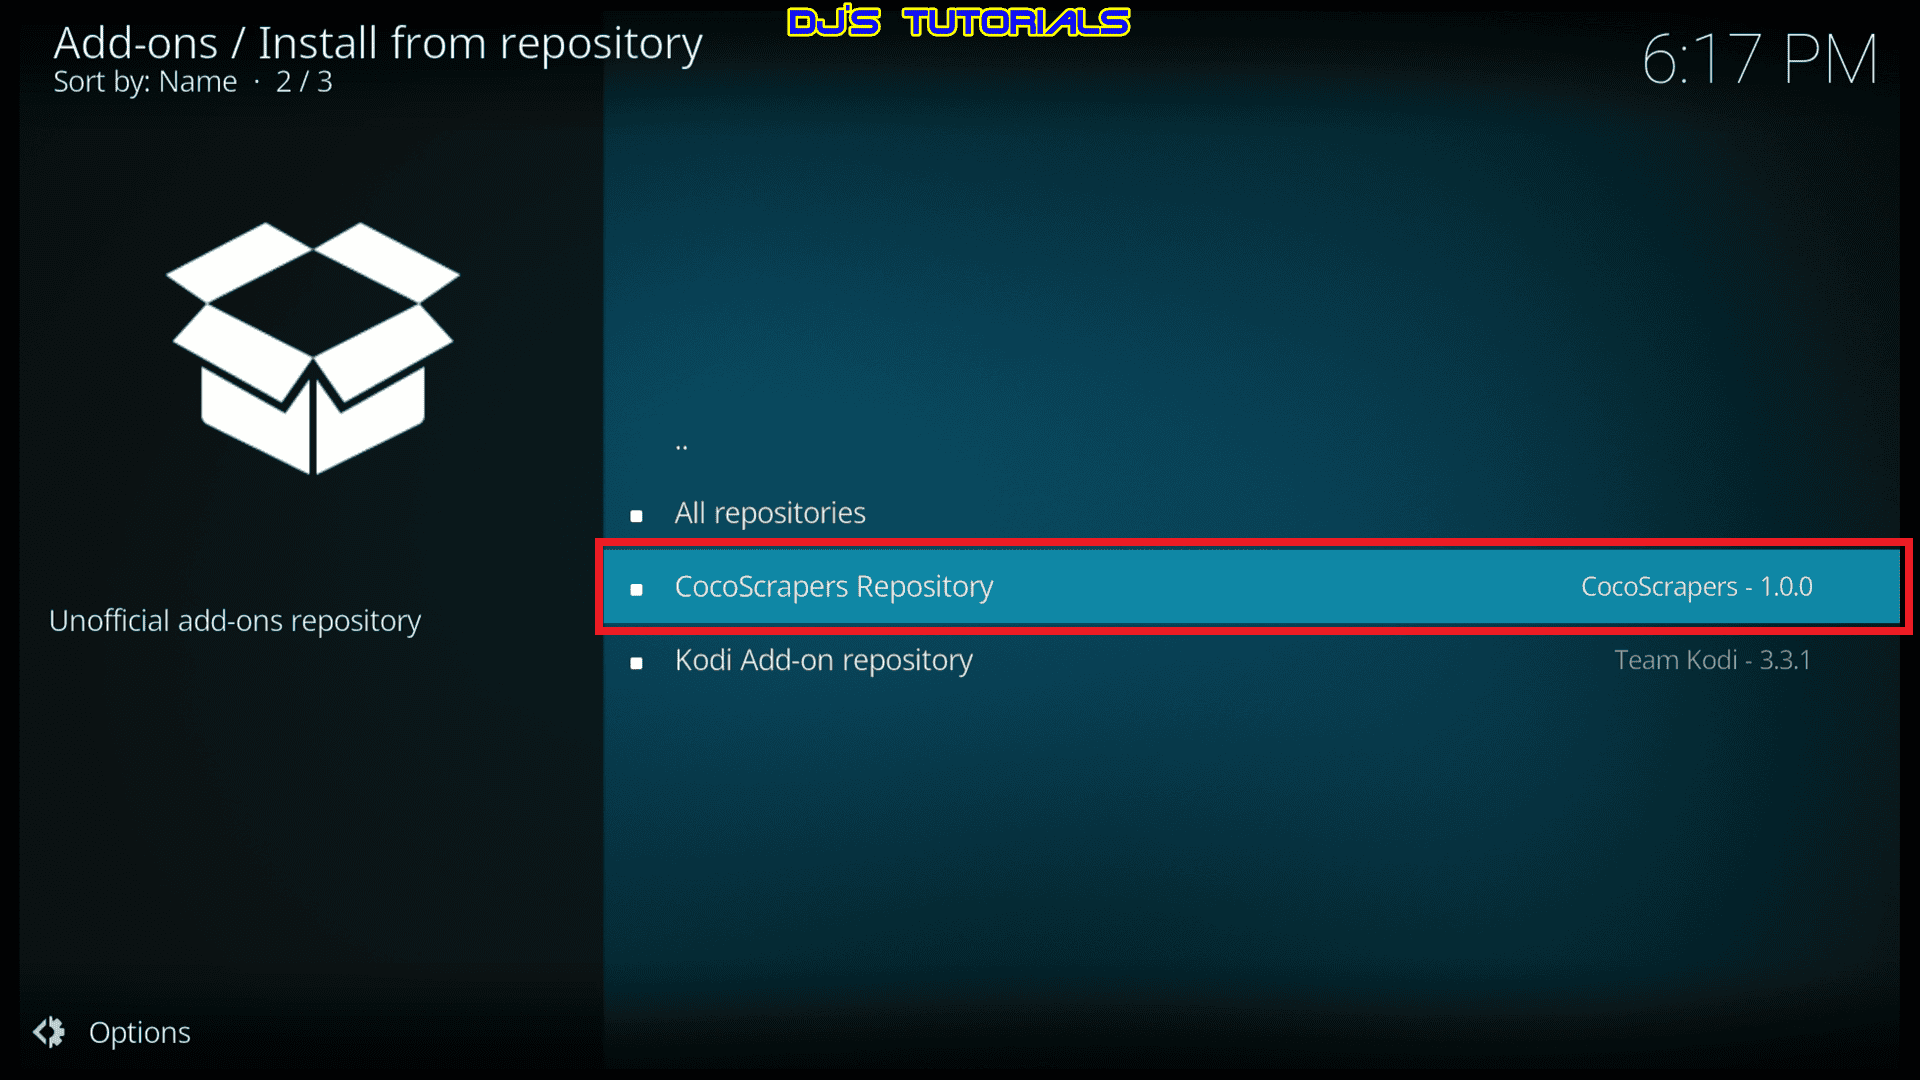
11. Click on install from repository.

12. Click on CocoScrapers Repository.
13. Click on Program Add-ons.
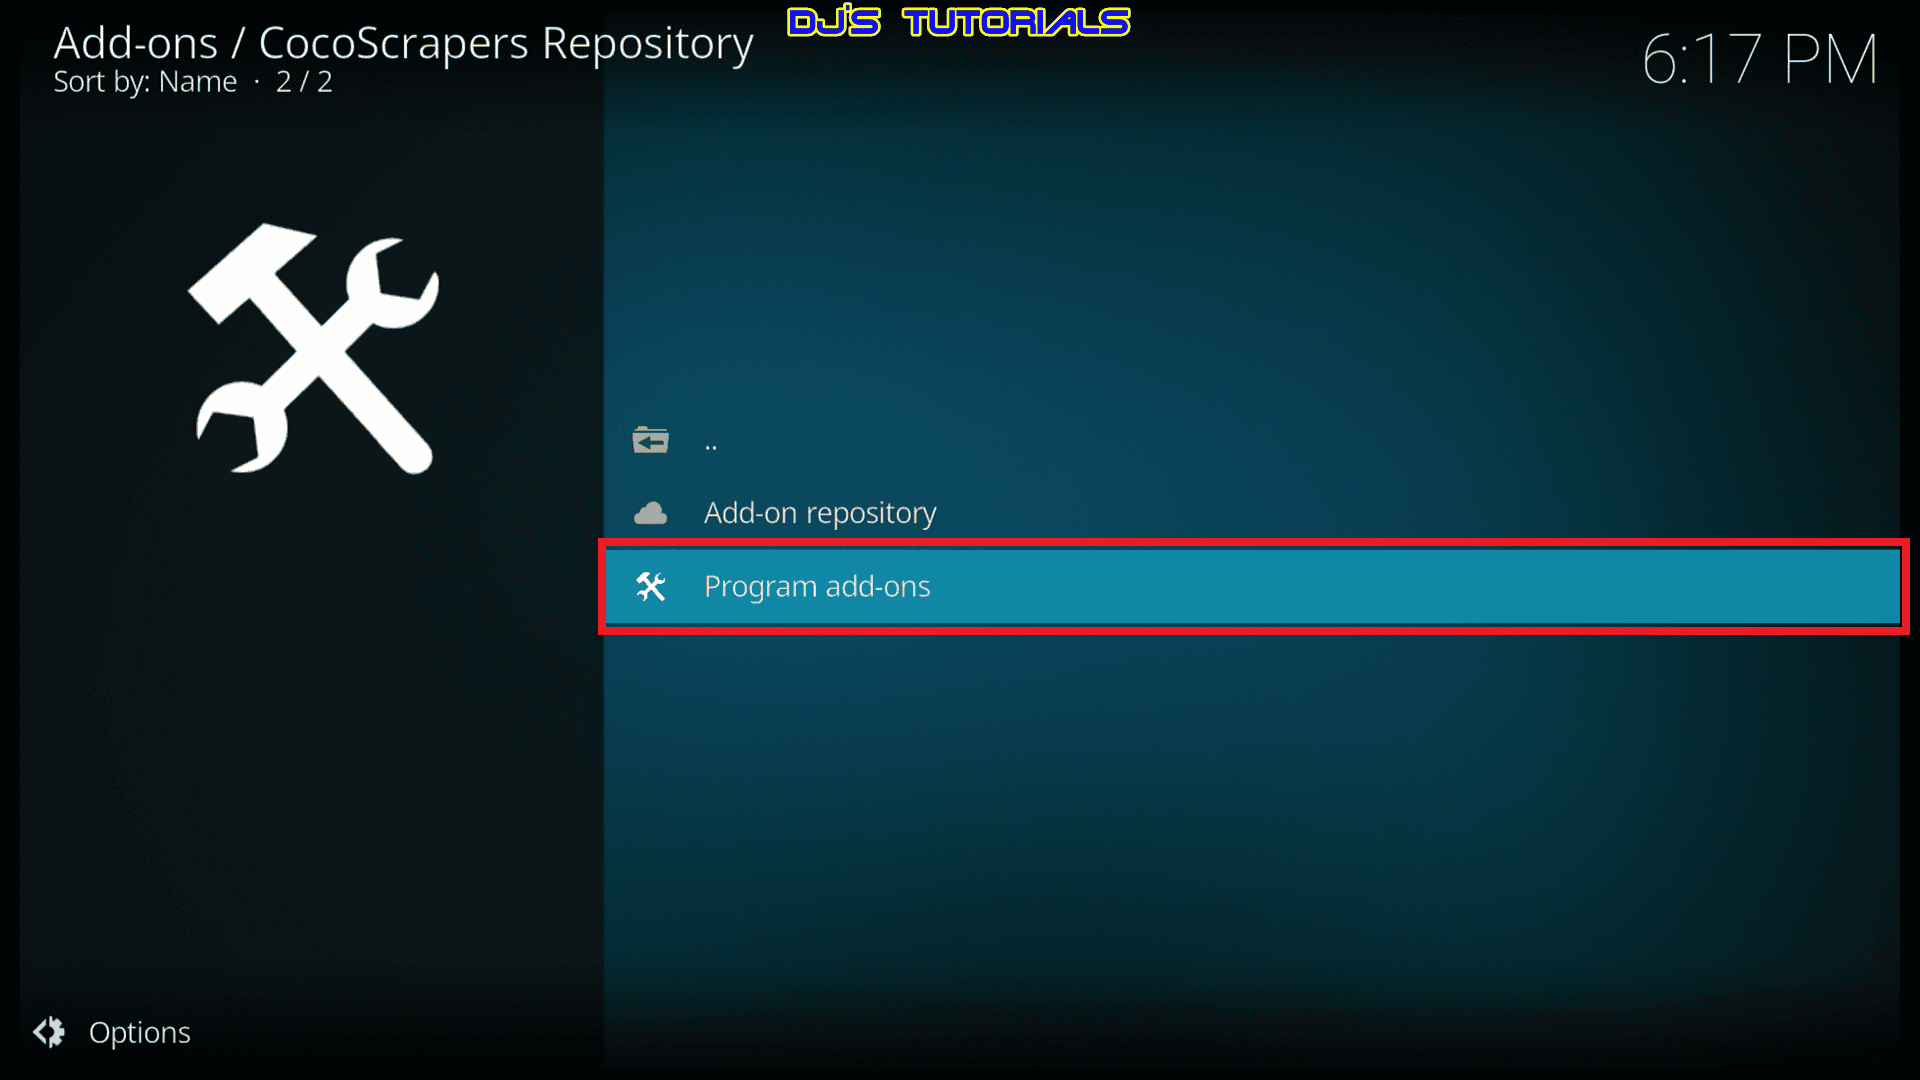
14. Click on CocoScrapers Module.
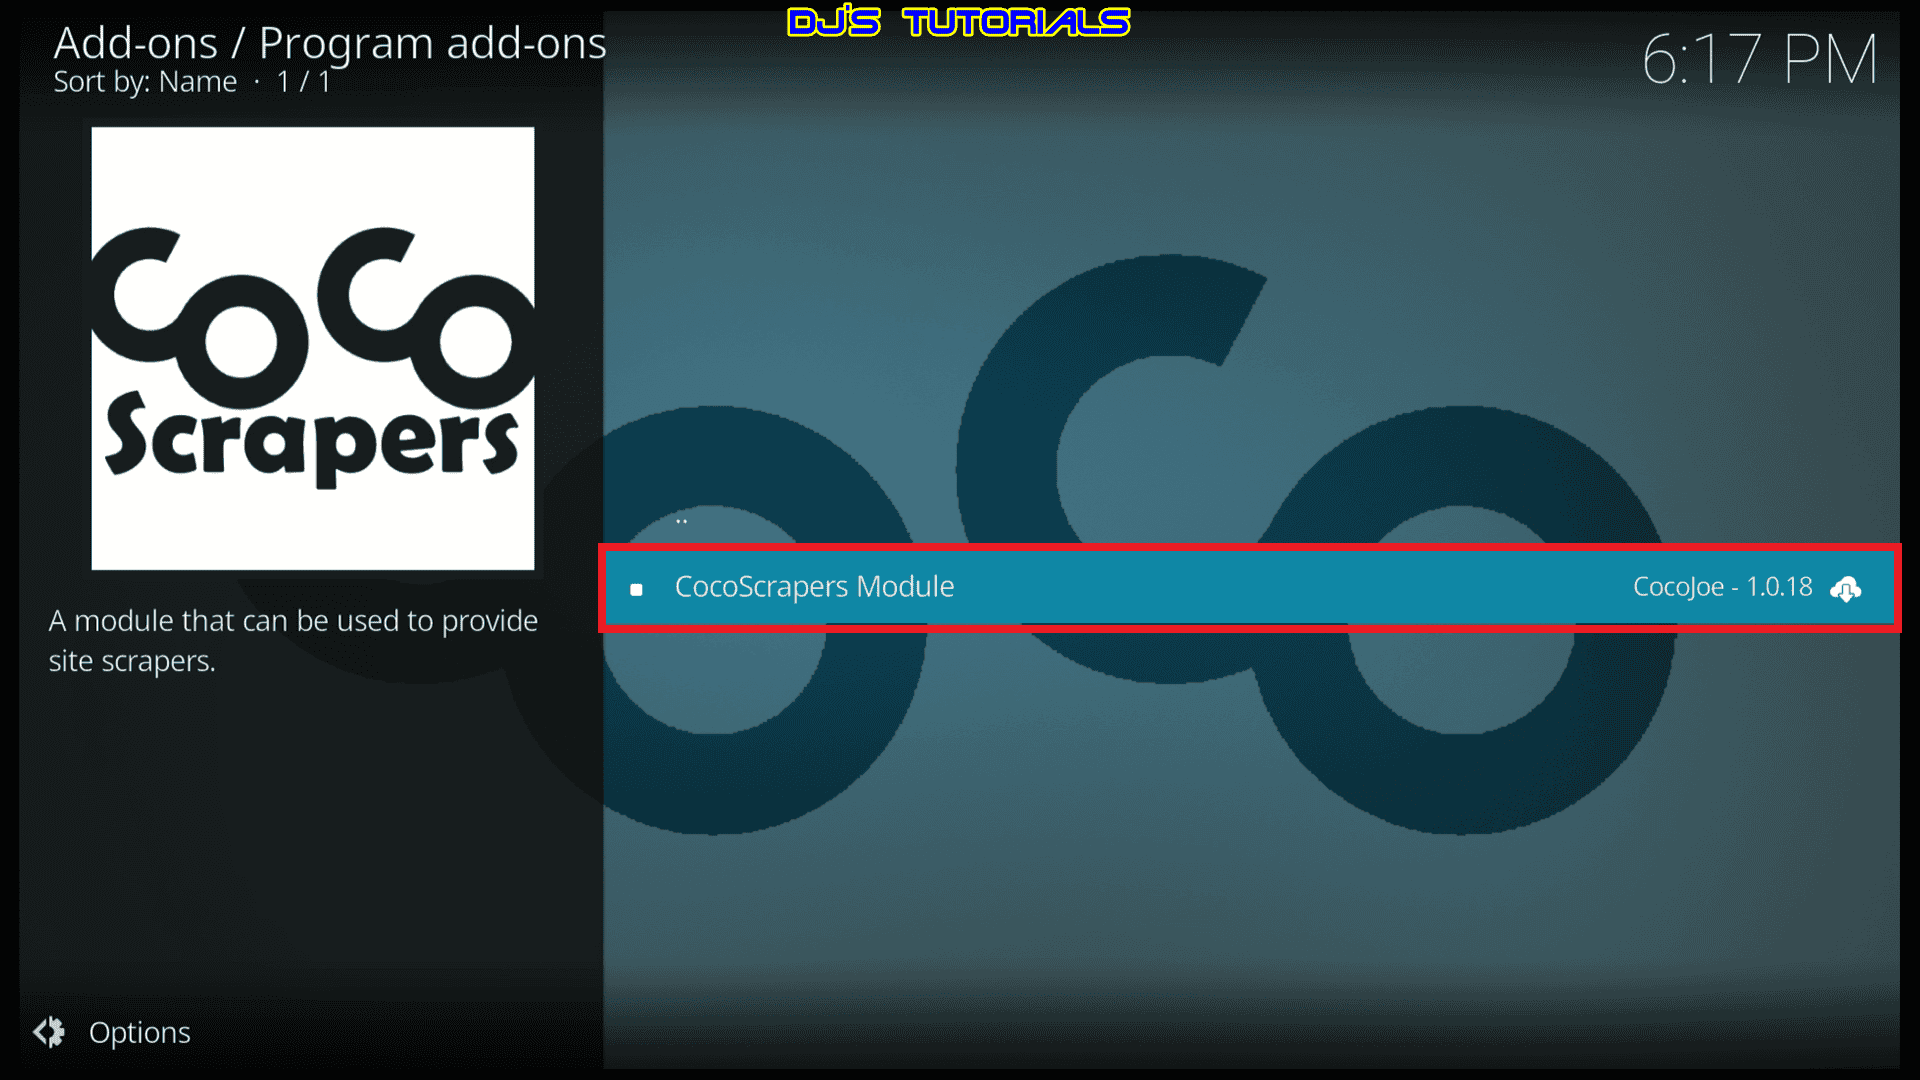
15. Click on Install.
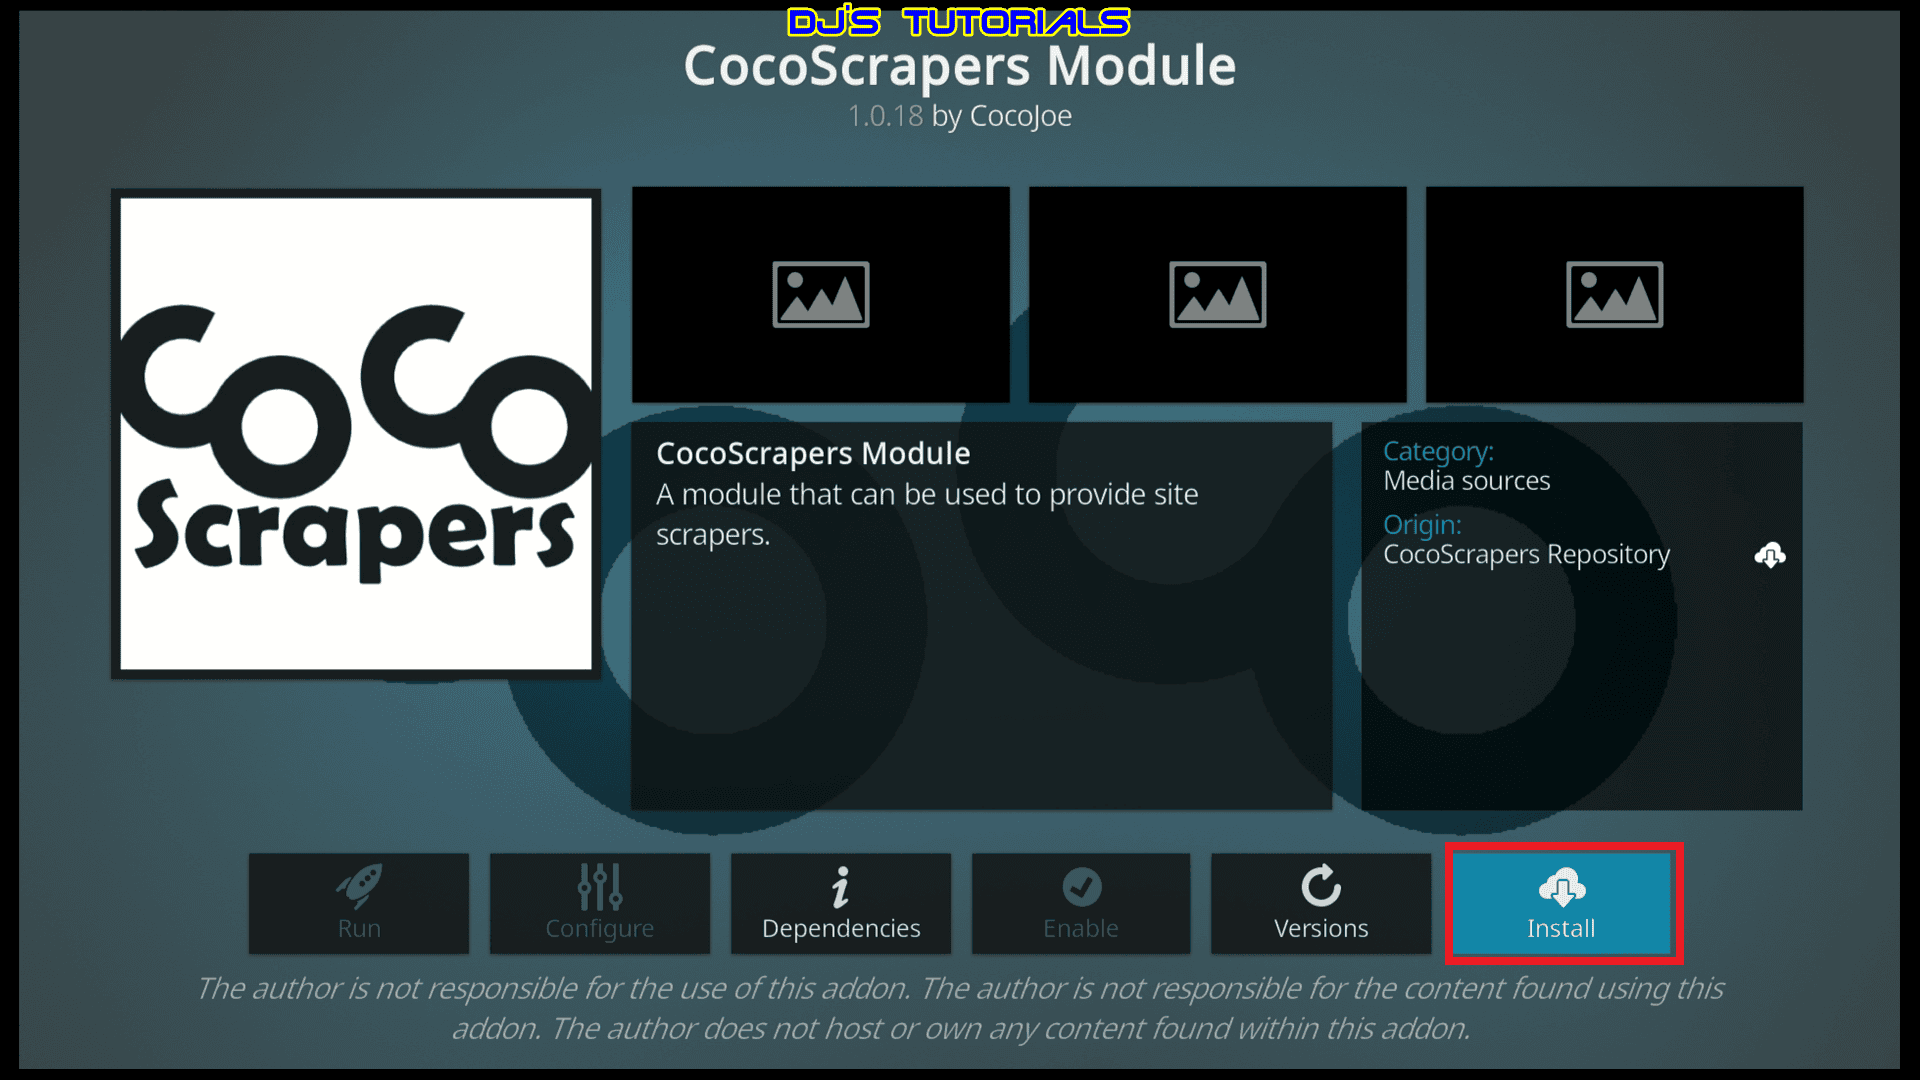
16. You will see the CocoScrapers Module Add-on installed message.
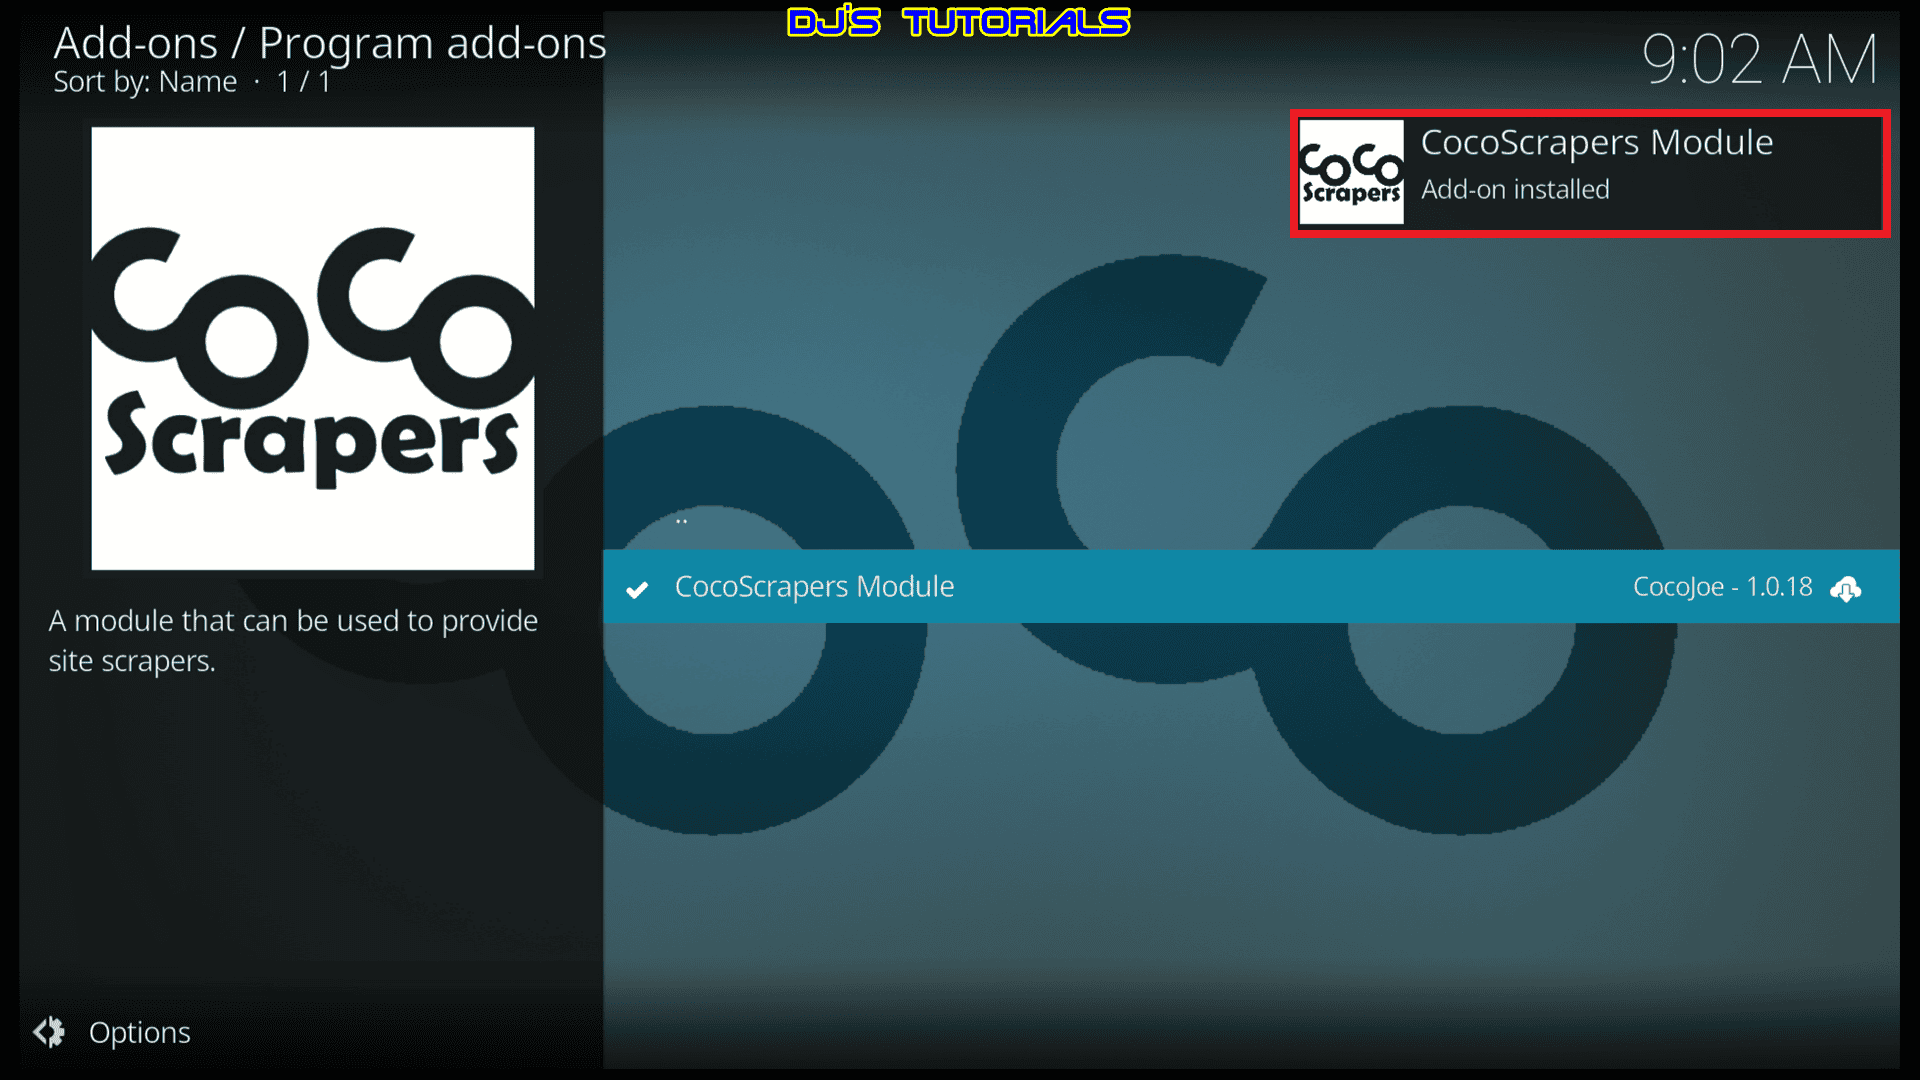
CocoScrapers has now been installed.
You now need to enable CocoScrapers withing FEN.
Set Up CocoScrapers within Fen Kodi Addon
1. Launch Umbrella from the home screen.
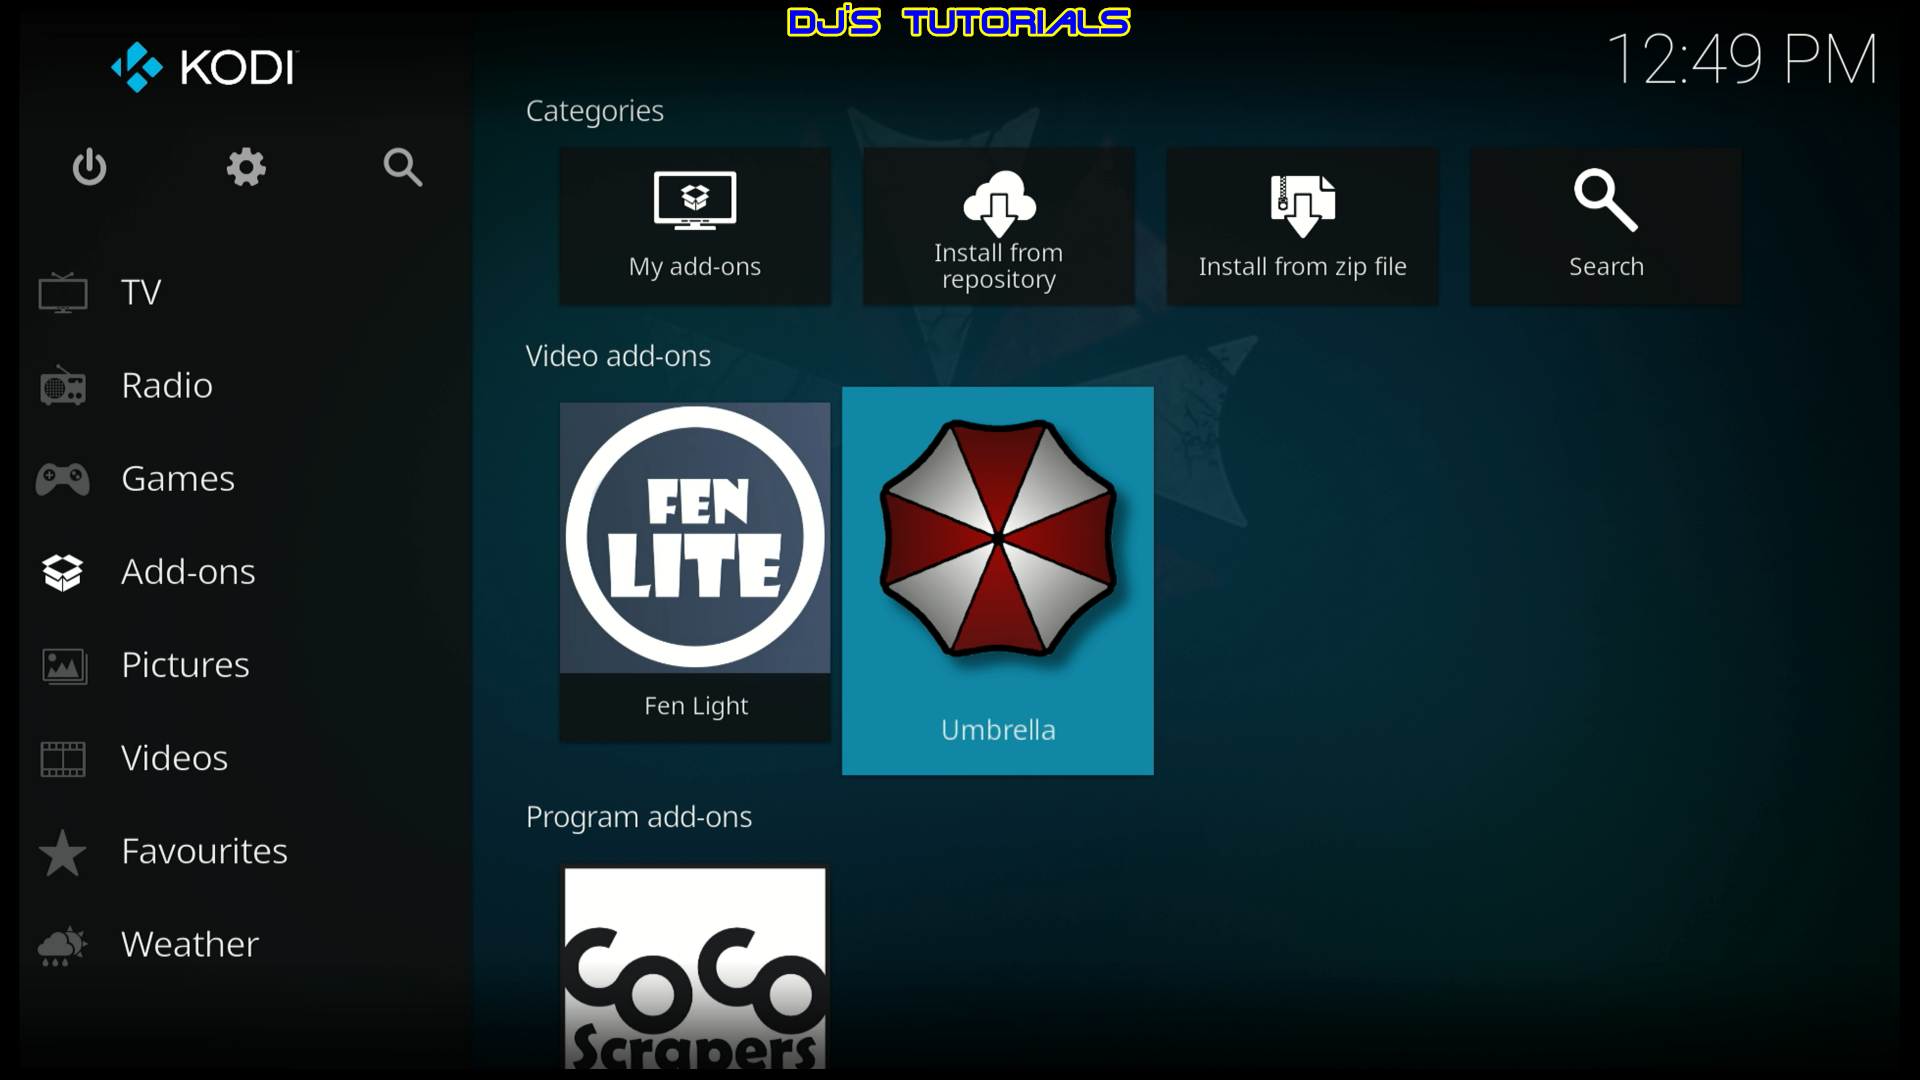
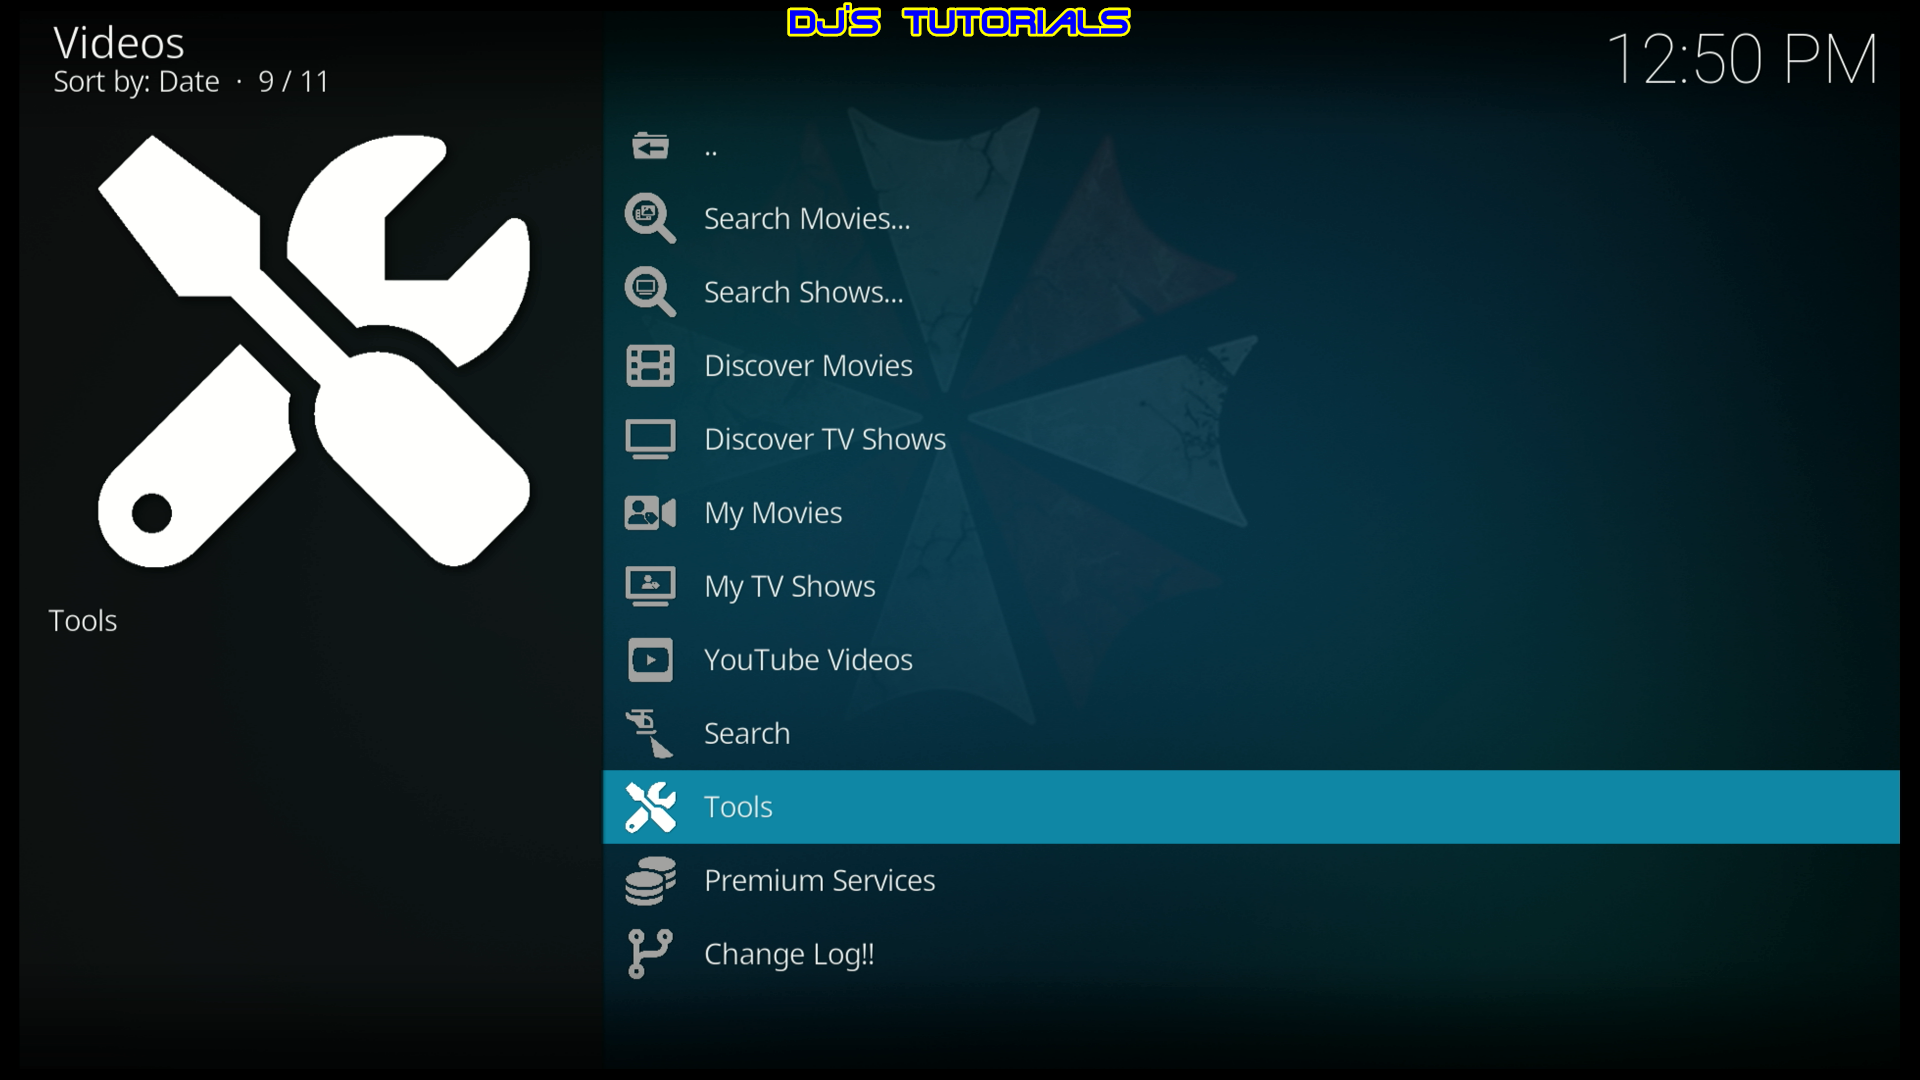
Scroll down to Tools and click on it.
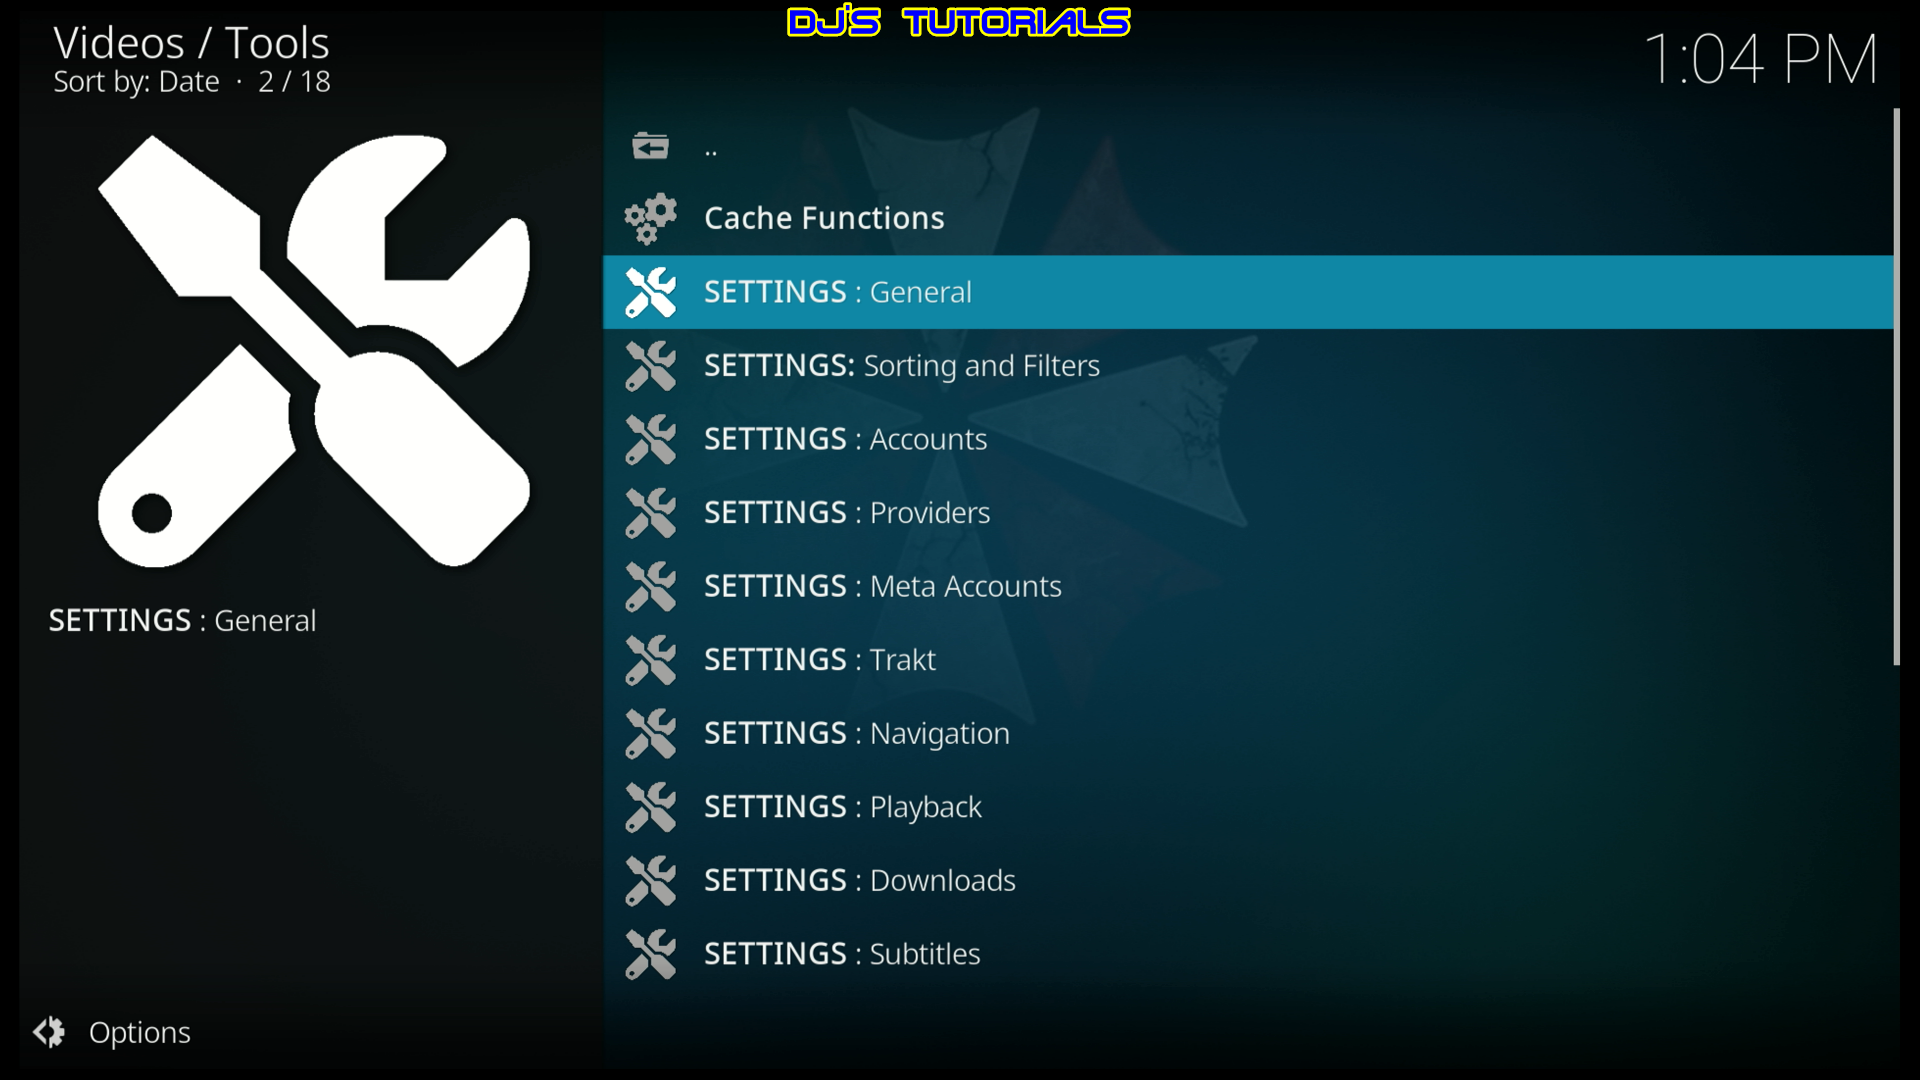
Click on Settings: General.
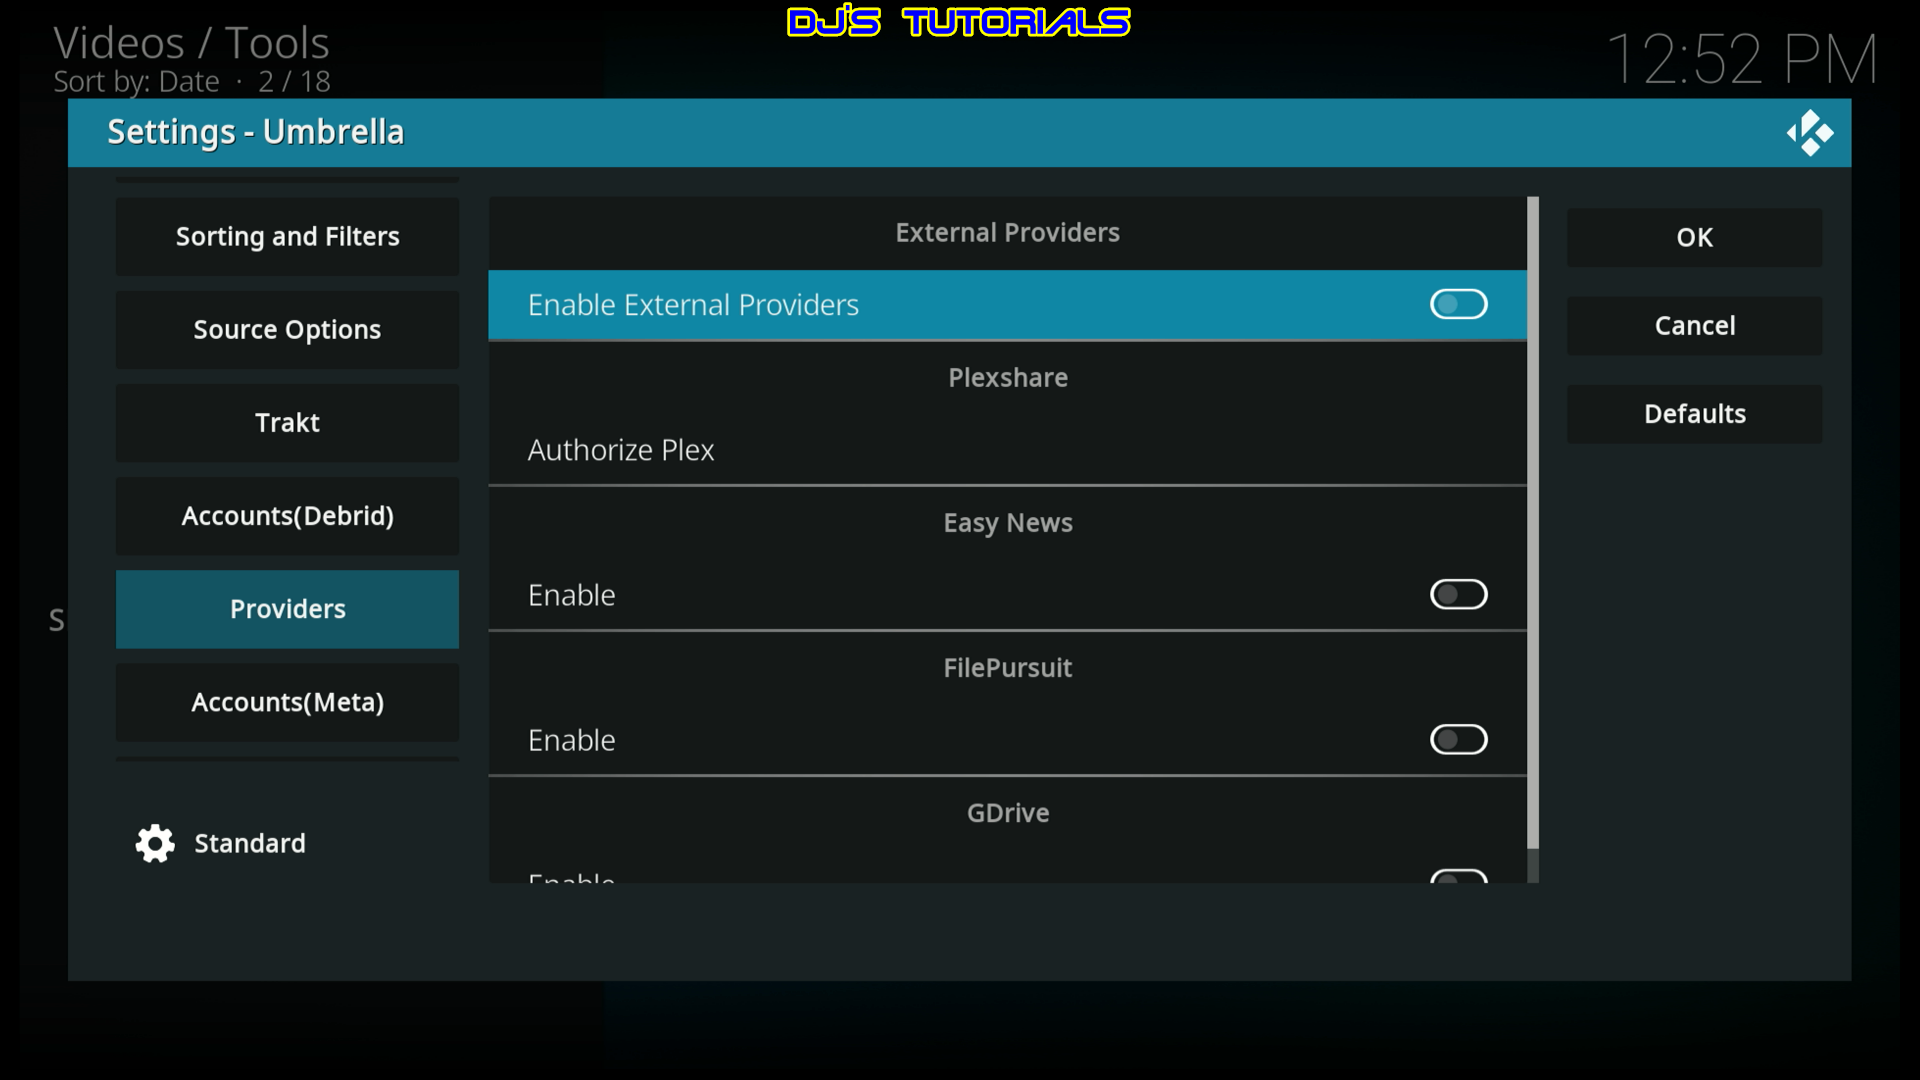
Scroll down to Providers and under External Scrapers, select Enable.
Click on External Provider.
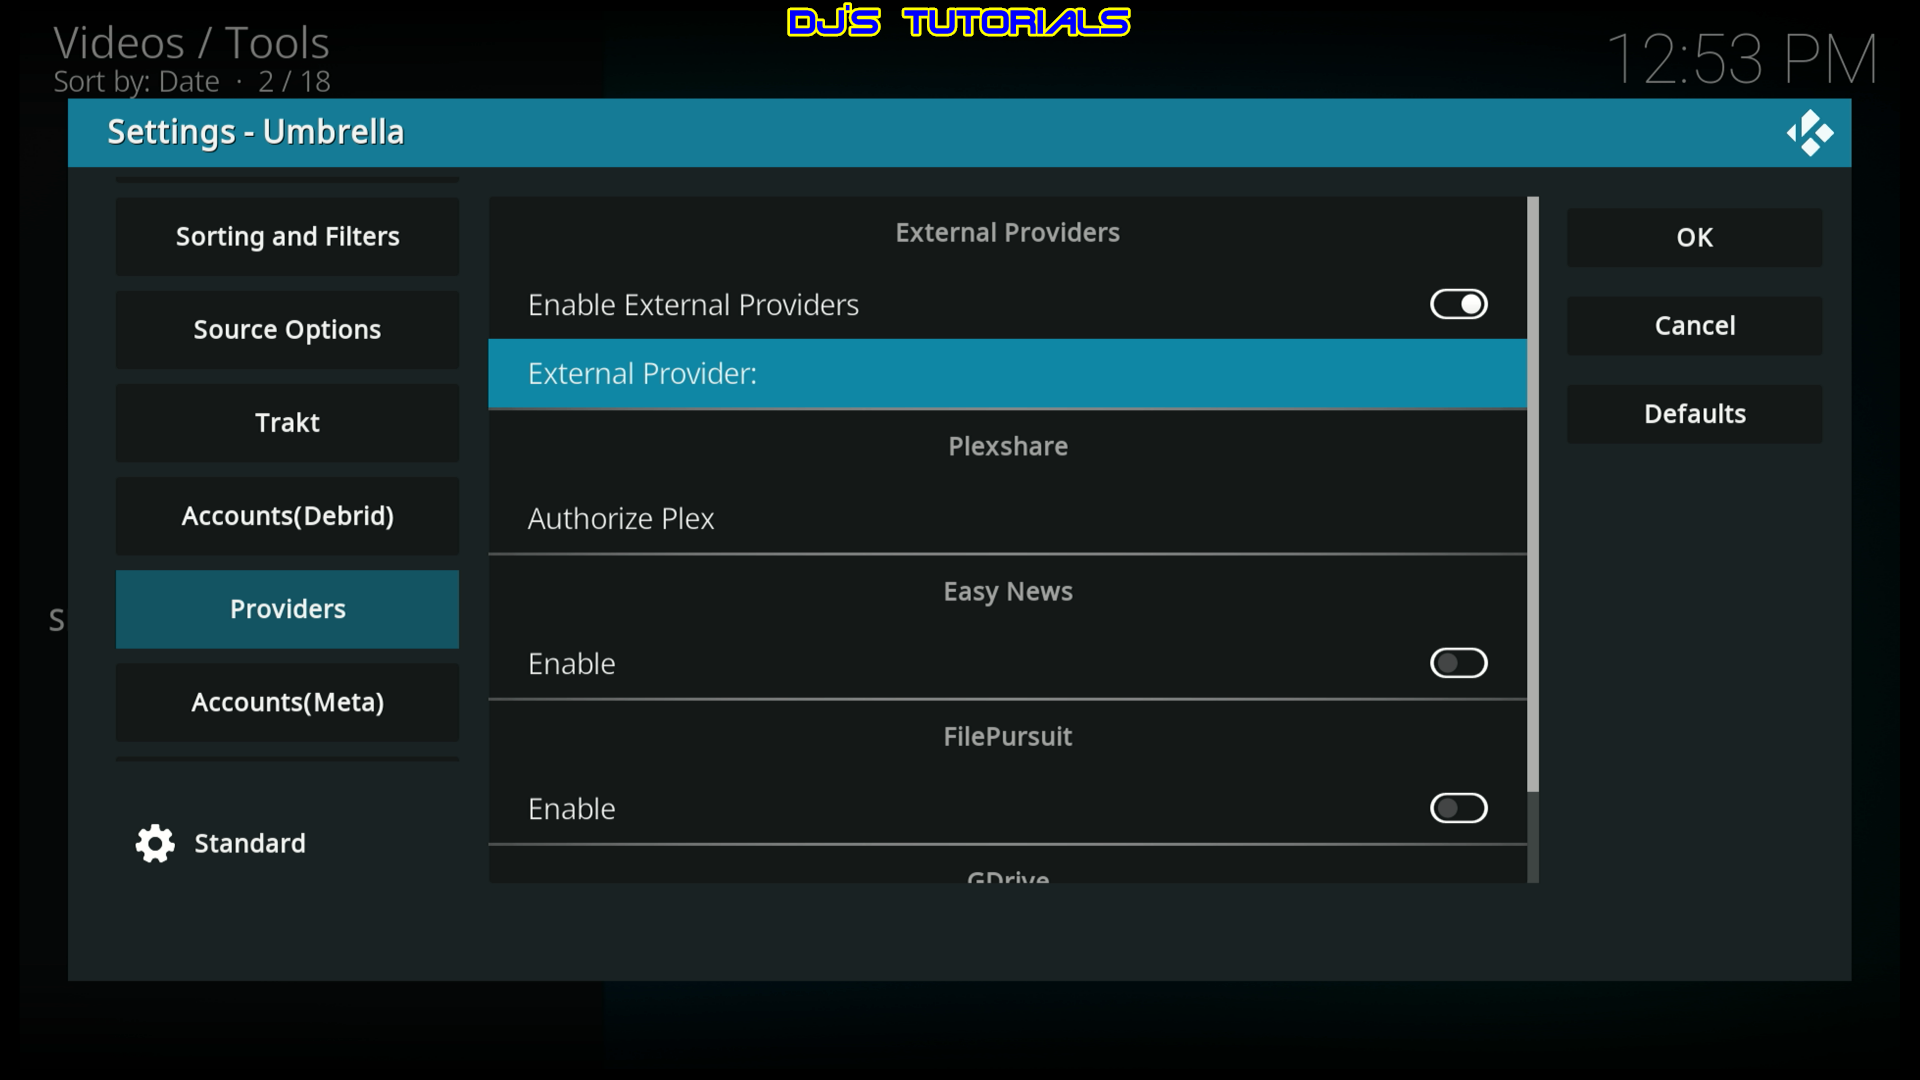
Click on COCOSCRAPERS MODULE.
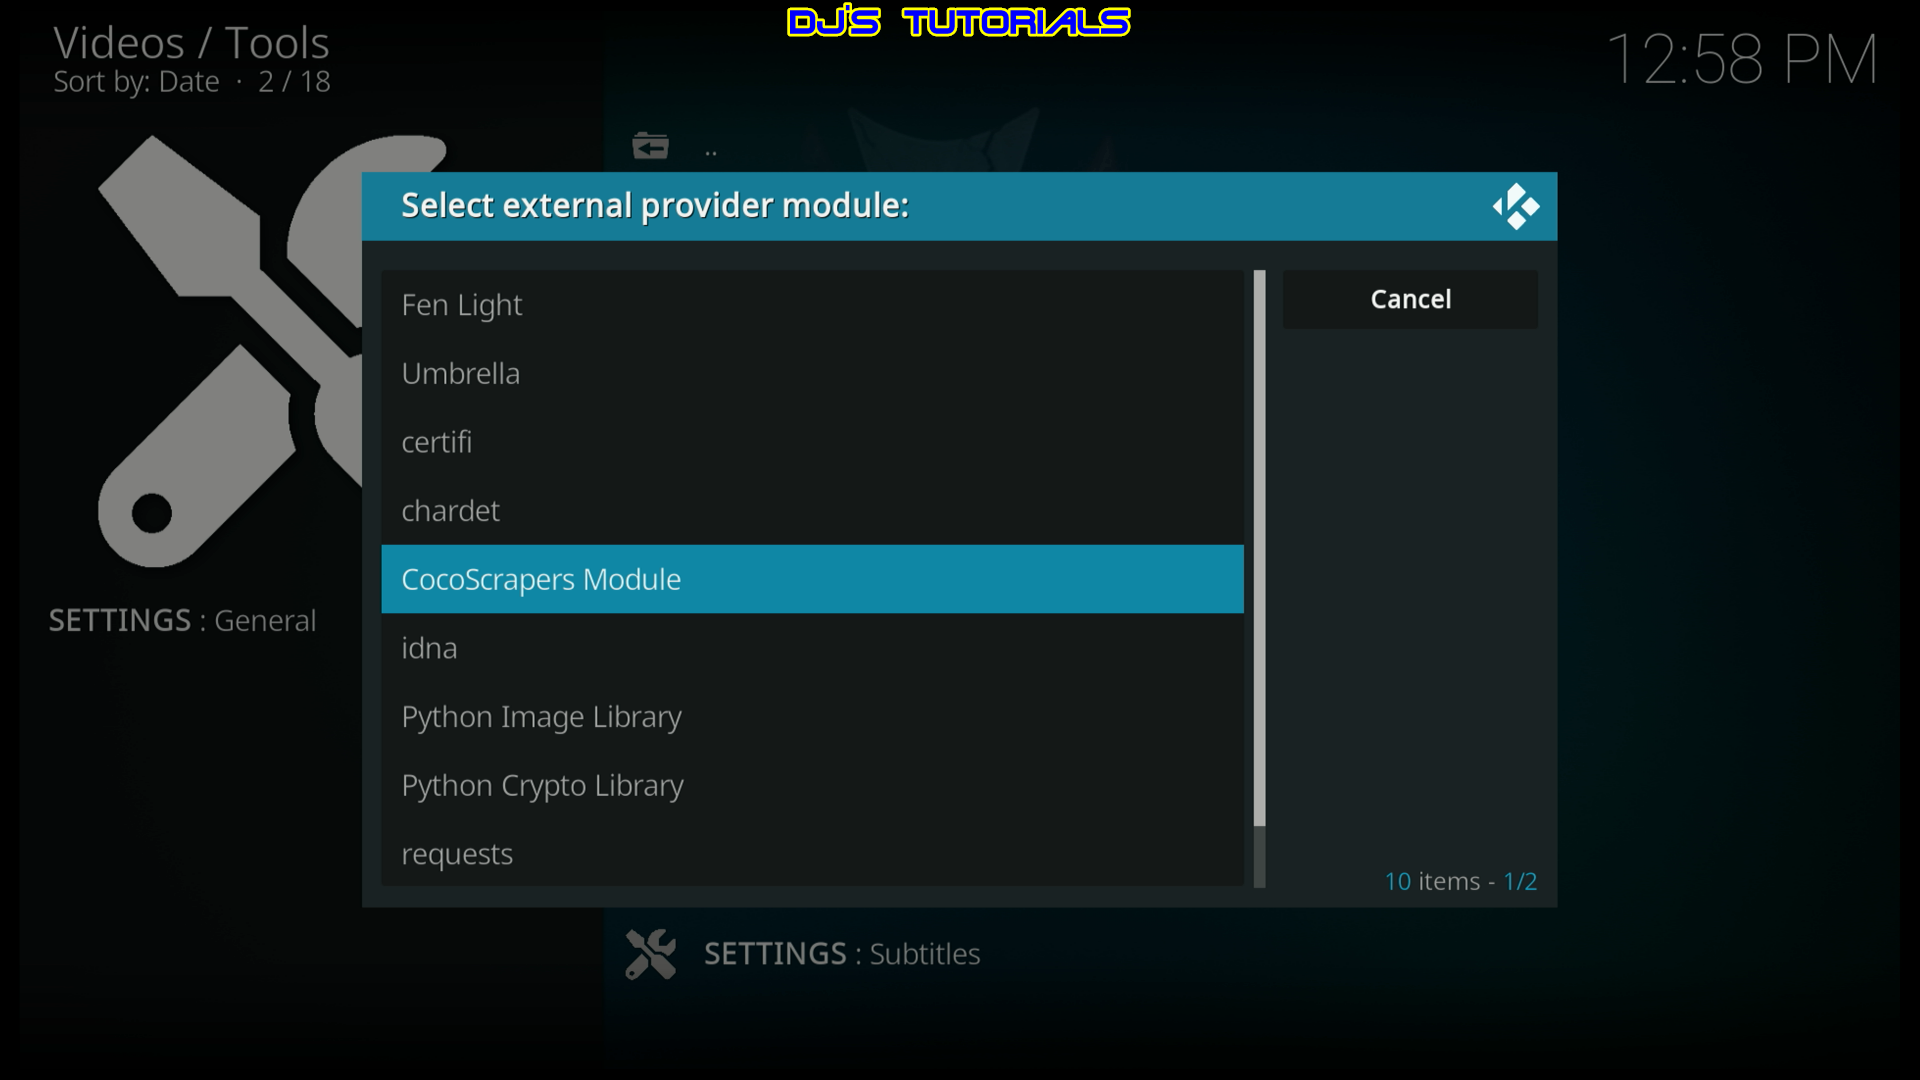
You will then see the message that Cocoscrapers External Module set successfully.
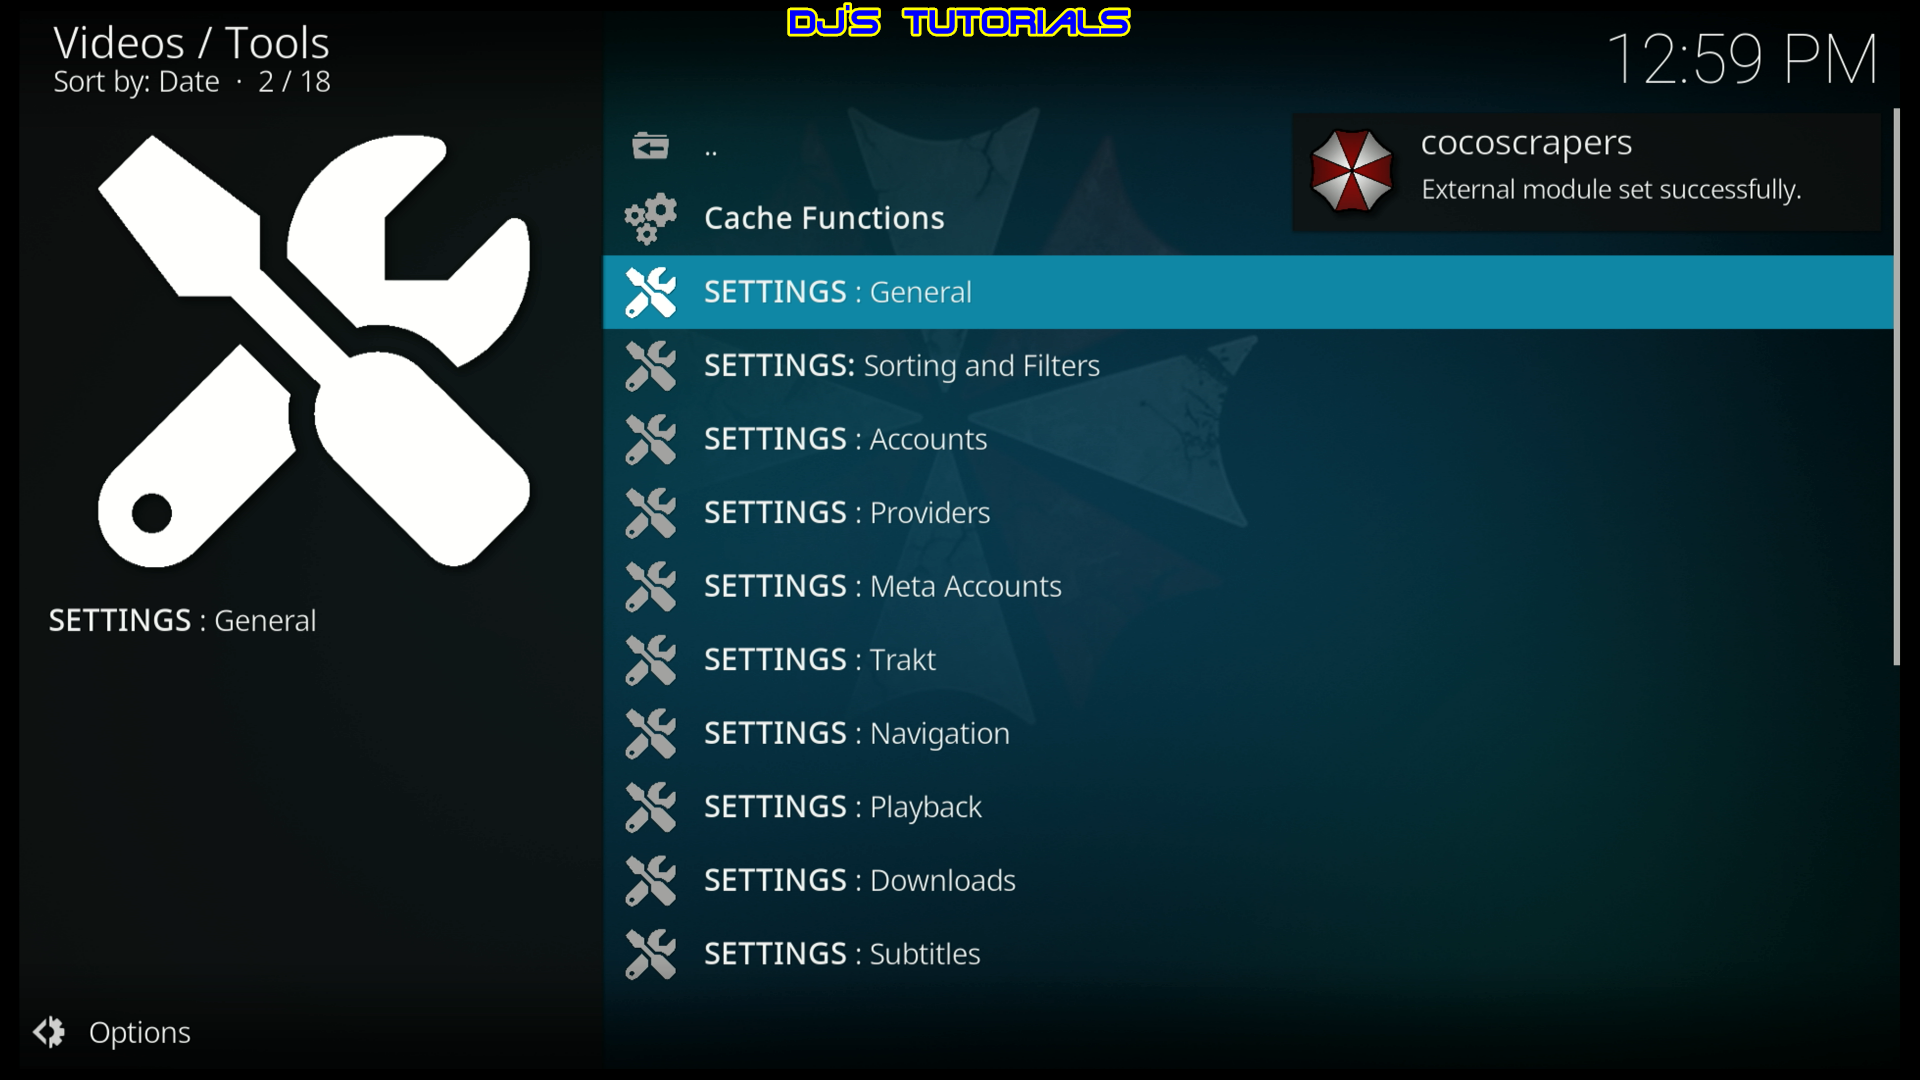
COCOSCRAPERS is now complete.
As mentioned above, Umbrella requires a premium hosting service. Real-Debrid is my preferred service and I will be using that service in this tutorial.
Enable Real-Debrid for Umbrella
You must have a premium account with Real-Debrid in order to get streaming Links.
Premium account cost around three dollars a month with a six month subscription.
Launch the Umbrella add-on.

Scroll down to Tools and click on it.

Click on Settings: Accounts.
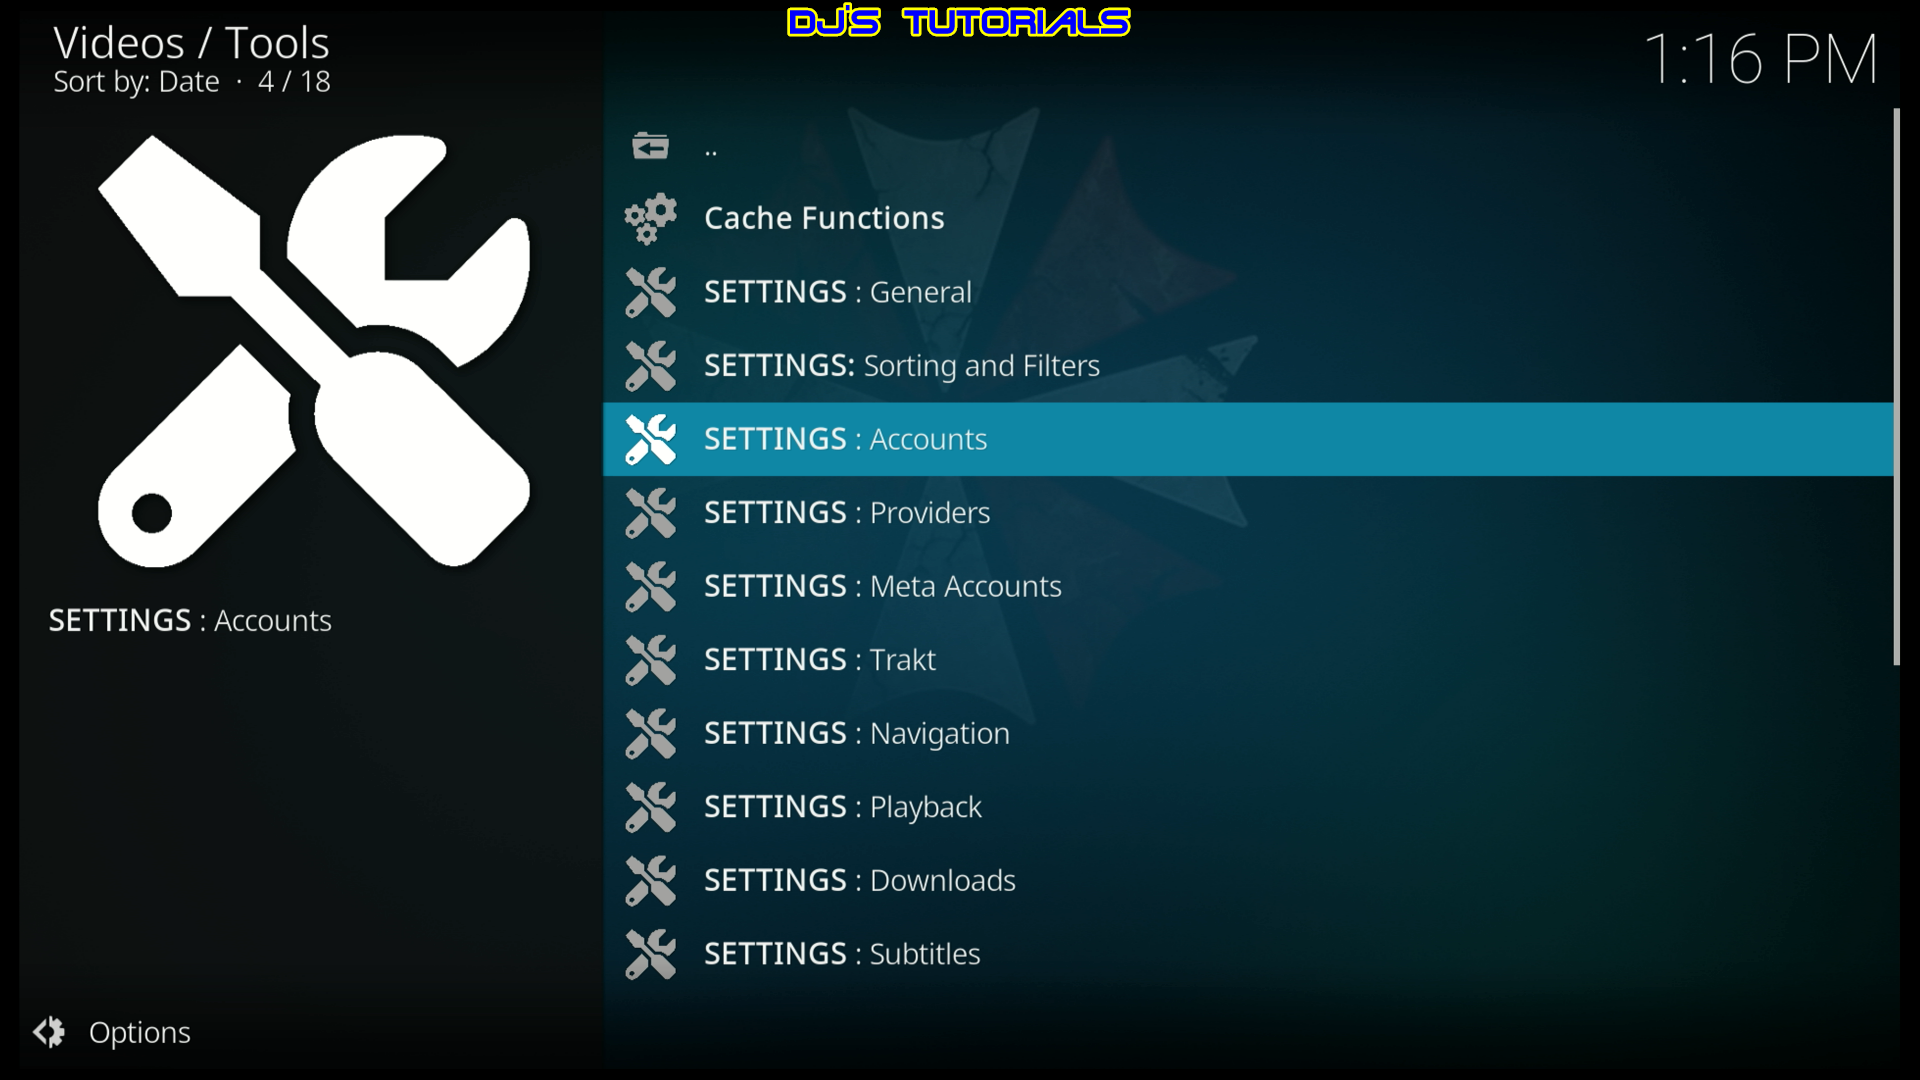
Click on Accounts. Under Real-Debrid click on Authorize.
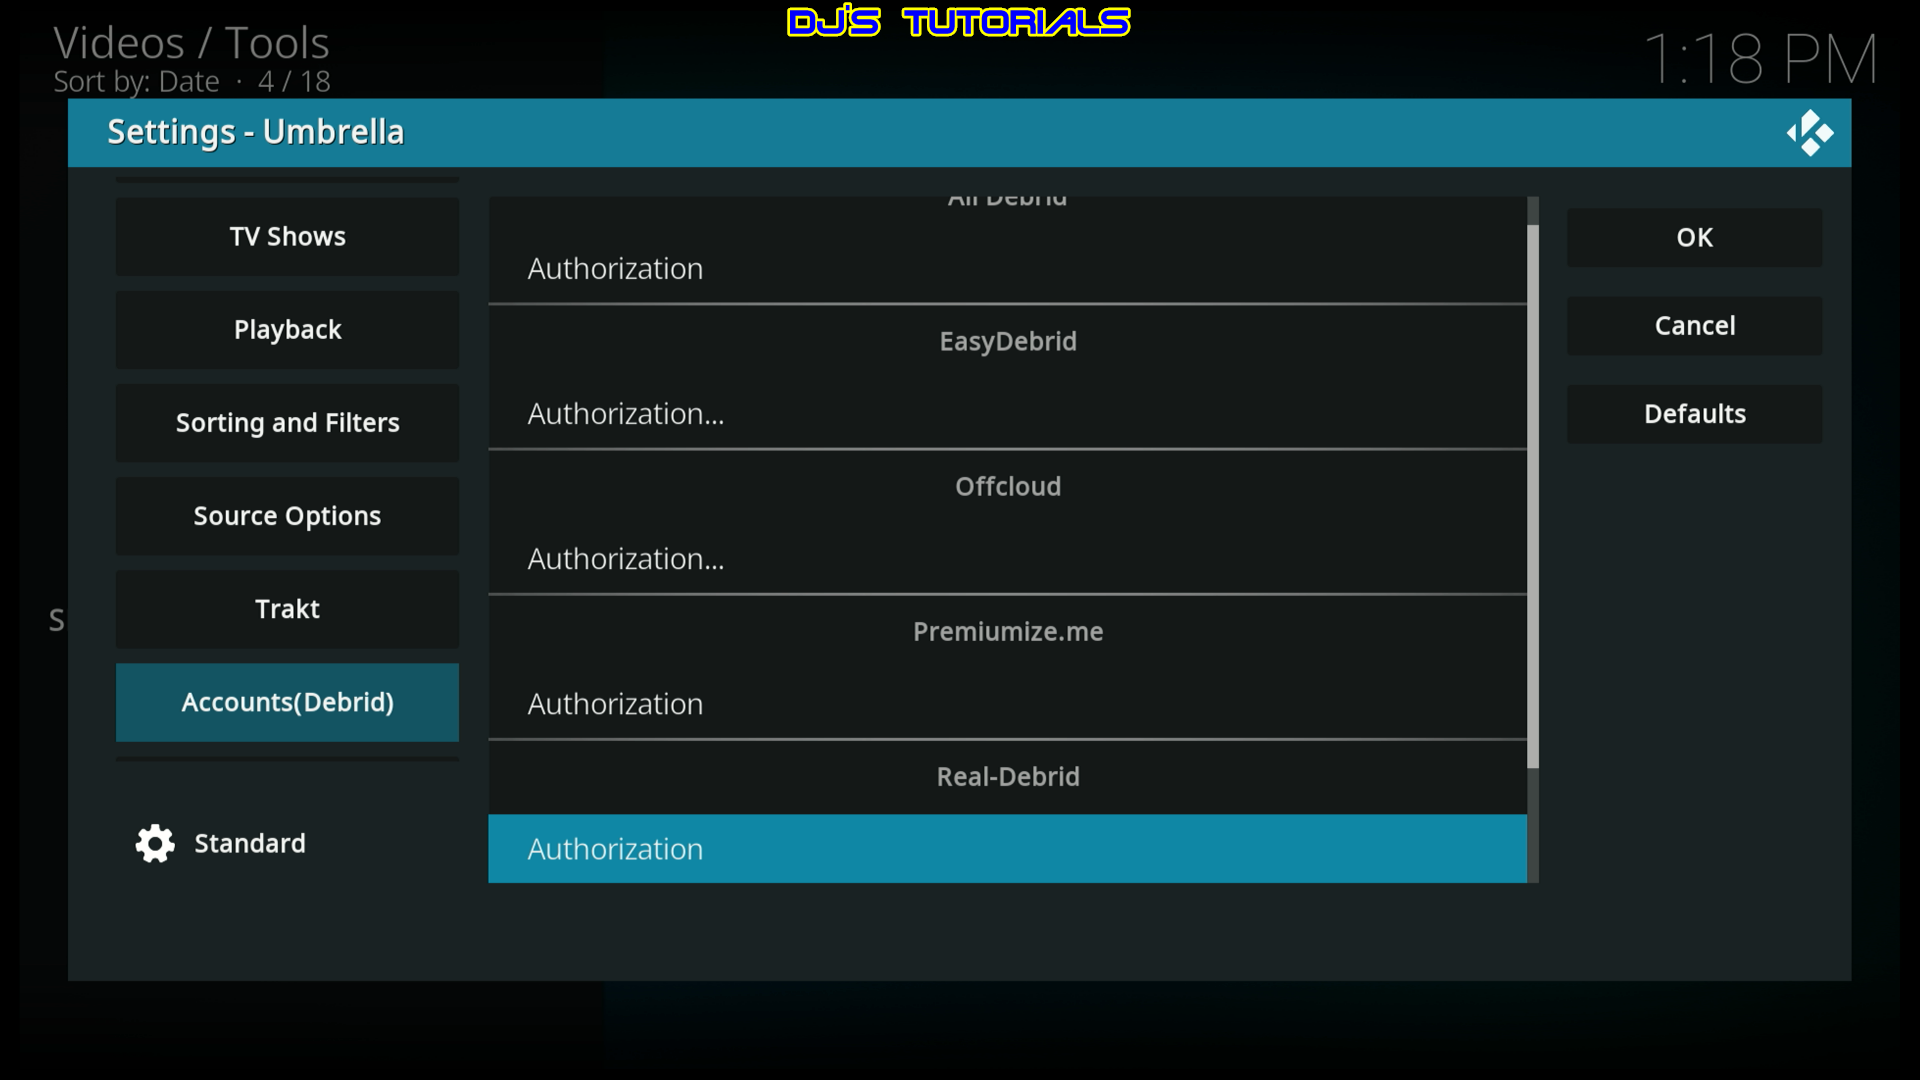
A message with an authorization code, and the URL or QR code to use so you can enter the provided code.
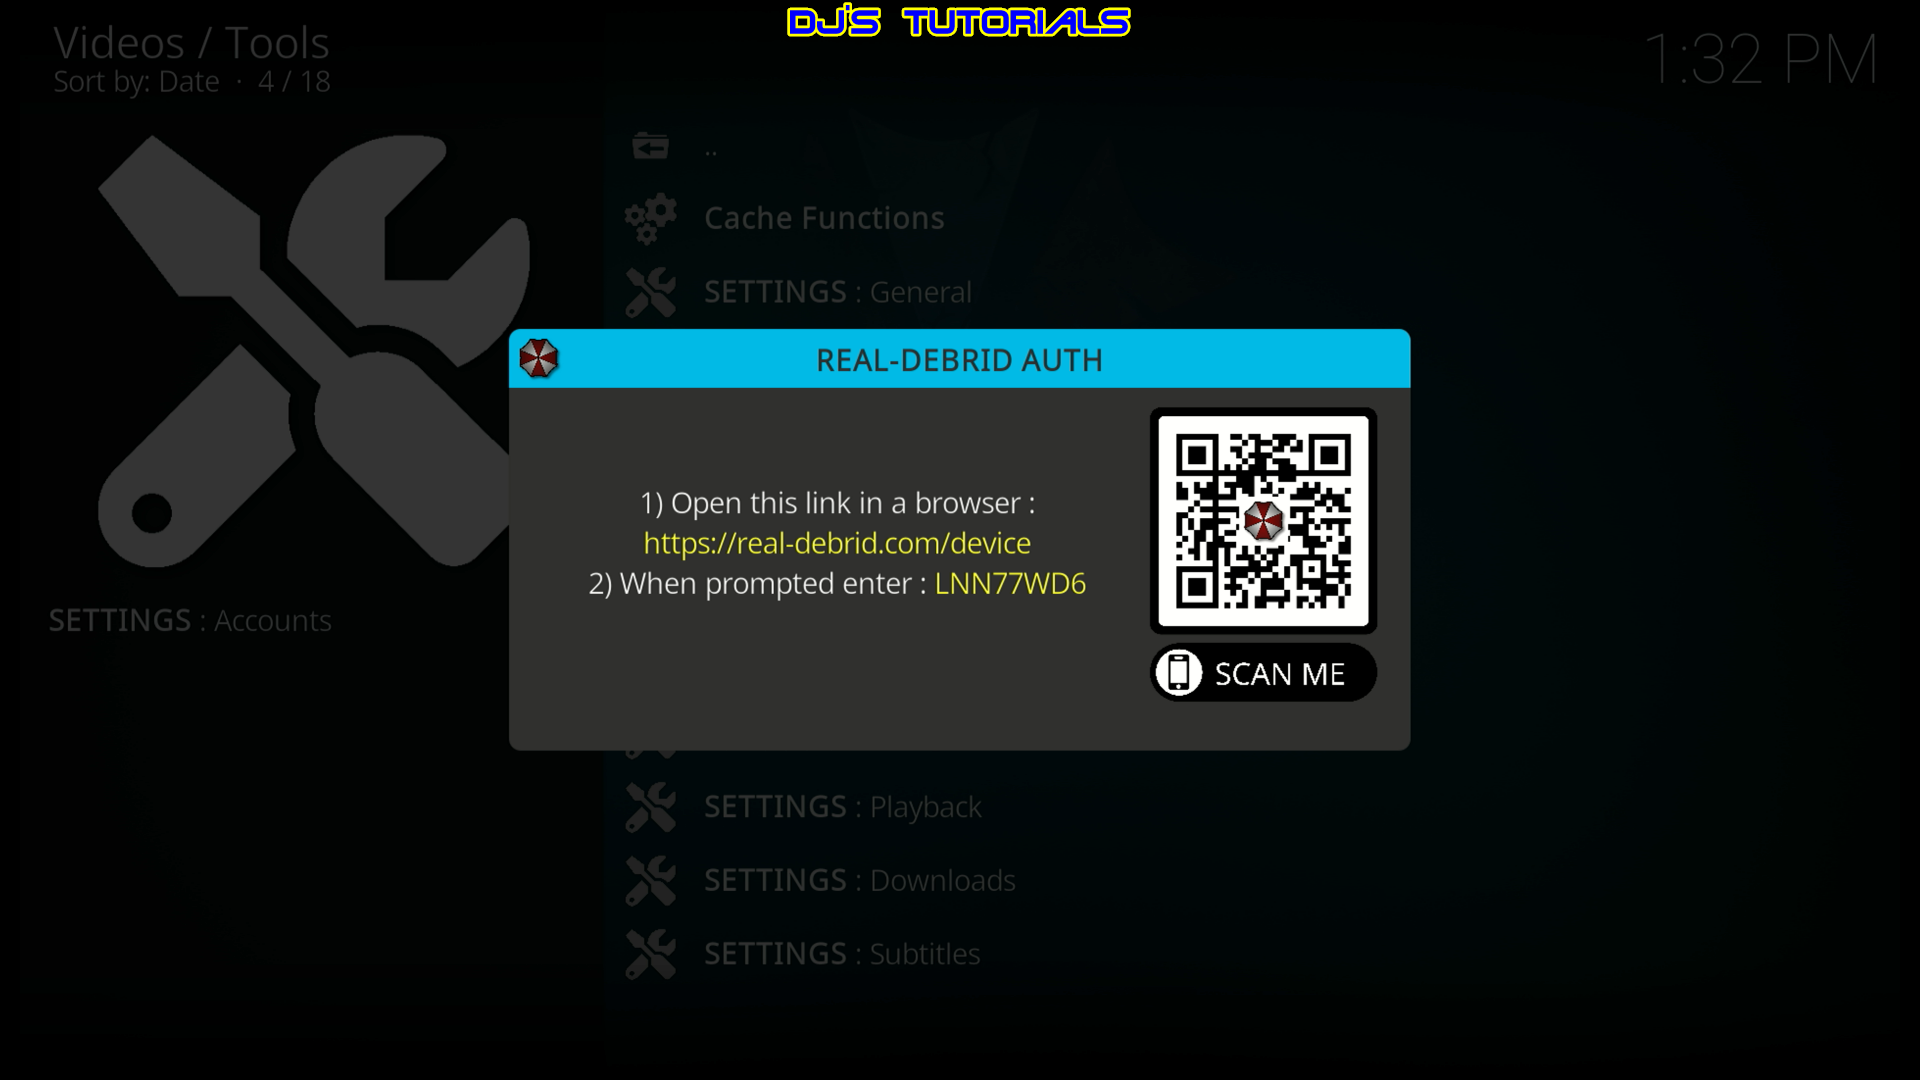
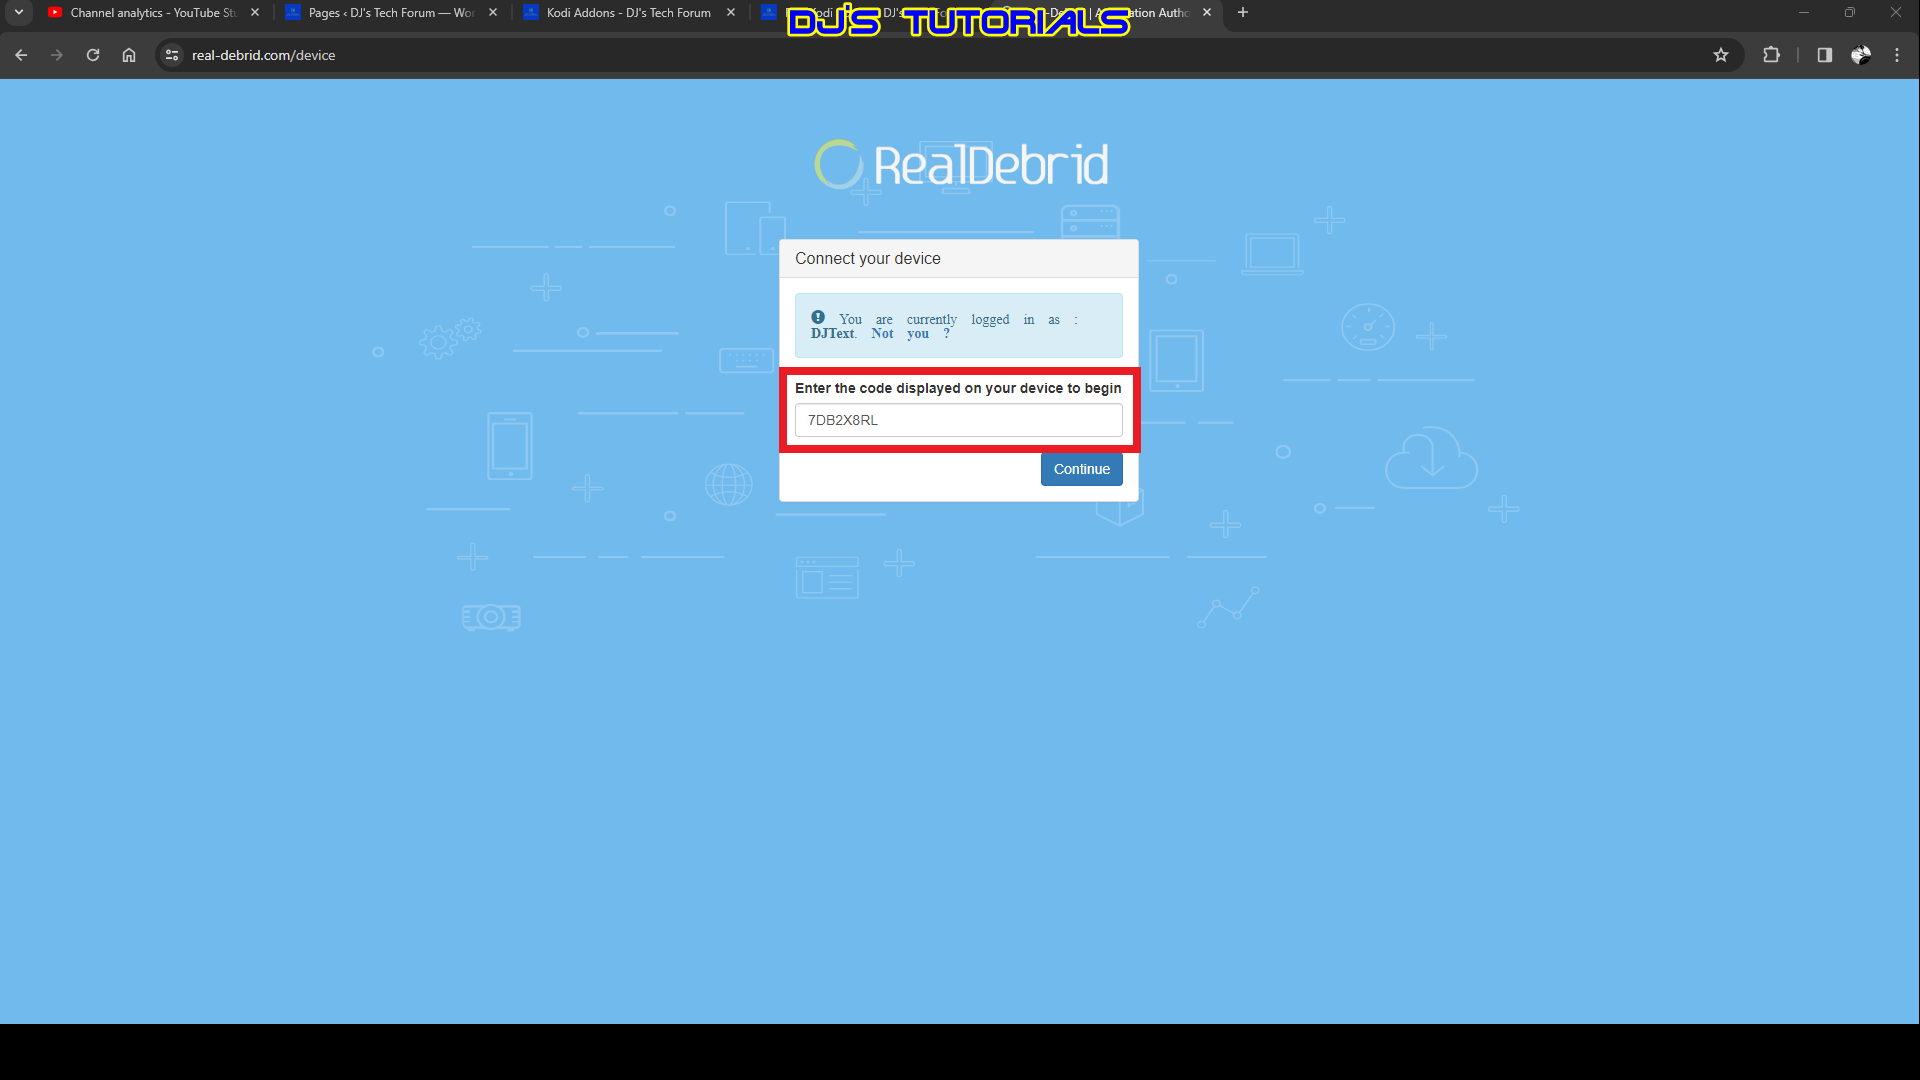
Go to real-debrid.com/device on a PC or cell phone and enter the code provided in the previous step.
Press Continue.
Back to Umbrella you will see a Success message now. Click on OK.
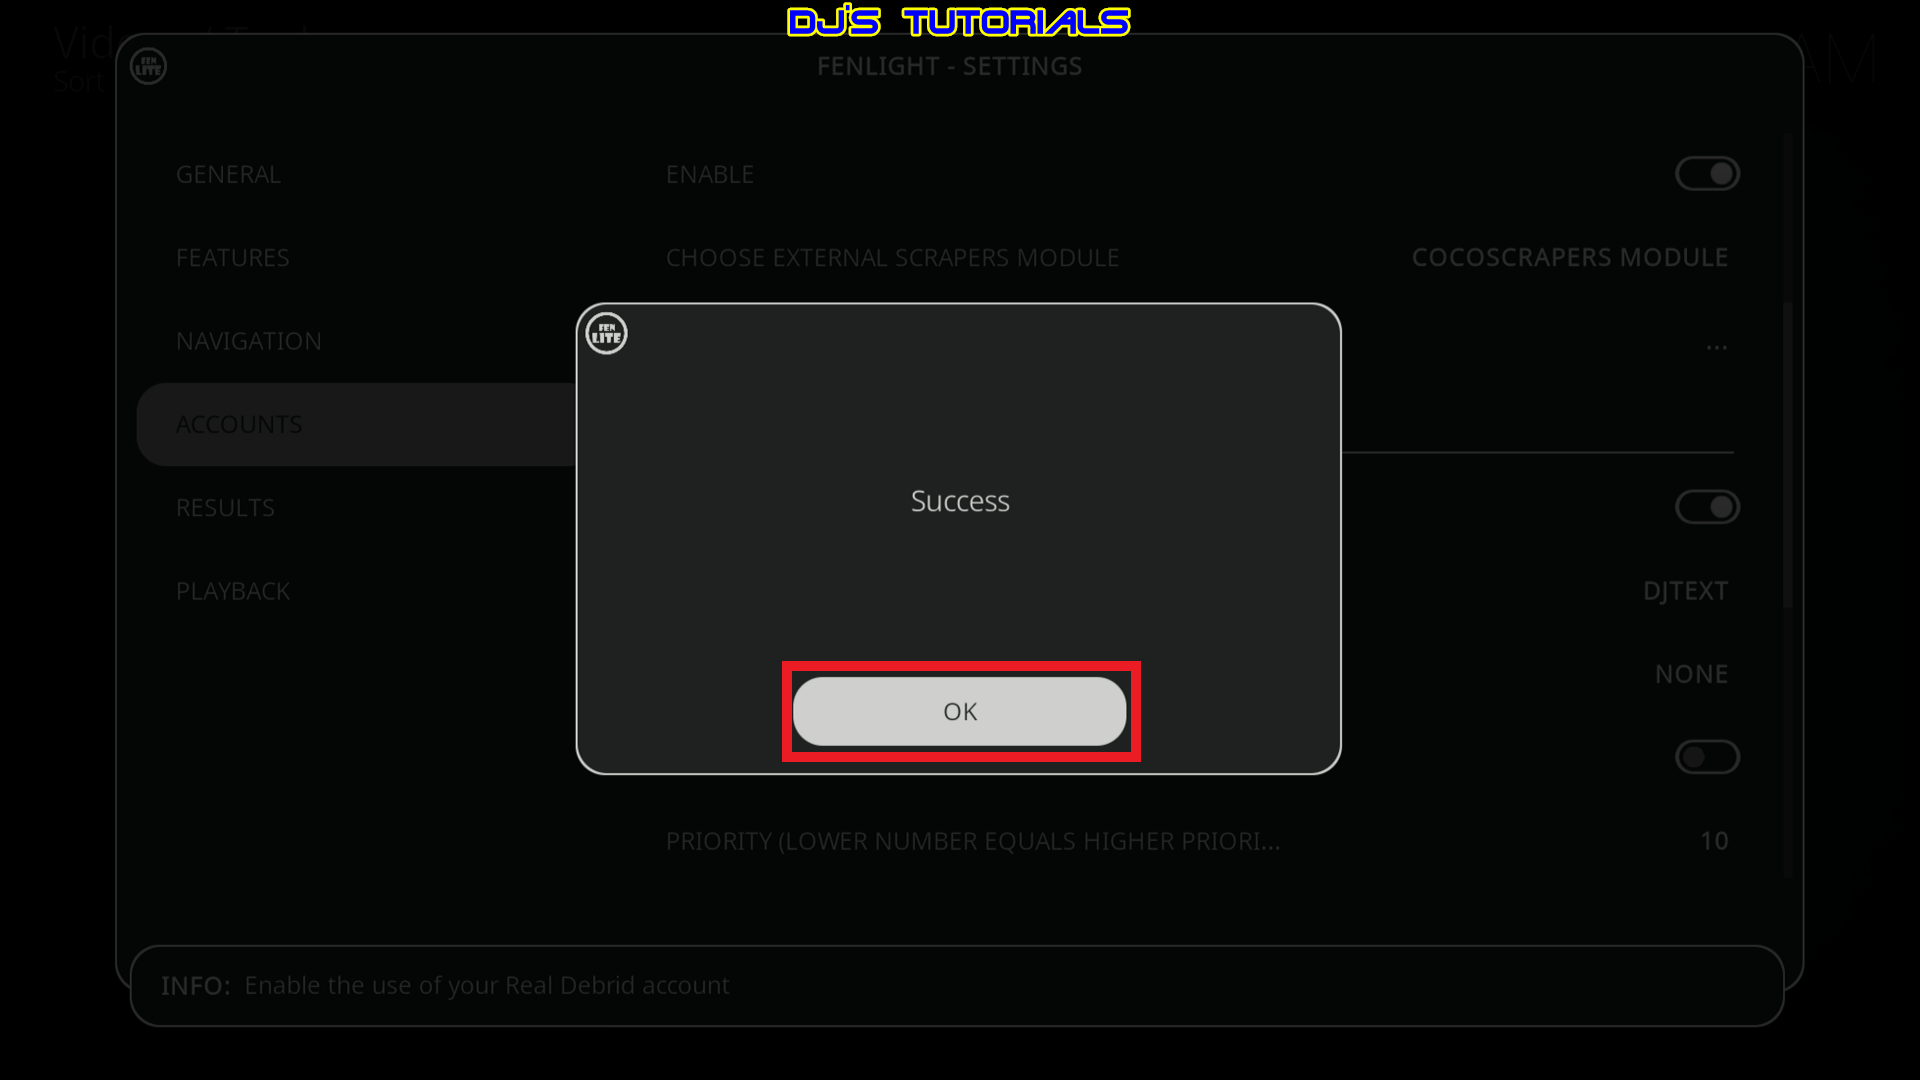
Umbrella Setup is now complete!
