
How To Install Xontrix Kodi Build
XontriX is an All-In-One Build which is located within The Crew repository. It offers offers a Debrid or a Free version. Selecting the Debrid version requires the use of a debrid service like Real-Debrid in order to stream content.
Xontrix Kodi Build Installation Steps
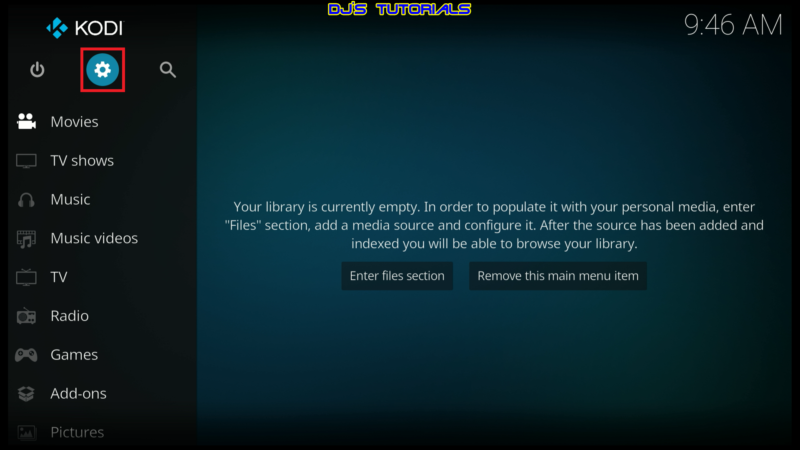
- Click on the settings icon


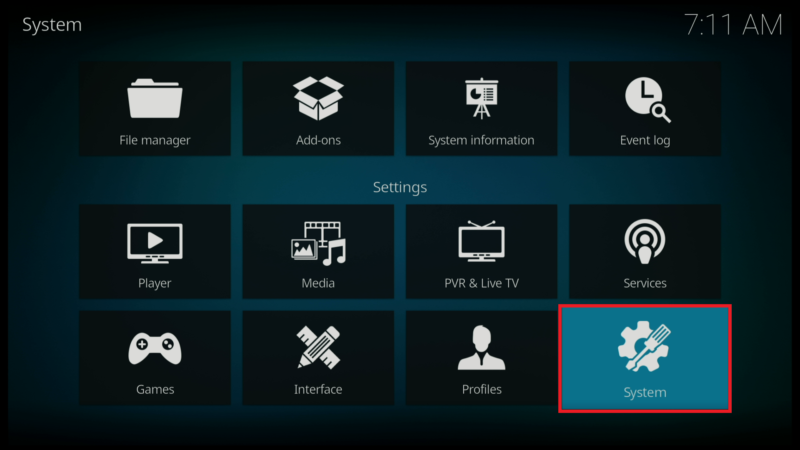
- Click on System.
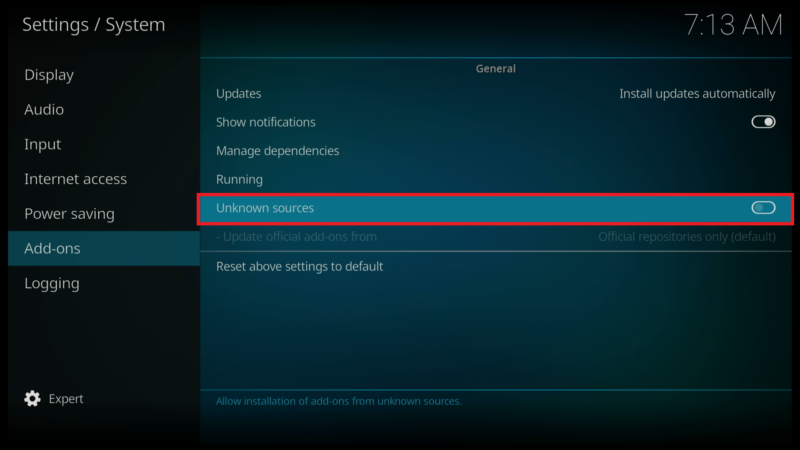
- Scroll down to the Add-ons menu and turn on Unknown sources if not already on.
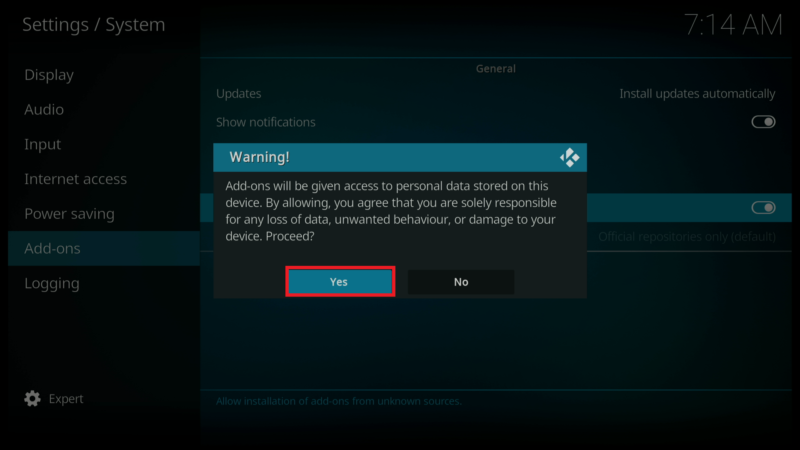
- Click on Yes after you read the Warning message.
- Click back on your remote to go back to the System page.
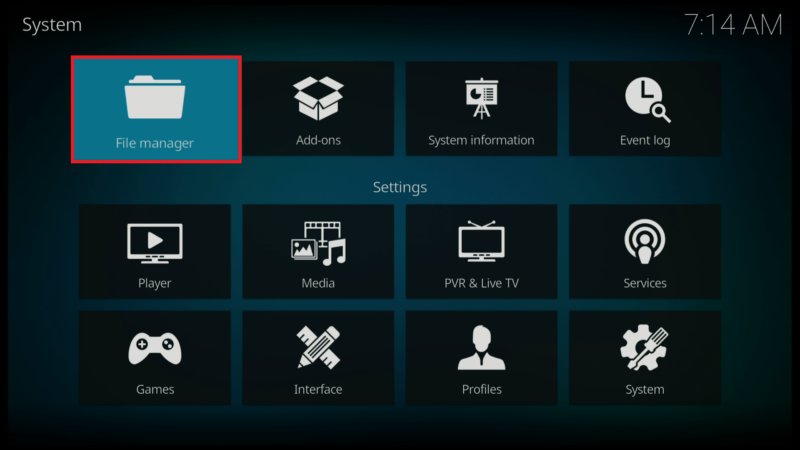
- Select File Manager.
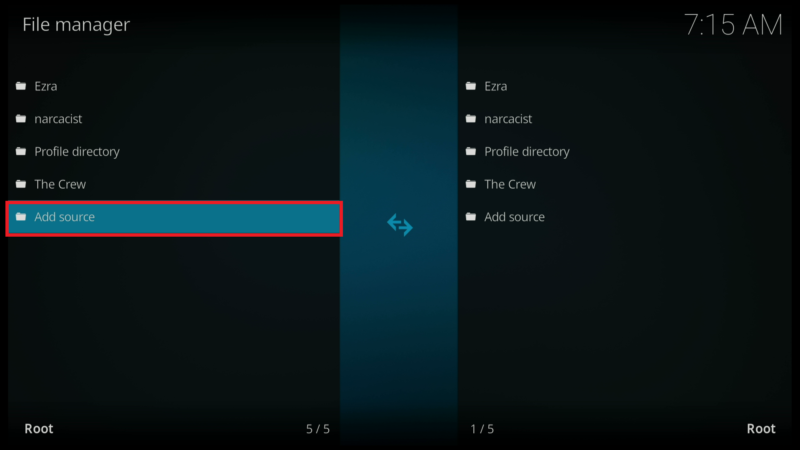
- Click on Add source.
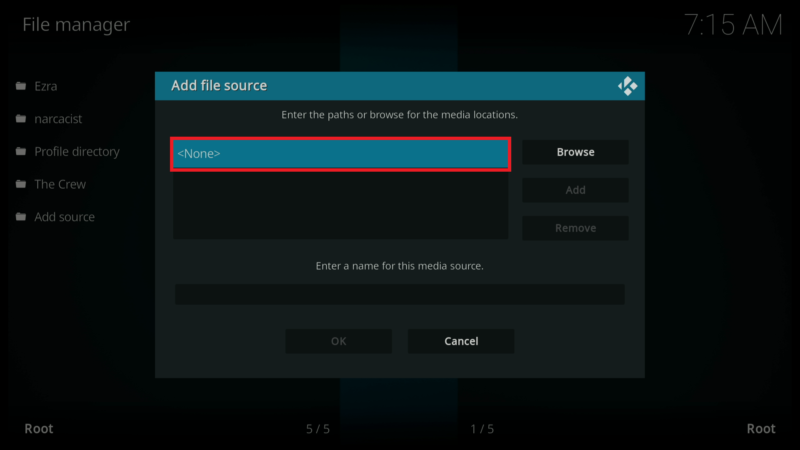
- Click on .
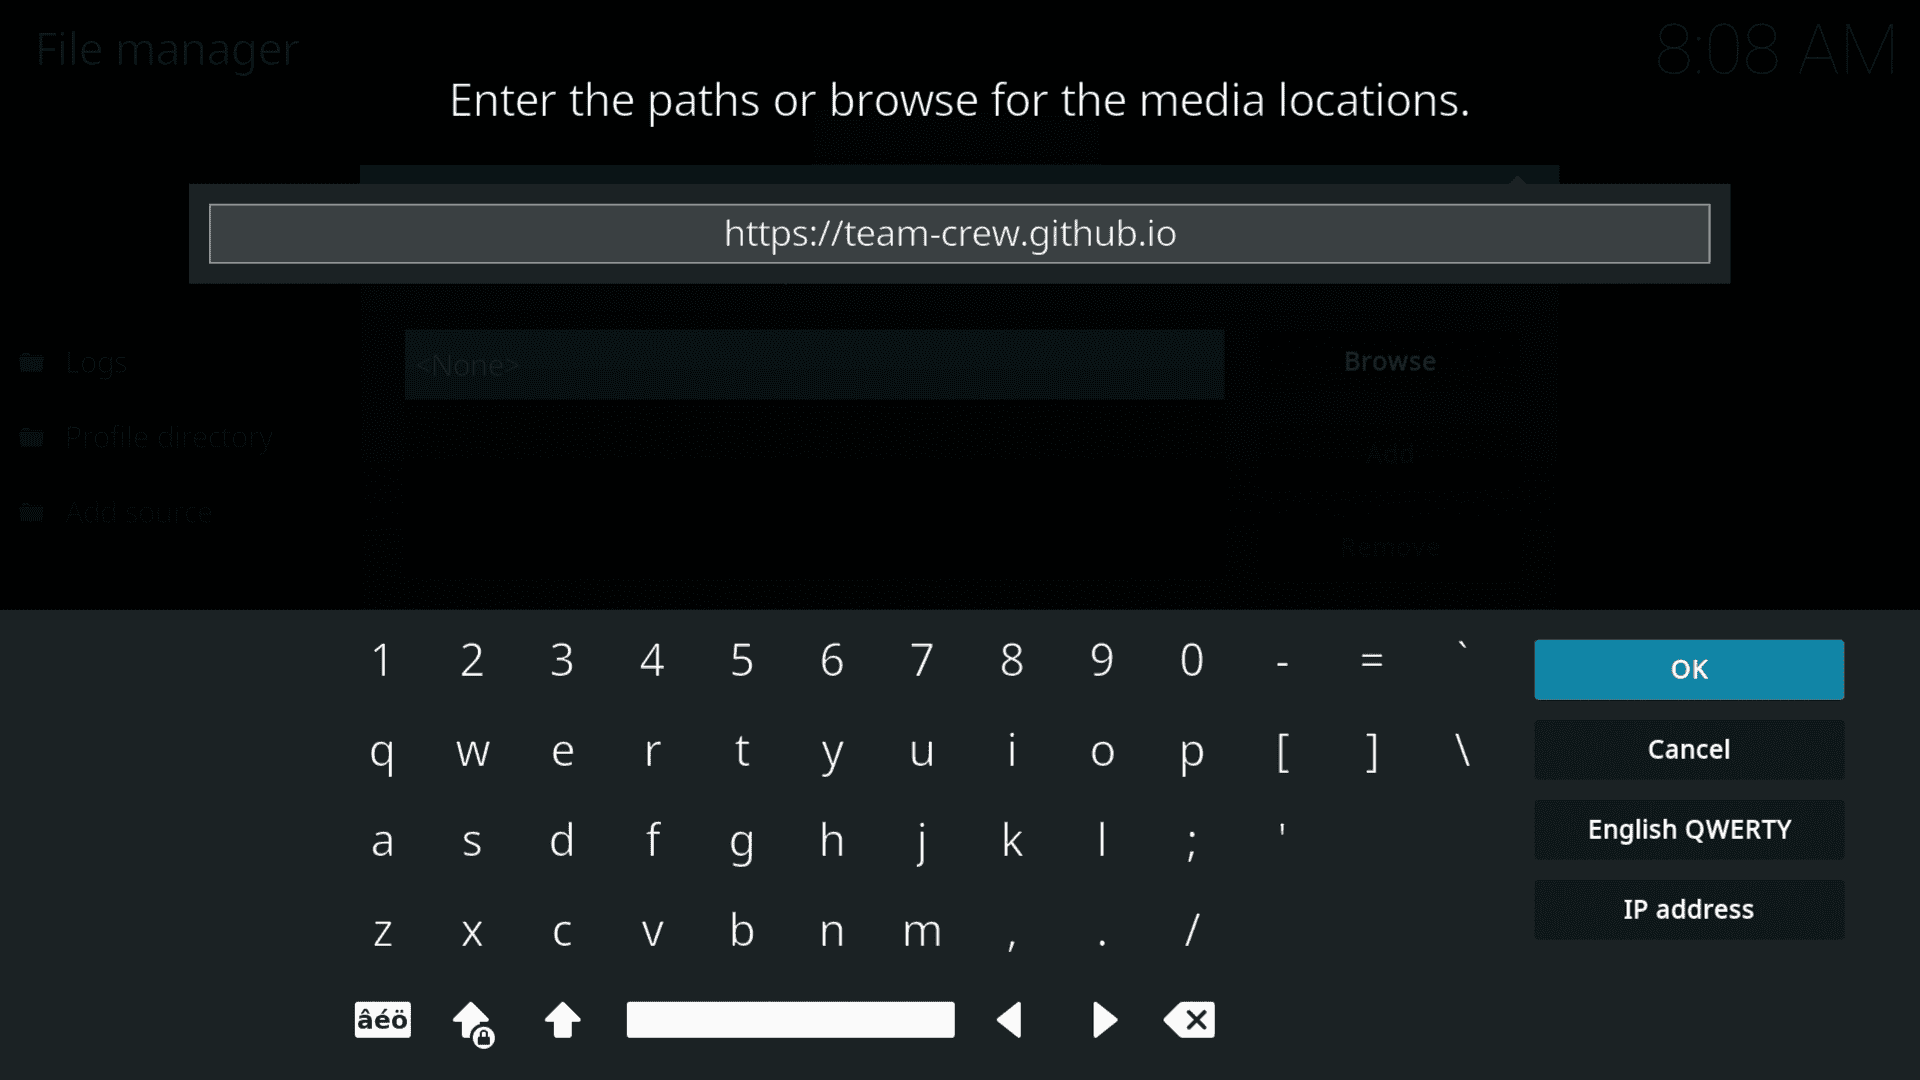
- Enter the following URL exactly how it is shown here – https://team-crew.github.io and then click OK.


- Click on the box under the source that you just entered and type in a name for this source.
- Type “crew” or any other name you would like to identify this source as and click OK.

- Click the back button on your remote until you are back on the System screen. Then click on Add-ons.

- Click on Install from zip file.

- Select “crew” or whatever you named the media source in the previous step.

- Click on the zip file URL – repository.thecrew-x.x.x.zip

- Wait for the “The Crew Repo Add-on installed” message to appear.

- Click on Install from repository.

- Click on The Crew Repo.

- Click on Program add-ons.

- Select Chains Build Wizard
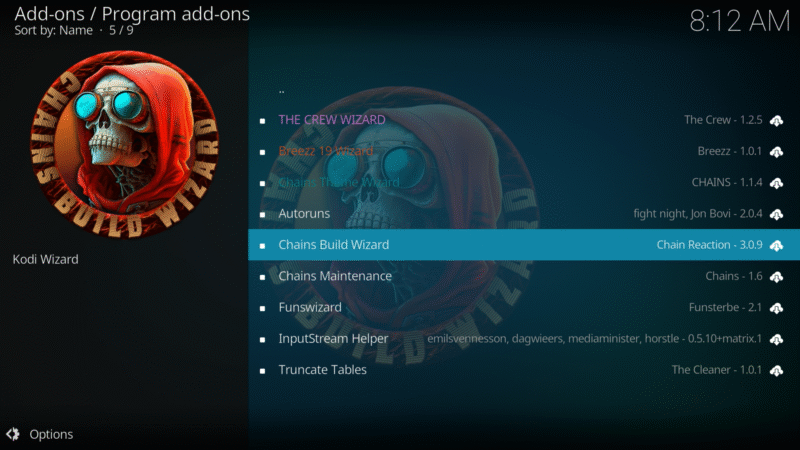
- Click on Install
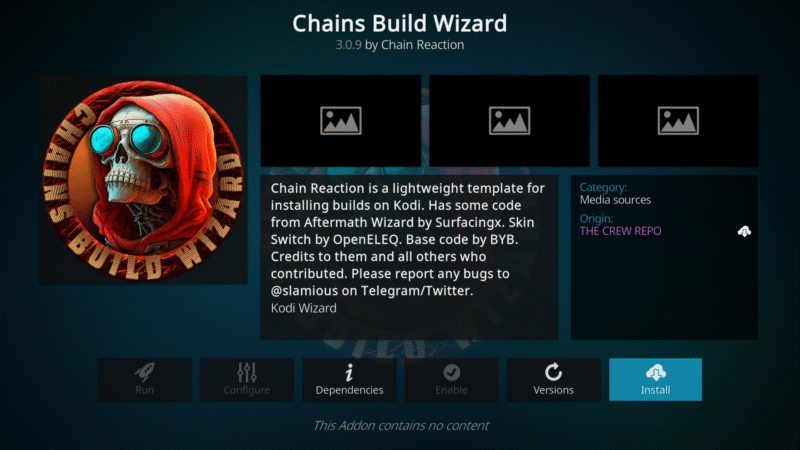
- You will see the Chains Build Wizard Add-on installed message
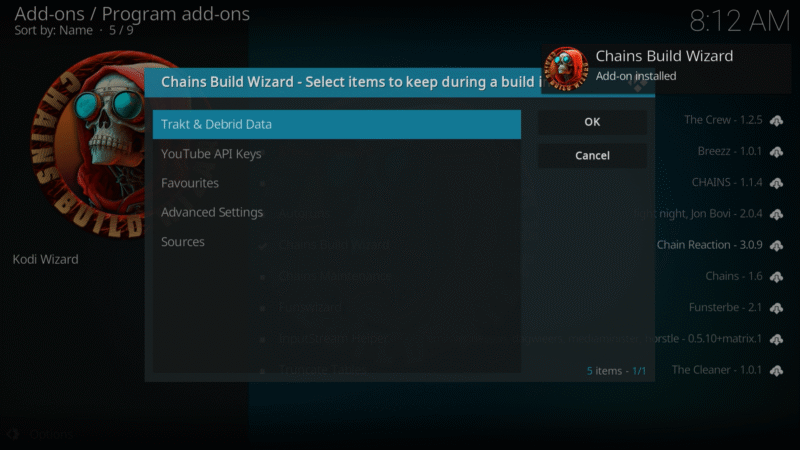
- Click on OK
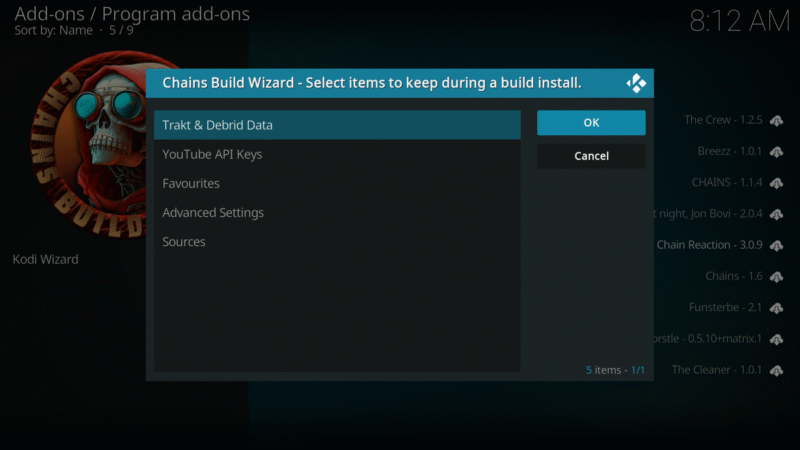
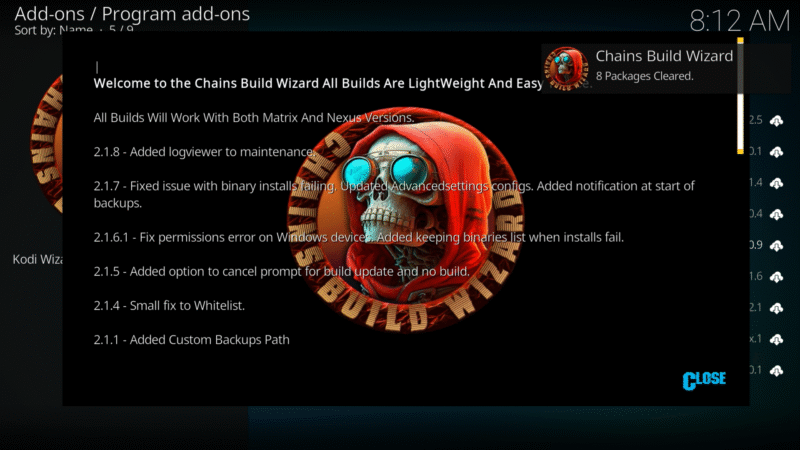
- Click on Close
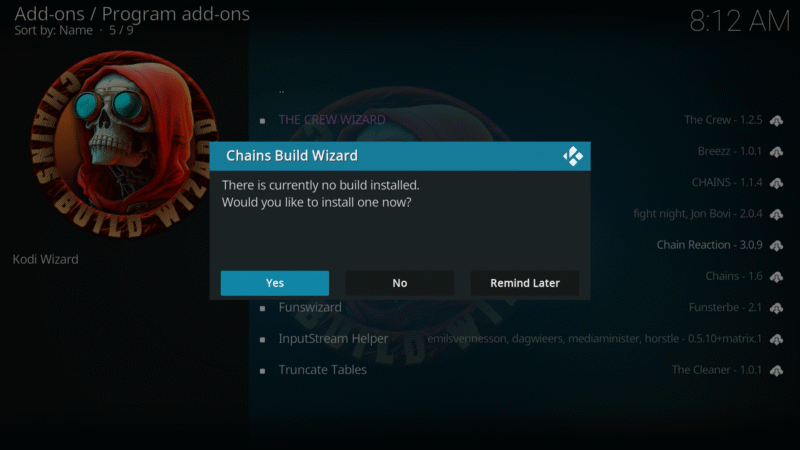
- Click on YES to install a build now
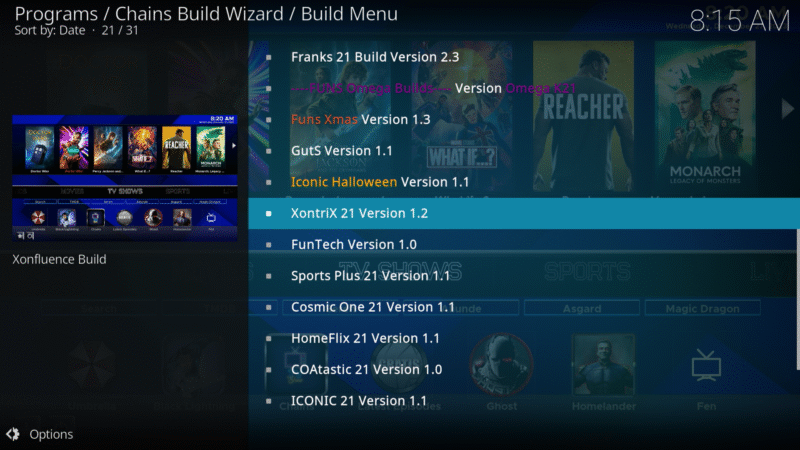
- Scroll down and find XontriX 21 Version 1.x and click on it
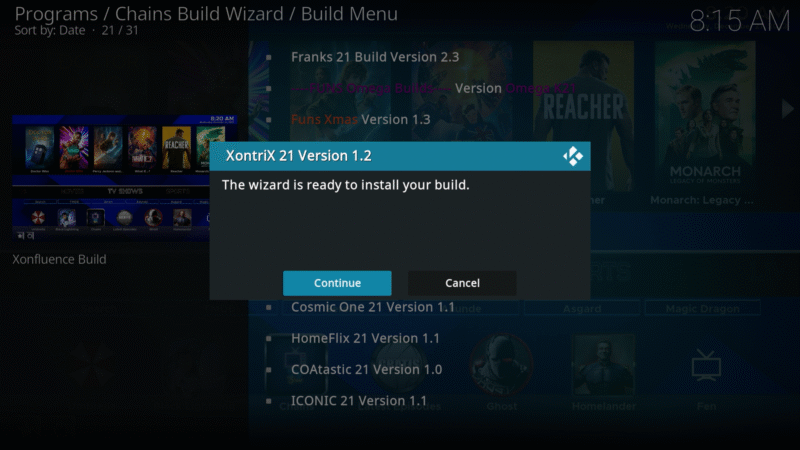
- Click on Continue
- Wait for the build to download and install
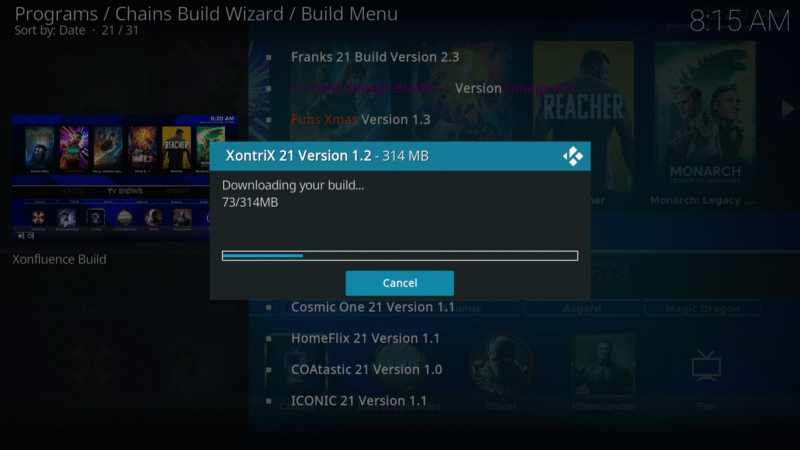
- When complete, click on OK
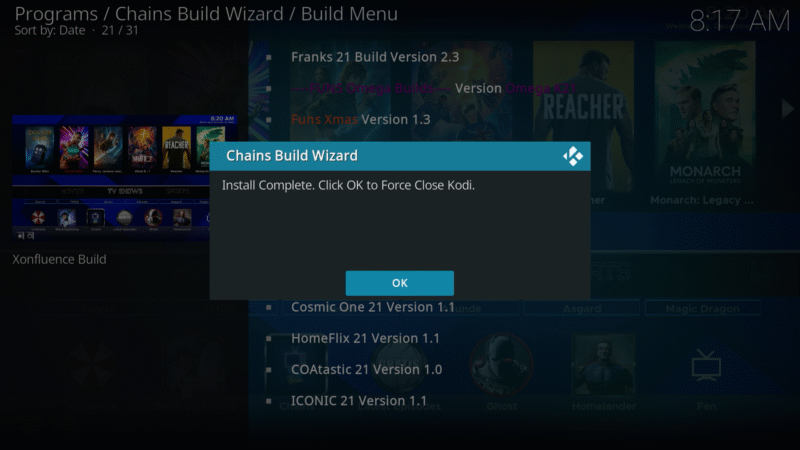
- Kodi will force close itself down. Relaunch Kodi to see the new installed build.
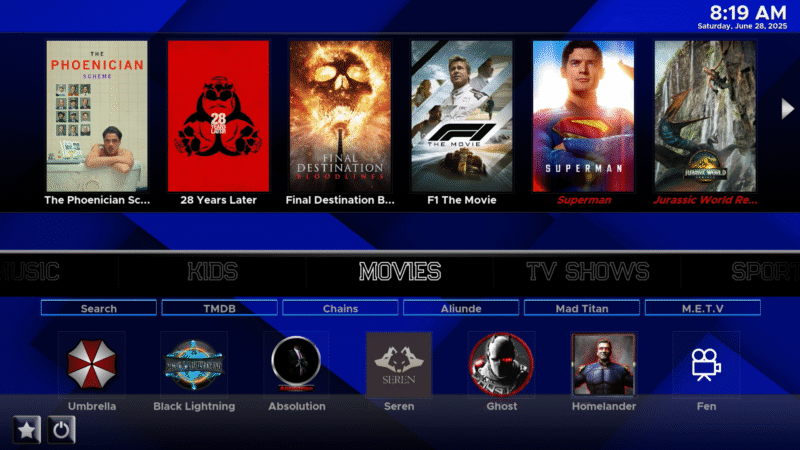
- Wait a few minutes for all the add-ons and dependencies finish updating before you start exploring the XontriX build.
